Is your air purifier struggling to remove dust, pollen, or odors? A dirty filter is often the culprit, leading to reduced airflow and decreased purification efficiency. Cleaning or replacing your air purifier filter is a simple task that can significantly improve your indoor air quality. In many cases, a quick cleaning can restore your purifier’s performance, saving you money on replacements.
This comprehensive guide will walk you through everything you need to know about cleaning your air purifier filter, from identifying your filter type to step-by-step cleaning instructions, preventative maintenance, and knowing when it’s time to replace the filter altogether. By the end of this article, you’ll be equipped to keep your air purifier running optimally and breathing easier.
Understanding Your Air Purifier Filter
Before diving into cleaning, it’s crucial to understand the different types of filters commonly found in air purifiers. Each type requires a slightly different approach.
Common Filter Types
- Pre-Filter: These are typically washable and designed to capture large particles like dust, hair, and pet dander. They protect the more sensitive filters downstream.
- HEPA Filter (High-Efficiency Particulate Air): HEPA filters capture 99.97% of particles 0.3 microns in size, including pollen, mold spores, and bacteria. These are generally not washable.
- Activated Carbon Filter: These filters absorb odors, gases, and volatile organic compounds (VOCs). They have a limited lifespan and are usually not washable.
- UV-C Light: While not a filter itself, many purifiers include a UV-C light to kill bacteria and viruses. This requires periodic cleaning of the bulb housing.
Cleaning Your Air Purifier Filter: Step-by-Step

This section focuses on cleaning washable filters, primarily pre-filters. Always consult your air purifier’s manual before attempting to clean any filter.
Method 1: Basic Pre-Filter Cleaning
This method is suitable for most washable pre-filters and should be done every 2-4 weeks, depending on usage and air quality.
Diagnosing the Issue
Visually inspect the pre-filter. If it’s visibly dusty or clogged, it’s time to clean it. Reduced airflow from the purifier is another indicator.
Fix Steps
- Power Off & Unplug: Always disconnect the air purifier from the power source before cleaning.
- Locate & Remove Filter: Consult your manual to find the pre-filter and how to remove it.
- Vacuuming: Use a brush attachment on your vacuum cleaner to gently remove loose dust and debris.
- Gentle Wash: Fill a sink or basin with lukewarm water and a mild detergent (dish soap is fine). Submerge the filter and gently agitate it. Avoid harsh chemicals or abrasive cleaners.
- Rinse Thoroughly: Rinse the filter under clean, running water until all soap residue is removed.
- Air Dry: Allow the filter to air dry completely before reinstalling it. Do not use a hairdryer or place it in direct sunlight, as this can damage the filter.
Testing
Once dry, reinstall the filter and turn on the air purifier. Check for improved airflow and normal operation.
Method 2: Deep Cleaning a Pre-Filter
For heavily soiled pre-filters, a deeper clean may be necessary.
Diagnosing the Issue
Significant buildup of grime, mold, or stubborn odors.
Fix Steps
- Follow steps 1 & 2 from Method 1.
- Soak: Soak the filter in a solution of lukewarm water and baking soda (1 tablespoon per quart of water) for 30 minutes. This helps loosen stubborn dirt and neutralize odors.
- Gentle Scrub: Use a soft-bristled brush (like a toothbrush) to gently scrub away any remaining debris.
- Follow steps 5 & 6 from Method 1 (Rinse Thoroughly & Air Dry).
Testing
Reinstall and test as in Method 1.
Method 3: Cleaning the Air Purifier Housing
Don’t forget the purifier itself! Dust can accumulate on the exterior and interior.
Diagnosing the Issue
Visible dust buildup on the housing, fan blades, or internal components.
Fix Steps
- Power Off & Unplug: Crucial for safety.
- Exterior Wipe Down: Wipe down the exterior with a damp cloth.
- Interior Vacuum: Use a brush attachment to carefully vacuum the interior, including the fan blades (if accessible). Be gentle to avoid damaging the fan.
Preventing Future Filter Issues & Maintenance

Regular maintenance is key to extending the life of your air purifier and its filters.
Recommended Cleaning Schedule
| Frequency | Task |
|---|---|
| Weekly | Wipe down exterior |
| 2-4 Weeks | Clean washable pre-filter (Method 1) |
| Monthly | Inspect and vacuum interior |
| 3-6 Months | Deep clean pre-filter (Method 2) |
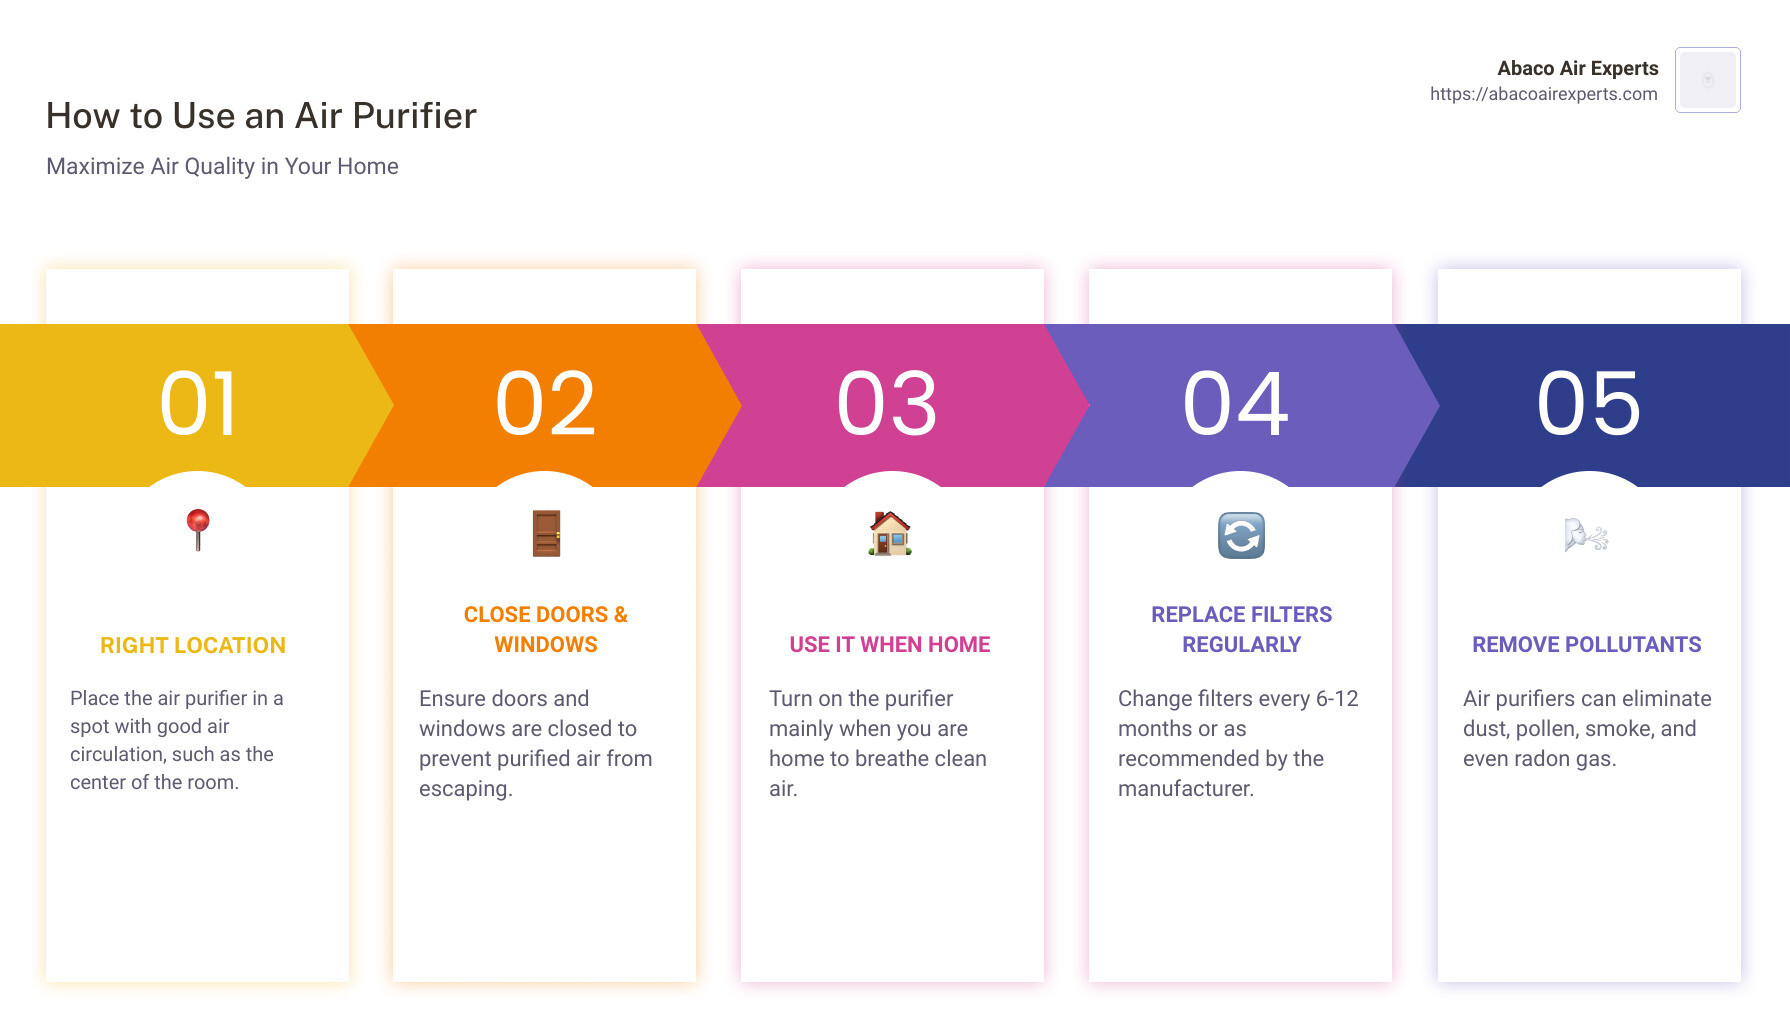
| 6-12 Months | Replace HEPA and Carbon filters (or as recommended by manufacturer) |
Important Considerations
- Air Quality: If you live in a dusty environment or have pets, you may need to clean or replace filters more frequently.
- Usage: Running the purifier 24/7 will require more frequent maintenance.
- Filter Lifespan: Always refer to the manufacturer’s recommendations for filter replacement.
Pro Tips for Air Purifier Maintenance
- Filter Reset Indicators: Many air purifiers have filter reset indicators. Don’t ignore them! They’re a good reminder to check and replace filters.
- Pre-Filter Extension: Consider purchasing extra pre-filters. This allows you to rotate them, ensuring you always have a clean one ready to go.
- Vacuum Strategically: When vacuuming the interior, avoid using excessive force near sensitive components.
- Airflow Optimization: Ensure the purifier isn’t blocked by furniture or curtains, allowing for optimal airflow.
- Monitor Air Quality: Use an air quality monitor to track the effectiveness of your purifier and determine when filter changes are needed.
- Avoid Water Damage: Ensure the filter is completely dry before reinstalling to prevent mold growth and damage to the purifier.
When to Call a Professional
While most air purifier maintenance can be done at home, there are times when professional help is needed.
- Persistent Odors: If you’ve cleaned the filters and the purifier still emits odors, there may be an internal issue.
- Unusual Noises: Strange noises could indicate a problem with the fan or motor.
- Electrical Issues: If you suspect an electrical problem, do not attempt to repair it yourself. Contact a qualified technician.
FAQ
Q: Can I wash a HEPA filter?
A: Generally, no. HEPA filters are designed to be replaced, not washed. Washing them can damage the delicate fibers and reduce their effectiveness.
Q: How often should I replace the HEPA filter?
A: Typically, every 6-12 months, but this depends on usage and air quality.
Q: What does an activated carbon filter do?
A: Activated carbon filters absorb odors, gases, and VOCs, improving air quality by removing unwanted smells and harmful chemicals.
Q: Is it okay to use bleach to clean the pre-filter?
A: No. Bleach and other harsh chemicals can damage the filter and release harmful fumes.
Alternative Solutions
If your air purifier is old or has a particularly complex filter system, consider upgrading to a newer model with more user-friendly filter replacement procedures. Alternatively, some air purifier brands offer filter subscription services, ensuring you always have fresh filters on hand.
| Solution | Pros | Cons | Best For |
|---|---|---|---|
| New Air Purifier | Improved technology, easier maintenance | Higher upfront cost | Those wanting the latest features and convenience |
| Filter Subscription | Convenient, ensures timely replacement | Ongoing cost | Those who want a hassle-free solution |
Keep Your Air Purifier Running Smoothly
By following these steps, you can keep your air purifier running efficiently, providing you with cleaner, healthier air. Remember to regularly inspect and clean your filters, and replace them when necessary. A well-maintained air purifier is a valuable investment in your health and well-being.
Did you find this guide helpful? Share your experiences and tips for air purifier maintenance in the comments below!


