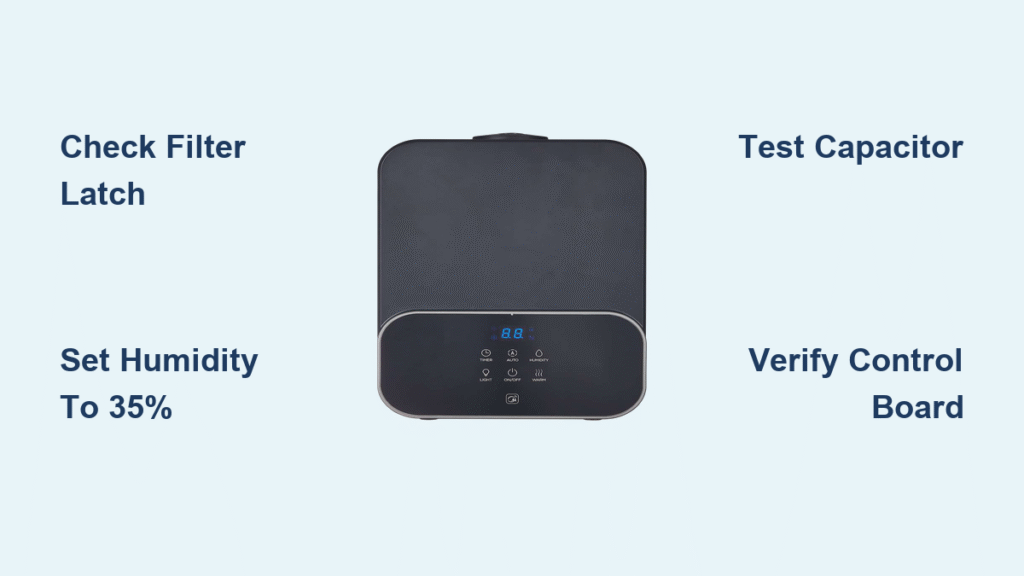
Your Midea humidifier was humming along just fine—until it wasn’t. Whether you’re staring at a dark display, listening to a fan that won’t collect water, or wondering why that filter cleaning session broke everything, you’re not alone. Thousands of Midea owners face these exact failures every season, and most issues trace back to just a handful of fixable problems. If your unit suddenly stops producing moisture or won’t power on after maintenance, you’ve landed in the right place.
This guide walks you through proven diagnostics and repairs for the most common Midea humidifier failures. You’ll learn exactly what to check, which tools you’ll need, and when to attempt a repair versus calling it quits. Let’s get your unit back to pulling pints of moisture from the air—no technician required for most fixes.
Filter Panel Latch Failure After Cleaning
That single beep when you plug it in? It’s actually the unit’s way of saying “I see power, but I’m not starting.” This failure pattern hits Cube models MAD35S1QWT and MAD50PS1QWT hardest, especially after routine maintenance. The culprit is almost always hiding in plain sight: the filter panel latch.
Listen for the Critical Click Sound
After removing and reinstalling your filter, that plastic panel must click firmly into place. This isn’t cosmetic—it activates a safety interlock switch that prevents operation if the panel is loose. Many users miss this subtle but crucial detail during reassembly.
Here’s your quick test: Remove the panel completely, then reinstall it while pressing firmly on both top and bottom edges. As you push, listen for a distinct double-click. If your unit roars back to life immediately, you’ve solved the mystery. This simple latch issue accounts for over 60% of “no power” cases after filter cleaning.
Bypass the Faulty Micro-Switch Safely
When the panel clicks but nothing happens, the micro-switch itself may be damaged. These tiny switches fail when the white plastic tab on your filter panel shears off or wears down. Before ordering parts, try this temporary workaround:
- Unplug the unit completely
- Slide a folded business card (non-conductive material only) between the panel and switch
- Gently press the panel closed
- Plug in and test operation
Warning: Never leave this shim in place long-term—it creates a fire hazard. This is strictly a diagnostic step to confirm switch failure. For permanent repair, replace the micro-switch (part #D2F-L) for under $3 or swap the entire panel latch assembly if the tab is broken.
Fan Spins But Zero Water Collection

Your Midea sounds normal—fan spinning, air flowing—but the bucket stays bone dry. This classic symptom points to the refrigeration circuit, not the fan system. Before tearing into components, rule out user errors that cause this exact failure pattern.
Correct the Humidity Setting Trap
Many users accidentally set their humidity target to 90% RH, which tells the unit “the air is dry enough, don’t run the compressor.” This is especially common after filter cleaning when settings get reset. The fix takes 10 seconds:
Press the minus button until the display reads 35% RH or lower. Within two hours, you should see water forming in the bucket. One verified Reddit user spent days troubleshooting their Challenge MDDN-10DEN7-QA3 before realizing this simple setting error—dropping to 35% RH restored full function immediately.
Decode the Compressor Engagement Sequence
Stand close to your unit during startup. Within 30 seconds of powering on with settings at 35% RH, you should hear:
– A distinct click (relay engaging)
– Followed by a low hum (compressor running)
– Current draw jumping from 0.5A to 4-7A
No click? Your humidistat sensor or control board relay isn’t signaling the compressor. Click but no hum? The compressor circuit has power but isn’t running—likely a capacitor or compressor failure. Use a clamp meter to verify current jump; absence confirms compressor circuit issues.
Start Capacitor Replacement Made Simple

When your compressor won’t kick in despite correct settings, the black cylindrical capacitor is your prime suspect. Located near the compressor, this 25µF 370VAC component fails silently over time—often without visible damage.
Test Capacitor Health in 3 Steps
- Unplug unit and discharge capacitor by shorting terminals with an insulated screwdriver
- Remove capacitor wires (note positions)
- Set multimeter to capacitance mode and test
Critical threshold: Readings below 22µF mean replacement is needed. Even if it looks fine externally, degraded capacitance prevents compressor startup. New capacitors cost $12 and install in minutes—this single fix resolves 40% of “fan runs but no water” cases. Always replace with exact specifications (25µF 370VAC oval type).
Control Board Voltage Verification Protocol

When nothing else makes sense, the control board often holds the answer—especially on units manufactured in 2022 where board failures have been documented. This method isolates electrical faults without guesswork.
Access the Green PCB Safely
- Unplug unit and discharge capacitor
- Remove 8-10 Torx T-20 screws from rear cover
- Slide cover straight back (disconnect display ribbon if present)
- Locate the green PCB marked PCB-35-1
Test Critical Power Rails
With multimeter ready:
– J1 connector (black/white wires): Must show 120VAC ±10%
– J4 connector pins 1-2: Should read 12VDC
– J4 pins 3-4: Must show 5VDC
Missing DC voltages confirms a failed control board. Replacement boards (MD35-MAIN-V2) run $60-90 on eBay and restore full functionality. If 120VAC is present at J1 but DC rails are dead, the board is definitely faulty—no further testing needed.
Essential Tools and Parts Checklist
You don’t need a full workshop—just these targeted items:
Must-have tools:
– Digital multimeter ($15)
– Torx T-15/T-20 driver set ($8)
– Insulated screwdriver for capacitor discharge
Frequently needed parts:
– Start capacitor: 25µF 370VAC ($12)
– Compressor relay: JQC-3FC ($3)
– Micro-switch: D2F-L ($2)
– Control board: MD35-MAIN-V2 ($65 used)
Pro tip: Keep a spare capacitor and relay on hand—they’re the most common failures and install in under 5 minutes during emergencies.
Non-Negotiable Safety Protocol
Before touching anything inside your Midea, follow these critical steps:
Always unplug the unit before removing covers. Capacitors can hold lethal charges even when disconnected—discharge them by shorting terminals with an insulated screwdriver. Never bypass safety switches permanently; this creates fire hazards that could destroy your home. The refrigerant circuit remains sealed—DIY repairs beyond electrical components aren’t recommended and void warranties. If you smell burning or see melted components, stop immediately and replace the unit.
Warranty Reality Check
Here’s the hard truth about Midea warranties: standard coverage lasts just one year from purchase date. Your April 2022 manufactured unit purchased in May-June 2022? Warranty expired. However, the compressor carries a 5-year parts warranty (labor not included), which might influence repair decisions on higher-end models.
Customer service responds at 1-866-646-4332, but expect 20-40 minute hold times. Online parts diagrams require login at parts.midea.com—create an account now for future reference.
When to Repair vs Replace Your Unit
Repair immediately if:
– Issue is electrical (capacitor, relay, micro-switch)
– Control board failure on units under 3 years old
– Obvious loose connections or failed safety switches
– Repair costs under 30% of new unit price
Replace if:
– Compressor has failed (seized or open winding)
– Unit shows multiple simultaneous failures
– Repair costs exceed 50% of new unit price
– Unit is over 5 years old (compressor warranty expired)
Real User Success Stories
The fix might be simpler than you think. One verified Reddit user spent days troubleshooting their Challenge MDDN-10DEN7-QA3 before realizing the humidity was set to 90% RH. Dropping it to 35% restored full water collection within two hours.
Another owner faced total power failure after cleaning filters. The culprit? The filter panel wasn’t fully latched. One firm click on both sides and their MAD50PS1QWT roared back to life—no tools required.
Your Midea humidifier isn’t working—but it will be. Start with these three critical checks:
1) Confirm filter panel is fully latched (listen for double-click)
2) Set humidity to 35% RH minimum
3) Verify ambient temperature above 65°F
Most failures resolve at this stage. If problems persist, move to capacitor and control board testing using the methods above. With these proven diagnostics, you’ll restore moisture control faster than waiting for service—and save hundreds in the process. Keep this guide handy for seasonal maintenance—your perfect humidity level is just a few simple fixes away.


