
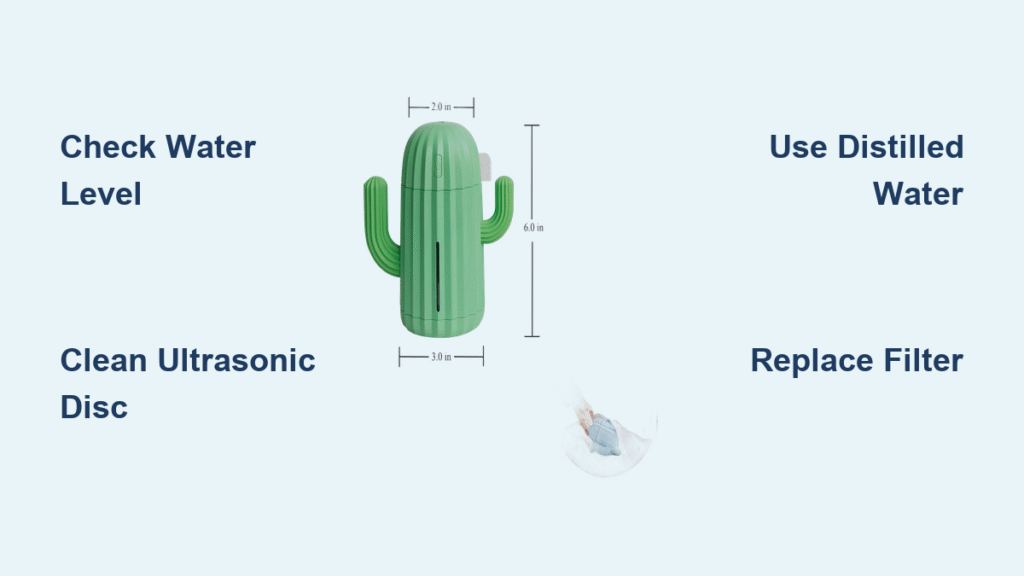
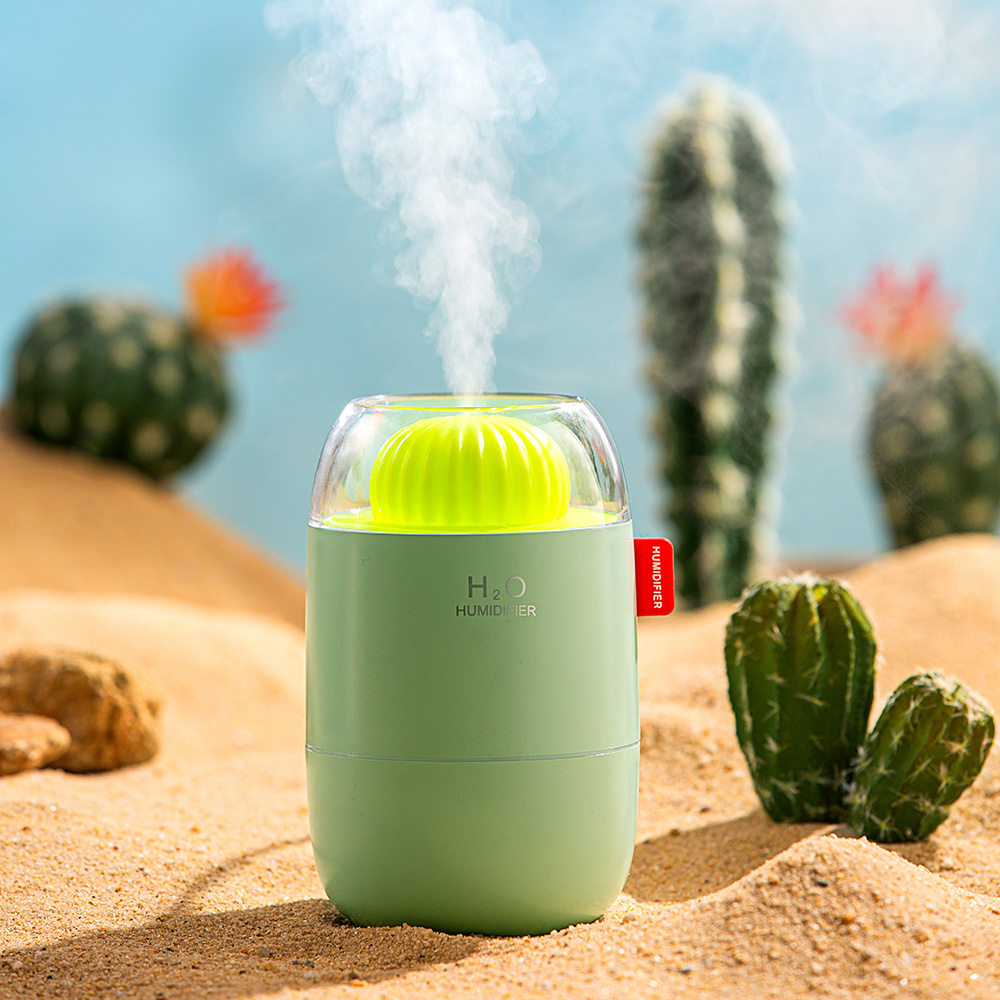
Your cactus humidifier suddenly stopped misting, leaving your air dry and your plants wilting. That frustrating silence where soothing moisture should be? You’re not alone—mineral buildup, sensor errors, and clogged components cause 85% of cactus humidifier not working failures. Before replacing your unit, this guide reveals proven fixes that restore operation in under 30 minutes. You’ll diagnose leaks, eliminate odors, and prevent future breakdowns using simple household tools and targeted techniques.
No Mist Production: Quick Fixes
Empty Tank or Poor Seating
Your cactus humidifier not working often starts with basic oversights. Always verify water exceeds the minimum fill line—most models require 200ml to activate the float switch. Even a 2mm gap between tank and base blocks water flow. Remove the tank completely and inspect for cracks or warping.
Critical action: Press the tank down firmly until you hear a distinct click, confirming proper valve alignment. If pooling water appears around the base, misseating is likely the culprit.
Reset Humidistat Settings
An incorrectly set humidistat tricks your unit into inactivity. Use a separate digital hygrometer to check room humidity—if your dial reads below this number, the humidifier won’t activate. Most homes need 40-45% humidity for comfort.
Pro tip: Set the dial 5-10% above your current reading. Wait 10 minutes for the system to respond. If no mist appears, proceed to deeper diagnostics.
Clean Mineral-Caked Ultrasonic Disc
Hard water minerals smother the ultrasonic disc—the quarter-sized ceramic component vibrating 1.7 million times per second. When coated, it can’t atomize water. Locate this silver disc inside the base reservoir.
Cleaning steps:
– Unplug and empty all water
– Soak a cotton swab in white vinegar
– Scrub the disc for 15 seconds
– Rinse thoroughly and air-dry 30 minutes
– Test with distilled water to prevent immediate re-scaling
White Dust Everywhere? Here’s Why
Switch to Distilled Water Immediately
That chalky film on furniture is mineral dust from tap water. Ultrasonic cactus humidifiers blast calcium and magnesium into the air as micro-particles. Hard water (>7 grains/gallon) guarantees this issue. Distilled water eliminates the problem instantly.
Cost reality: One $1 gallon jug prevents hours of dusting electronics. Tap water savings vanish when you factor in furniture damage.
Replace Exhausted Demineralization Cartridges
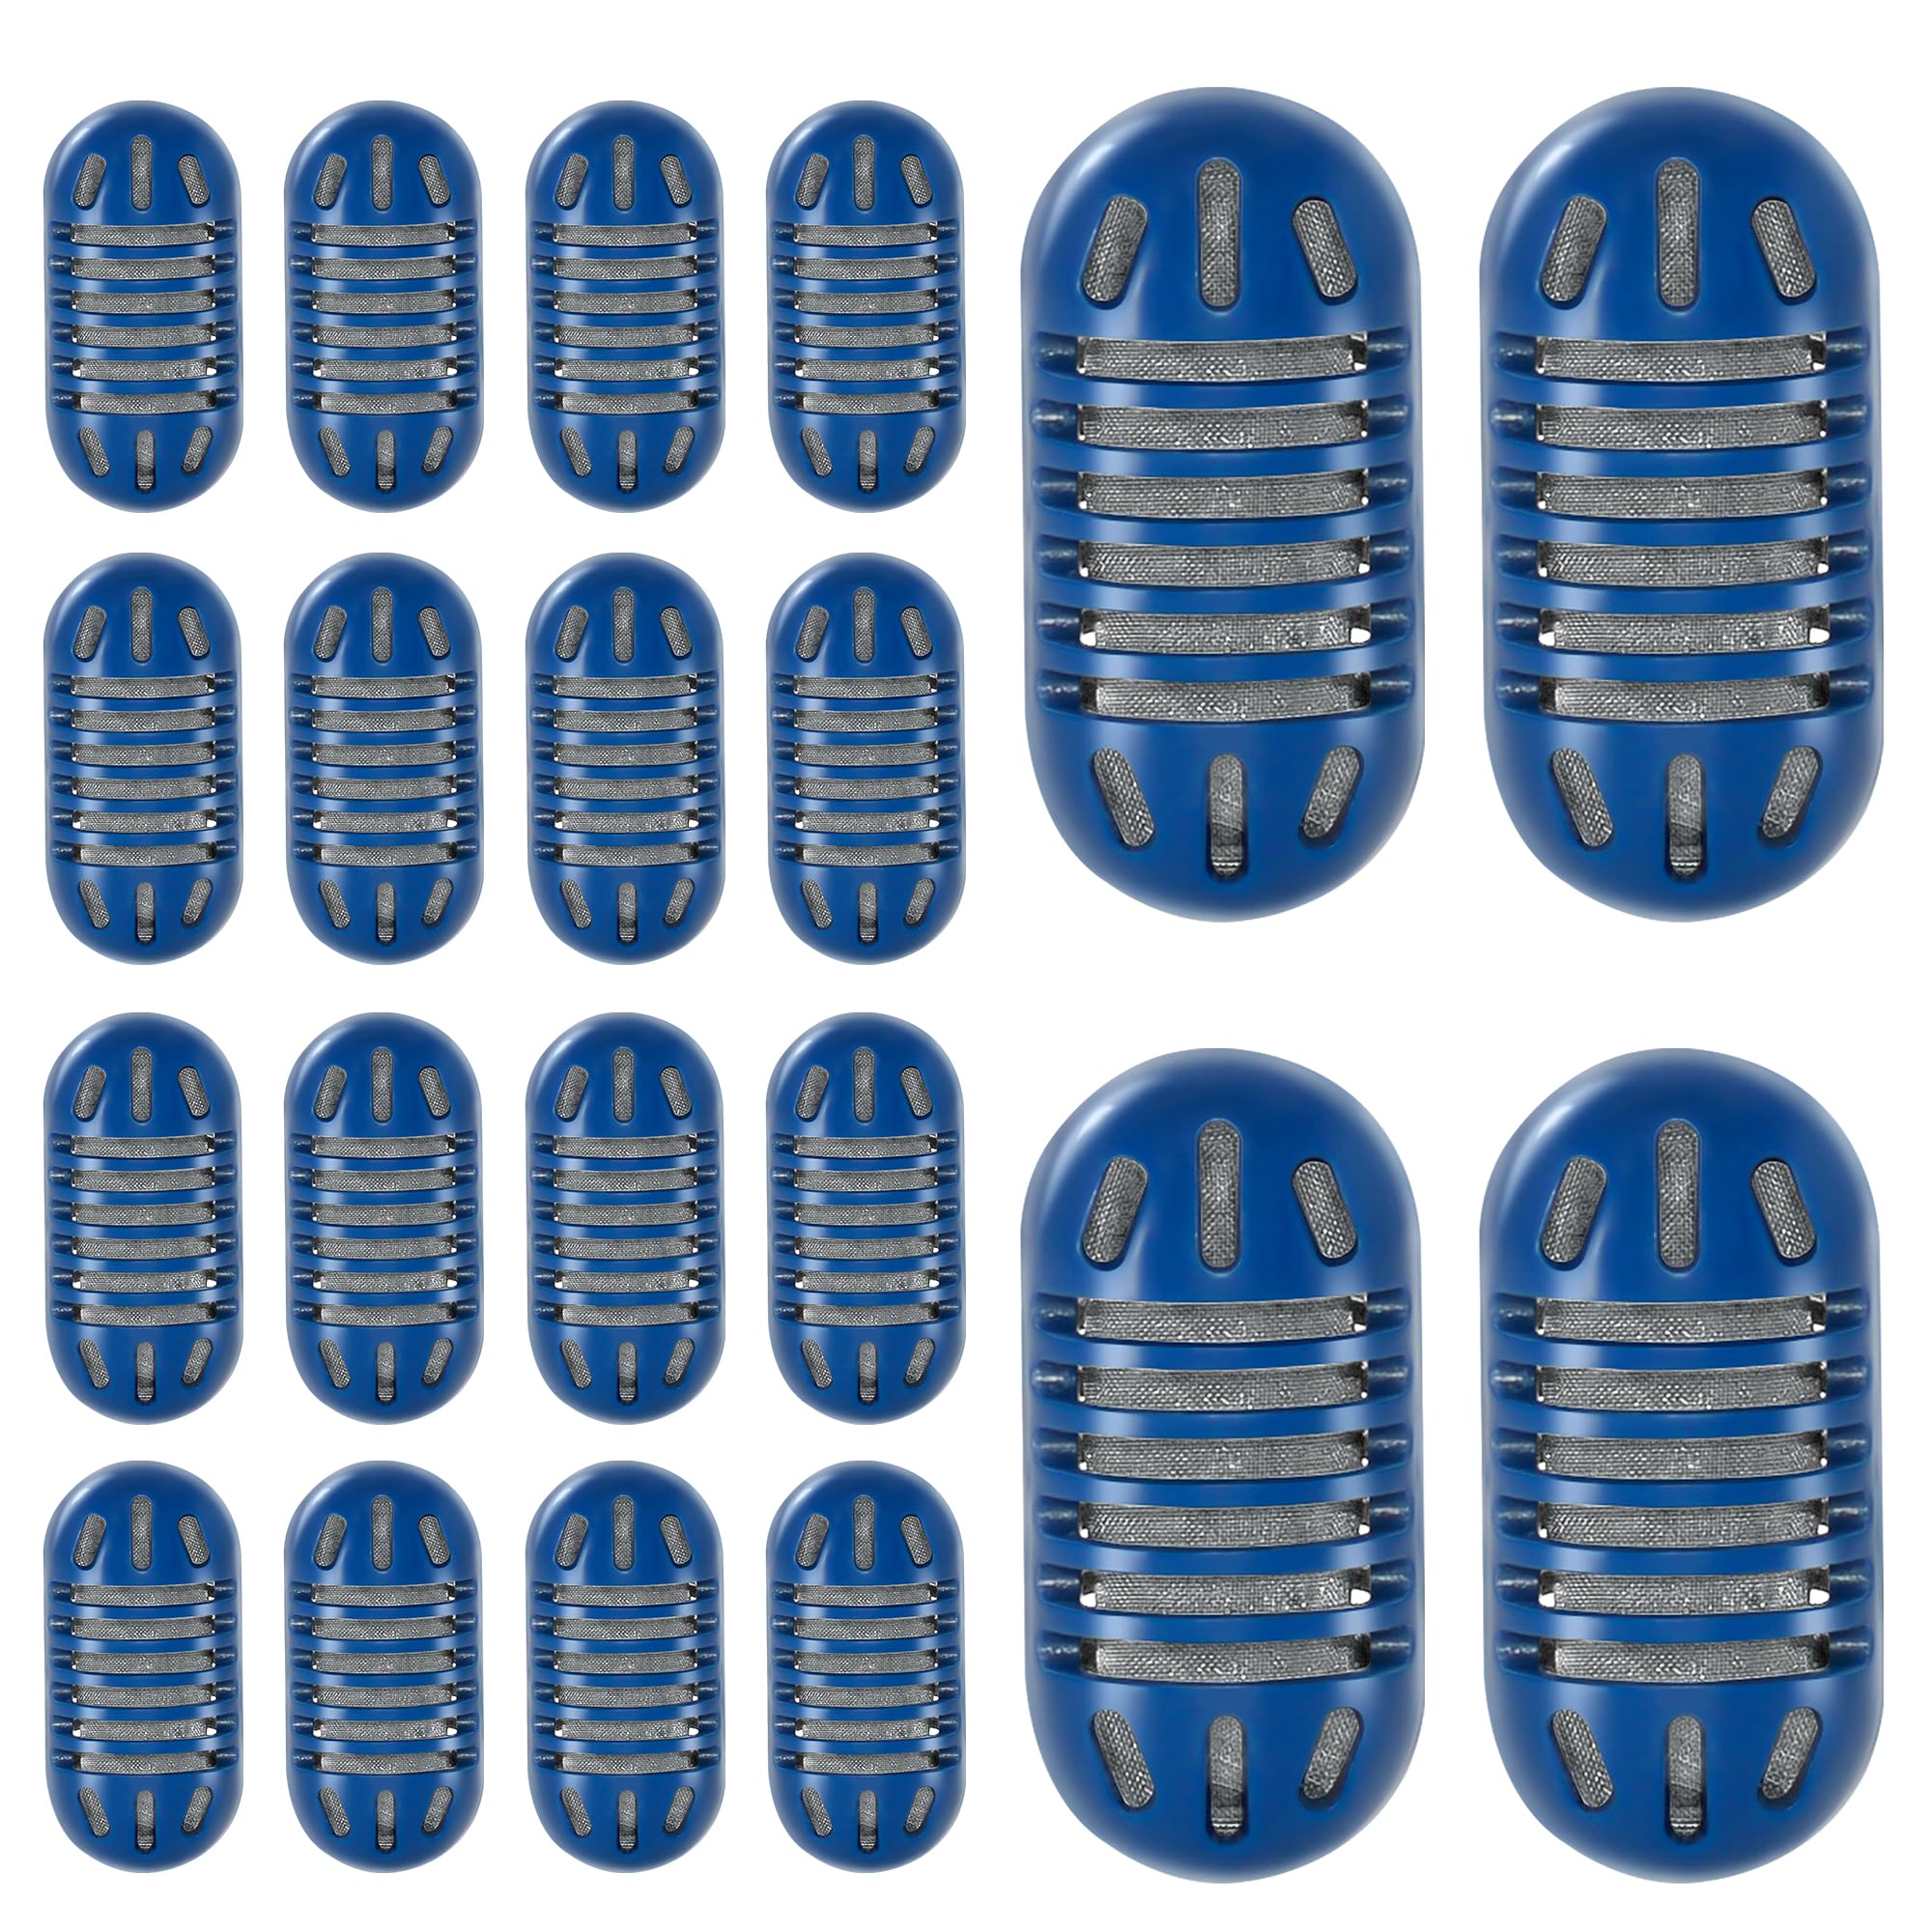
If your model has a white plastic cartridge near the inlet, shake it. Silence means depleted resin beads—critical for filtering minerals. These last only 30-45 days with daily use.
Visual check: Hold the cartridge to light. Dark patches or solid color indicate blockage. Replacement costs $8-15 and takes 30 seconds.
Stop Weird Noises Fast
Gurgling Sounds Mean Blocked Water Flow
Gurgling signals restricted water transfer from tank to base. The rubber inlet valve—visible when removing the tank—gets clogged with limescale.
Fix in 90 seconds:
1. Dip a cotton swab in vinegar
2. Clean valve opening and rubber seal
3. Use a straightened paperclip to dislodge debris
4. Rinse and reassemble
Never force objects into the valve—this causes permanent damage.
Grinding Fan? Clean the Blades
Rattling or grinding points to fan obstruction. Unplug the unit and peer through the mist outlet. Dust bunnies or pet hair jam the blades.
Warning: Never spray liquids directly on the motor. Use compressed air or a dry toothbrush. If noise persists after cleaning, the motor bearings are failing—consider replacement.
Eliminate Musty Odors Permanently
Bacterial Biofilm Removal
Swampy smells mean bacteria colonized dark, moist reservoirs. Standard rinsing won’t destroy the slimy biofilm layer.
Deep cleaning protocol:
1. Disassemble all parts
2. Soak in 1:1 vinegar solution for 30 minutes (no longer—vinegar degrades rubber seals)
3. Scrub crevices with a soft brush
4. Rinse until vinegar odor vanishes
5. Air-dry 2+ hours before reuse
Mold in Hidden Crevices
Mold hides in tank cap threads and base corners. Shine a flashlight to spot black specks. Affected areas need aggressive treatment.
Prevention hack: Add 2-3 drops of tea tree oil to fresh water. Its antimicrobial properties prevent regrowth for 3-4 days without harming plants.
Water Leaks: Simple Solutions
Cracked Tank Repair
Hairline cracks cause mysterious puddles. Clean the fracture with rubbing alcohol, then apply food-grade silicone sealant (aquarium-safe only). Cure 24 hours before refilling.
Critical: Regular silicone releases toxic fumes when wet. This $5 repair saves a $35 tank replacement.
Replace Worn Gaskets
Leakage around the tank base means gaskets lost elasticity. Measure the old seal’s inner diameter—cactus models use 12mm, 16mm, or 20mm sizes.
Installation trick: Coat the new gasket with petroleum jelly for smooth insertion. This creates an instant watertight seal.
Sensor Calibration Made Easy
Fix Incorrect Humidity Readings
When your unit shows 40% in 60% humidity air, calibration is off. Access diagnostic mode by holding power and mist buttons for 5 seconds.
Calibration steps:
1. Compare readings with a separate hygrometer
2. Adjust offset using +/- buttons (typically ±5-10%)
3. Save by pressing power
Deviation >5% requires this fix—common in units over 1 year old.
Test Water Level Sensor
A stuck float switch reads “empty” even with water present. Gently lift the plastic float in the base reservoir—it should move freely and click.
Quick fix: Clean the float stem with a vinegar-dipped swab. Mineral deposits cause 70% of float malfunctions.
Filter Replacement Guide
Know When to Replace
Hold your filter against light. Dark spots or sliminess means immediate replacement. Filters expire every 30-45 days—ignoring this causes clogs and odors.
Money-saving tip: Buy 6-packs online ($25) instead of store singles ($15). Your cactus humidifier not working often traces to overdue filters.
Proper Installation Technique
Dry filters restrict water flow. Soak new filters 5 minutes before installing. Insert with airflow arrows pointing toward the mist outlet (marked on the frame).
Reset reminder: Hold the filter reset button 3+ seconds until the indicator turns green. Skipping this keeps the unit in “fault mode.”
Preventive Maintenance Schedule
Daily During Use
- Water refresh: Empty/refill tank every 24 hours
- Quick wipe: Remove exterior moisture to prevent mold
- Visual check: Listen for new noises or leaks
Weekly Deep Clean
- Disassemble all components
- Run 1:1 vinegar solution for 30 minutes
- Ensure complete drying before reassembly
Monthly Inspection
- Evaluate filter blockage
- Clean fan blades with compressed air
- Check power cord for wear
Repair vs. Replace Decision
When Repair Makes Sense
- Unit under 3 years old
- Problem: mineral buildup or filter issues
- Repair cost under $30 (e.g., new filter: $12)
- Parts readily available
When to Buy New
- Cracked tank or failed ultrasonic disc
- Unit exceeds 3-year lifespan
- Repair costs exceed $40 (e.g., heating element: $45)
- New units start at $25—often cheaper than complex repairs
Quick math: If repair parts cost 50%+ of a new $50 humidifier, replace it.
Emergency Troubleshooting Checklist
Immediate Steps When Unit Dies
- ✅ Test outlet with phone charger
- ✅ Confirm water above minimum line
- ✅ Reseat tank until clicking
- ✅ Clean ultrasonic disc with vinegar
- ✅ Replace filter if over 30 days old
- ✅ Unplug 2+ minutes to reset
Quick Performance Boost
- Place unit 3+ feet from walls
- Use distilled water exclusively
- Run 8 hours daily with 4-hour breaks
- Maintain 40-45% humidity
Final tip: Mark your calendar for monthly filter checks and quarterly vinegar cleans. This 5-minute habit prevents 90% of cactus humidifier not working scenarios—and keeps your air, plants, and sinuses thriving. Your unit will deliver reliable moisture for years, not just months.


