
Your Holmes humidifier sits silent when it should be creating that soothing mist, leaving your home dry and uncomfortable. Whether you’re battling winter dryness or seasonal allergies, a malfunctioning humidifier disrupts your indoor air quality and comfort. This happens to thousands of homeowners each season when their trusted Holmes unit suddenly stops working. Don’t panic—most Holmes humidifier not working issues can be resolved with systematic troubleshooting. In this guide, you’ll learn exactly how to diagnose and fix common problems, from simple power issues to complex mechanical failures, getting your unit back to optimal performance.
Quick Power Diagnostics
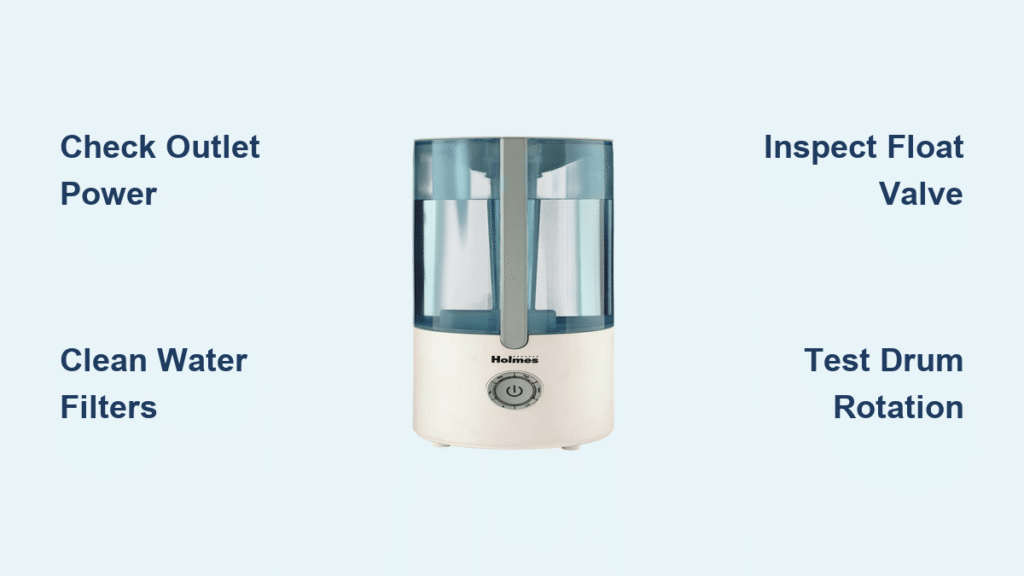
Start with the most common reasons your Holmes humidifier not working before moving to complex repairs. Many “dead” units simply need attention to their basic power supply.
Test Your Outlet First
Plug a working lamp or phone charger into the same outlet to verify power availability. If nothing operates in that outlet, check your home’s electrical panel for tripped breakers. Reset any suspect breakers by flipping them fully OFF, then back ON—partial resets often fail to restore power. Some homes have dedicated humidifier circuits that trip independently from general room circuits, so check all potential breakers.
Inspect the Power Cord
Examine the entire cord length for cuts, kinks, or exposed wires that interrupt power flow. Pay special attention where the cord enters the humidifier housing—this stress point commonly develops internal breaks that aren’t visible externally. Gently flex the cord while the unit is plugged in (but not operating) to detect intermittent connections that cause sporadic failures.
Check Internal Connections
After unplugging the unit, remove the outer housing per your model’s manual. Look for critical electrical failure points:
– Burnt or discolored wire insulation near connection points
– Wire nuts that have loosened over time from vibration
– Corrosion on electrical contacts from moisture exposure
– Broken solder joints on the control board
Solve Water Supply Problems

When your Holmes humidifier powers on but produces no mist, water supply issues are typically to blame. These problems account for nearly 60% of “not working” cases.
Clean Water Inlet Filters
Remove the small mesh filter where water enters your unit—this often-clogged component restricts flow to a trickle. Rinse under warm water while gently brushing with an old toothbrush to dislodge mineral deposits. Replace filters that remain clogged after thorough cleaning, as they’ll continue restricting water flow. Most Holmes models use standardized filters available at hardware stores.
Flush Mineral Buildup
Disconnect water tubes and soak them in a 50/50 white vinegar solution for 30 minutes. This dissolves calcium deposits that gradually restrict flow over time. For stubborn buildup, use flexible pipe cleaners designed for humidifiers. Replace tubes showing permanent scaling or cracks, as they’ll continue causing intermittent failures.
Fix Float Valve Issues
Stuck float valves prevent proper water regulation, causing both no-water and overflow problems. Remove the float assembly and clean mineral deposits from valve seats using an old toothbrush and vinegar solution. Check float arm movement—it should pivot freely with no resistance. Replace waterlogged floats that sink instead of rising with water level changes.
Fix Drum Rotation Failures
Drum-style Holmes humidifiers rely on smooth rotation through water trays. When the drum stops spinning, mist production halts immediately.
Remove Mineral-Caked Drums
Take out the drum and soak in vinegar solution for 30 minutes. Scrub gently with a soft brush, focusing on areas with white crusty buildup that creates excessive friction. Rinse thoroughly and dry completely before reinstalling—residual moisture can accelerate mineral re-deposition. For severe buildup, repeat the process until the drum surface feels smooth.
Test Drive Motors
With power disconnected, use a multimeter to check motor continuity between terminals. No continuity indicates internal winding failure requiring replacement. Match new motors exactly: voltage, RPM, and mounting style must correspond to your model specifications. Listen for humming sounds during operation attempts—this indicates power reaching the motor but mechanical failure preventing rotation.
Replace Couplings
Inspect the rubber or plastic coupling between motor and drum drive for cracks, stripped centers, or complete separation. These inexpensive parts often fail before the motor itself, causing rotation issues. When replacing, ensure proper alignment between motor shaft and drum hub to prevent premature wear on the new coupling.
Stop Overflow Issues Fast
Overflowing humidifiers create water damage risks and potential mold growth in surrounding areas.
Reset Water Levels
Fill tanks only to the maximum line—overfilling causes immediate overflow as water expands during operation. Check that tanks seat completely with no gaps allowing water bypass. Some models require a slight twist to fully engage the tank, so consult your manual for proper installation technique.
Clear Drain Lines
Disconnect drain hoses and flush both directions with warm water. Use flexible brushes sized for your hose diameter to remove stubborn mineral deposits. Replace hoses showing permanent deformation from mineral buildup, as they’ll continue causing drainage issues even after cleaning.
Replace Faulty Floats
Floats that stick open allow continuous water flow, creating overflow conditions. Replace complete assemblies when individual components show wear, as partial repairs often fail quickly. Ensure new floats match your model’s specifications—using incorrect floats causes improper water level regulation.
Model-Specific Repair Notes

Different Holmes series share components but require specific attention during repairs.
HM-3400/3500 Series: These popular models use standardized motors and floats across the series, making parts readily available. The most common failure point is the water inlet valve, which often requires replacement after 2-3 seasons of use.
HM-3600 Series: Features updated control boards that may need professional programming after replacement. These models incorporate advanced sensor systems that require calibration after certain repairs.
HM-850 Series: Compact design with specific motor requirements—using incorrect motors causes premature failure. This series commonly experiences float valve issues due to mineral buildup in the valve mechanism.
HM2408/2409: Similar construction to other models with minor wiring variations. These units often develop intermittent power issues from loose connections at the control board.
Prevent Future Failures
Weekly Maintenance
Perform quick visual water level checks to catch problems early. Listen for unusual operation sounds that indicate developing issues. Wipe exterior surfaces to prevent dust accumulation that can affect sensors.
Monthly Deep Clean
Flush the entire water system with vinegar solution to prevent mineral buildup. Soak drum or evaporative elements in vinegar solution for 30 minutes. Replace or clean filters according to manufacturer specifications. Tighten electrical connections that may have loosened from vibration.
Seasonal Shutdown
Perform complete cleaning and drying before storing your unit for the off-season. Store tanks with lids removed to ensure complete drying and prevent mold growth. Cover the unit during storage to prevent dust accumulation that affects sensors and moving parts.
Safety First
Electrical Precautions
Always unplug before maintenance—never work on live circuits. Use properly rated test equipment when checking components. Never operate units with damaged cords or when electrical components show signs of overheating, as this creates fire hazards.
Water Safety
Ensure proper drainage connections to prevent water damage during operation. Monitor for any signs of leaks during the first 30 minutes of operation after repairs. Maintain at least two inches of clearance from walls and furniture to prevent moisture damage.
Chemical Use
Provide adequate ventilation when using vinegar solutions for cleaning. Rinse all components thoroughly after cleaning to prevent chemical residue from entering your air supply. Follow dilution recommendations exactly—undiluted vinegar can damage rubber and plastic components.
Ready to Fix Your Holmes? Begin your troubleshooting with power diagnostics, then systematically work through water supply and mechanical issues. Most Holmes humidifier not working problems stem from simple causes that you can address in under 30 minutes. When replacing parts, always match specifications exactly to your model—using incompatible components creates new problems. For persistent electrical issues or control board failures, professional service ensures safe, lasting repairs. Regular monthly maintenance prevents 80% of common failures, keeping your humidifier operating reliably throughout the season. Don’t let a non-working humidifier compromise your indoor air quality—apply these fixes and breathe easier tonight.


