

Are you noticing your Labcharge air purifier isn’t performing as well as it used to? Reduced airflow, decreased effectiveness, or even unpleasant odors can all indicate it’s time for a cleaning. Luckily, maintaining your Labcharge doesn’t have to be complicated. A quick filter replacement or cleaning can often restore its performance.
This comprehensive guide will walk you through everything you need to know to keep your Labcharge air purifier running at its best. We’ll cover the importance of regular cleaning, step-by-step instructions for cleaning both the pre-filter and HEPA filter, troubleshooting common issues, and tips to maximize your purifier’s lifespan. By the end of this article, you’ll be equipped to tackle any cleaning challenge and breathe easier knowing your air is being effectively purified.
Understanding Your Labcharge Air Purifier
Before diving into cleaning, it’s helpful to understand the components of your Labcharge air purifier. Most models consist of:
- Outer Casing: The exterior shell of the purifier.
- Pre-Filter: Captures large particles like dust, hair, and pet dander.
- HEPA Filter: Removes smaller particles like pollen, mold spores, and smoke.
- Activated Carbon Filter (some models): Absorbs odors and gases.
- Fan: Circulates air through the filters.
- Control Panel: Allows you to adjust settings and monitor air quality.
Why Regular Cleaning is Important
Cleaning your Labcharge air purifier is crucial for maintaining its efficiency and extending its lifespan. Here’s why:
- Maintained Airflow: Accumulated dust and debris can clog the filters, reducing airflow and hindering the purifier’s ability to clean the air.
- Optimal Performance: Clean filters ensure the purifier operates at its designed efficiency, effectively removing pollutants.
- Extended Lifespan: Regular cleaning prevents strain on the fan and other components, prolonging the purifier’s life.
- Improved Air Quality: A clean purifier delivers cleaner, healthier air for you and your family.
- Odor Control: Accumulated odors can be trapped in the filters, reducing the purifier’s ability to neutralize smells.
How Often to Clean Your Labcharge Air Purifier
| Frequency | Task |
|---|---|
| Weekly | Inspect Pre-Filter |
| Monthly | Clean Pre-Filter |
| Every 3-6 Months | Replace HEPA Filter (depending on usage) |
| Every 6-12 Months | Replace Activated Carbon Filter (if applicable) |
Note: These are general recommendations. Adjust frequency based on your environment and usage.
Complete Cleaning Process
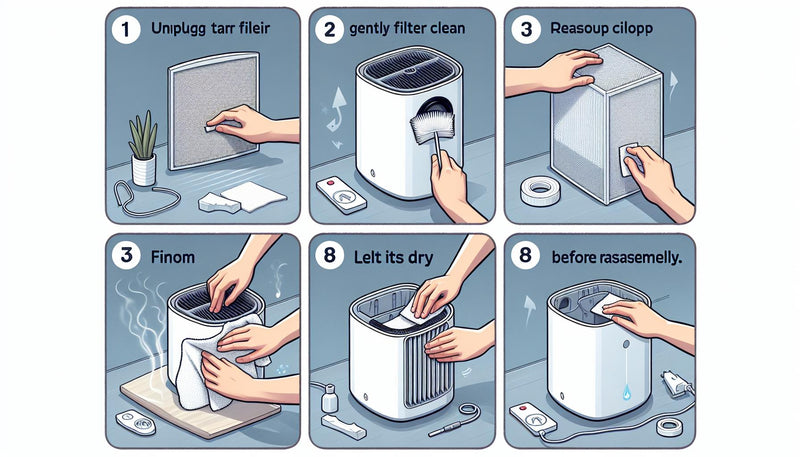
Step 1: Preparation & Safety
- Unplug the Purifier: Always disconnect the purifier from the power outlet before cleaning.
- Choose a Location: Select a well-ventilated area for cleaning. Outdoor spaces are ideal.
- Gather Supplies: You’ll need a vacuum cleaner with a brush attachment, a soft cloth, mild soap, and water.
Step 2: Cleaning the Pre-Filter
The pre-filter is the first line of defense against larger particles and requires the most frequent cleaning.
- Remove the Pre-Filter: Open the purifier according to the manufacturer’s instructions (refer to your user manual). The pre-filter is usually located behind a removable panel.
- Vacuum the Pre-Filter: Use the brush attachment of your vacuum cleaner to gently remove dust and debris from both sides of the pre-filter.
- Wash (if applicable): Some pre-filters are washable. If yours is, gently wash it with mild soap and lukewarm water. Do not use harsh chemicals or abrasive cleaners.
- Rinse & Dry: Thoroughly rinse the pre-filter with clean water and allow it to air dry completely before reinstalling. Ensure it’s completely dry to prevent mold growth.
- Reinstall: Place the clean, dry pre-filter back into its designated slot.
Step 3: Cleaning the HEPA Filter (and Activated Carbon Filter)
The HEPA filter captures much smaller particles and generally isn’t washable. The activated carbon filter, if present, also isn’t washable.
- Remove the HEPA & Carbon Filters: Carefully remove both filters from the purifier.
- Vacuum (Gently): Use the brush attachment of your vacuum cleaner to gently remove surface dust from the HEPA and carbon filters. Avoid applying excessive pressure, as this can damage the filter.
- Do Not Wash: Never wash the HEPA or activated carbon filters. Washing will damage the filter media and reduce its effectiveness.
- Replace When Necessary: HEPA filters need to be replaced every 3-6 months, depending on usage. Activated carbon filters typically last 6-12 months.
- Reinstall: Place the filters back into the purifier, ensuring they are properly seated.
Step 4: Cleaning the Outer Casing
- Wipe Down: Use a soft, damp cloth with mild soap to wipe down the outer casing of the purifier.
- Dry: Wipe with a clean, dry cloth.
- Avoid Liquids: Do not spray liquids directly onto the purifier.
Pro Tips for Labcharge Air Purifier Maintenance
- Check Filter Life Indicator: Many Labcharge models have a filter life indicator. Pay attention to this and replace filters when prompted.
- Air Quality Monitoring: Utilize any air quality sensors your purifier has to understand the air in your home and adjust cleaning schedules accordingly.
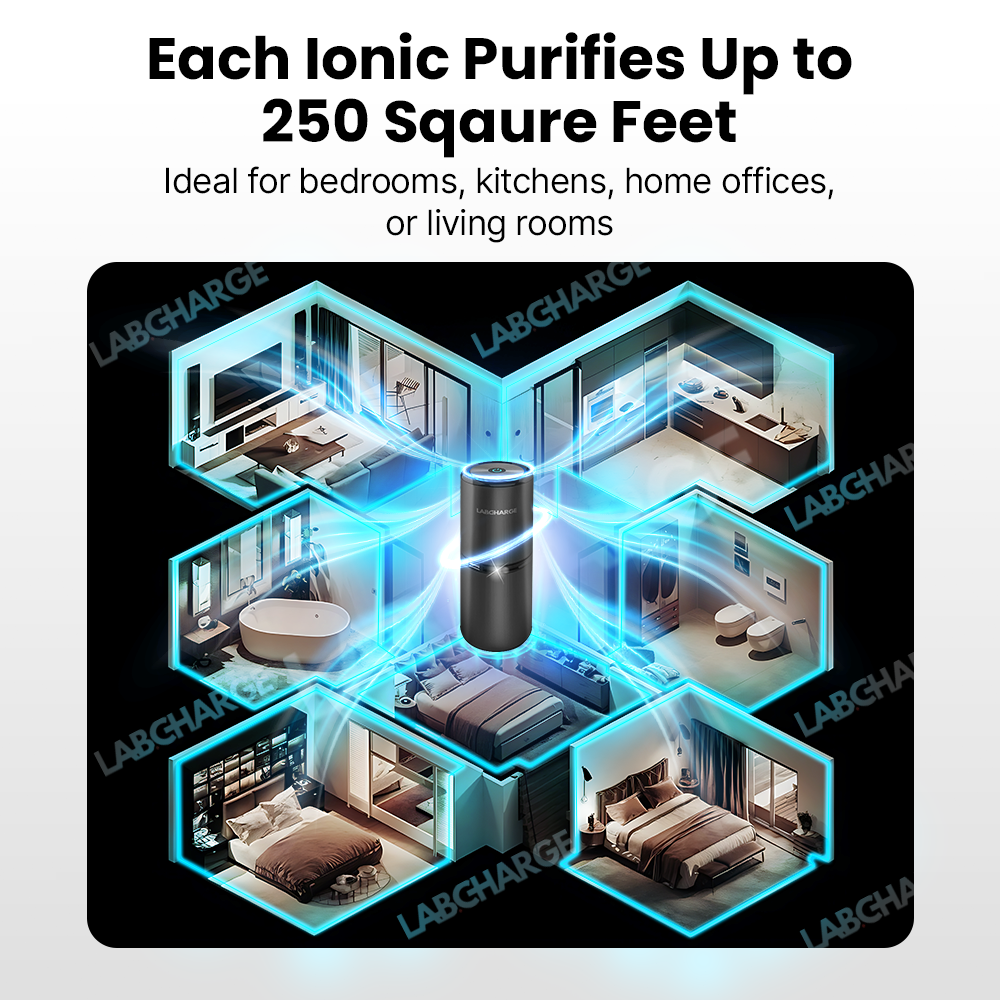
- Placement Matters: Place your purifier in a central location with good airflow, away from obstructions.
- Avoid Direct Sunlight: Prolonged exposure to direct sunlight can damage the purifier’s casing and filters.
- Regular Inspections: Visually inspect the filters weekly for excessive dust buildup.
- Use a Dust Cover: When not in use for extended periods, cover the purifier to protect it from dust.
When to Seek Professional Help
- Unusual Noises: If your purifier is making strange noises, it could indicate a mechanical problem.
- Burning Smell: A burning smell is a serious safety concern and requires immediate attention.
- Persistent Issues: If you’ve followed these cleaning steps and the purifier still isn’t working properly, it may require professional repair.
- Motor Failure: If the fan isn’t spinning, the motor may have failed.
FAQ
Q: Can I wash the HEPA filter?
A: No, washing the HEPA filter will damage the filter media and reduce its effectiveness. It must be replaced.
Q: How often should I replace the HEPA filter?
A: Generally, every 3-6 months, depending on usage and air quality.
Q: What is the purpose of the activated carbon filter?
A: The activated carbon filter absorbs odors, gases, and volatile organic compounds (VOCs).
Q: My purifier is still smelling bad after cleaning. What could be the problem?
A: The activated carbon filter may need to be replaced, or there may be a source of odor in the room that the purifier cannot address.
Q: Can I use a different type of vacuum cleaner to clean the filters?
A: Yes, but use the brush attachment to avoid damaging the filter media.
Get Your Labcharge Air Purifier Working Again
By following this guide, you’ve learned how to effectively clean and maintain your Labcharge air purifier, ensuring it continues to deliver clean, healthy air. Remember to:
- Clean the pre-filter monthly.
- Replace the HEPA filter every 3-6 months.
- Replace the activated carbon filter (if applicable) every 6-12 months.
Don’t let dust and debris compromise your air quality. Take these simple steps to keep your Labcharge running at its best!
Have you found this guide helpful? Share your experiences or questions in the comments below!


