
Waking up with a parched throat or water pooling in your mask? Your CPAP humidifier might be malfunctioning without obvious warning signs. Before you consider costly replacements or endure another uncomfortable night, understand that most “cpap humidifier not working” issues stem from simple oversights rather than hardware failures. Nearly 75% of humidifier problems can be resolved with basic troubleshooting steps you can complete in under 15 minutes.
This guide delivers precise diagnostic methods and immediate fixes for when your CPAP humidifier stops functioning correctly. Whether you’re using a ResMed Air10, S9, or other model, you’ll discover exactly what to check, test, and adjust to restore comfortable therapy tonight. Don’t waste another night with dryness or condensation issues—your solution is likely simpler than you think.
Confirm Your Humidifier Is Actually Malfunctioning
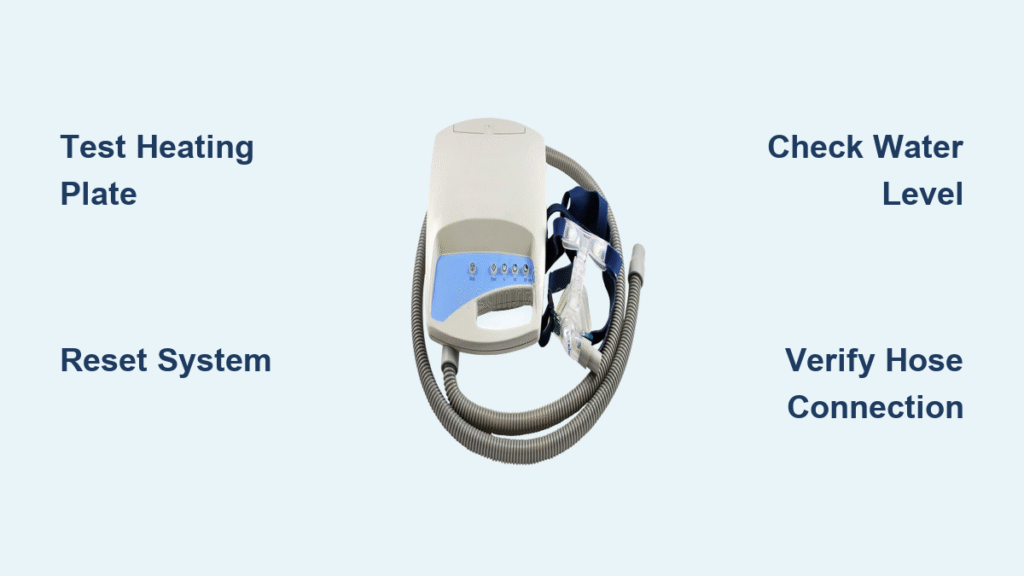
Test the Heating Plate Before Panicking
Before assuming your humidifier has failed, verify the heating element is working properly with this universal test:
- Remove the water chamber completely from your CPAP machine
- Switch to fixed humidity mode instead of auto or Climate Control
- Turn temperature to maximum using your device’s settings menu
- Activate warm-up mode if your model supports it
- Wait 10-15 minutes for the heating cycle to complete
- Hover your hand 1-2 inches above the plate (never touch directly)
- Feel for warmth radiating from the heating surface
No heat detected? Your system likely needs professional service. Warmth present? The issue relates to settings or environmental factors—continue troubleshooting.
Perform a Complete System Reset
When your heating plate test reveals no warmth, execute this full reset procedure:
- Power down your CPAP completely—hold the power button until the screen goes dark
- Unplug both ends of the power cable from device and wall outlet
- Disconnect the humidifier from the main CPAP unit
- Wait at least 30 seconds to allow electrical components to discharge
- Reconnect everything in reverse order—humidifier first, then power
- Repeat the heating plate test
This complete reset resolves approximately 40% of reported “cpap humidifier not working” cases by clearing temporary software glitches and electrical interference.
Zero Water Level Drop: Normal or Problem?
When Minimal Water Usage Is Expected
Don’t automatically assume failure if your water chamber shows little change overnight. High ambient humidity naturally reduces your humidifier’s workload because the device only activates heating when necessary to maintain comfort. This conservation mode actually extends your machine’s lifespan and saves energy.
Normal operation includes:
– Slight water reduction (¼-½ inch) even during humid nights
– No dry mouth or nasal discomfort upon waking
– Green smiley face indicator in ResMed Air10 sleep reports
– Comfortable breathing without condensation issues
Warning Signs Requiring Immediate Action
Contact your provider immediately if:
– Zero water decrease occurs over three consecutive nights
– Red sad face appears consistently in Air10 sleep reports
– Severe dryness persists despite maximum humidity settings
– Complete lack of heat continues after multiple reset attempts
Stop Rain-out: Water in Mask and Tubing
Immediate Solutions for Condensation Issues
Water pooling in your mask or tubing indicates temperature imbalance, not necessarily a broken humidifier. Try these immediate fixes based on your model:
For ResMed Air10 Users:
1. Enable Climate Control Auto mode (requires heated hose)
2. Begin with humidity level 4 and tube temperature at 81°F
3. Adjust settings gradually—never change more than one level per night
For ResMed S9 Users:
1. Set humidity to level 3 initially
2. Set tube temperature to 80°F
3. Increase settings incrementally based on nightly comfort
Verify Heated Hose Connection
Critical connection points to check:
– Hose must click securely into both CPAP and mask connections
– Inspect for visible cracks or wear at connection points
– Ensure heated hose indicator light is active (if your model has one)
– Replace hose immediately if any damage appears at connection points
Fix Dryness Despite Active Humidification
Identify Mask Leaks Before Increasing Settings
A leaking mask wastes humidified air before it reaches your airways. Perform this quick leak assessment:
- Fill water chamber completely
- Use CPAP for one full night
- Examine water level the next morning
– Nearly empty chamber = no significant leaks, increase settings
– Half or more water remaining = likely mask leak requiring attention
Address Common Dryness Causes
Medication effects: Many prescription drugs cause severe dryness regardless of humidifier settings. Ask your doctor about Biotene spray or medication alternatives.
Mask sizing issues: Weight loss often necessitates smaller mask sizes. An oversized mask leaks humidified air around the edges.
Sleep position changes: Side sleeping can displace certain mask types, breaking the seal and reducing humidification effectiveness.
Maximum settings reached: If both humidity and tube temperature are maxed out without relief, you may need a different mask style or medical consultation.
Environmental Factors You Can Control
Optimize Your Sleep Environment for Humidifier Success
Room temperature matters: Maintain bedroom temperatures between 65-72°F to prevent rain-out while ensuring comfort. Higher room temperatures reduce the need for humidification.
Seasonal adjustments: Winter typically requires 2-3 higher humidity settings than summer due to dry indoor heating systems. Monitor your comfort level as seasons change.
Water chamber fill level: Never exceed the max fill line—overfilling risks water entering the device and causing permanent damage that voids your warranty.
Quick Setting Reference by Season
| Season | Starting Humidity | Tube Temperature | Room Temperature |
|---|---|---|---|
| Summer | Level 3-4 | 80-81°F | Keep cool, use AC |
| Winter | Level 5-6 | 82-84°F | 65-70°F ideal |
| Spring/Fall | Level 4-5 | 81-82°F | Monitor daily |
Essential Maintenance Tasks to Prevent Problems
Weekly Inspection Checklist
Spend just 2 minutes every Sunday checking:
– Heated hose for cracks at connection points
– Water chamber for mineral buildup or hairline cracks
– Heating plate for white residue (clean with damp cloth if needed)
– All electrical connections for security and dryness
Water Chamber Care Protocol
Critical warning: Water entering your CPAP device can destroy internal components and void your warranty. Always:
– Fill water below the max line indicator
– Empty completely before transporting your machine
– Allow to air-dry daily after use
– Replace immediately if any cracks appear
When Professional Service Becomes Necessary
Free Evaluation Process for CPAP Humidifier Issues
Authorized service centers offer free diagnostic evaluations with prepaid shipping labels. Before shipping your device:
– Include your heated hose for complete system testing
– Remove water chamber and other accessories
– Package securely in original box if available
– Expect 7-10 business days for complete evaluation
Service vs. Replacement Decision Guide
Consider repair when:
– Device is under 3 years old
– Heating plate test shows no warmth after reset
– No physical damage to the device
– Cost estimate under $200
Consider replacement when:
– Device is over 5 years old
– Multiple component failures have occurred
– Repair estimate exceeds 50% of new device cost
Prevent Future CPAP Humidifier Problems
Daily Habits That Extend Equipment Lifespan
- Use distilled water only – prevents mineral buildup on heating plate
- Empty chamber daily – prevents bacterial growth and mold
- Weekly deep clean with mild soap and warm water
- Monthly hose inspection for wear indicators
- Quarterly filter replacement as recommended by manufacturer
Pro Tips from Sleep Technicians
- Start conservative with settings—increase gradually based on comfort
- Track patterns in a simple log: settings vs. comfort levels
- Replace water chamber annually even without visible damage
- Keep spare parts on hand: extra hose and chamber
- Never ignore persistent issues—small problems become expensive failures
Your Immediate Next Steps Tonight
If your humidifier works but causes discomfort:
Adjust settings using the seasonal guide above—make only one change per night.
If heating plate test fails after reset:
Schedule a free evaluation with your equipment provider.
If experiencing rain-out:
Lower settings and verify your heated hose connection is secure.
For unexplained dryness:
Check for mask leaks and consider professional mask fitting.
Most “cpap humidifier not working” issues stem from simple settings mismatches or environmental factors rather than actual hardware failure. By following these precise diagnostic steps, you can restore comfortable therapy tonight. Remember, your equipment provider offers free evaluations with prepaid shipping—don’t suffer through another uncomfortable night when solutions are just a phone call away.


