
Your CPAP humidifier stopped warming the water, and now you’re waking up with a dry mouth, stuffy nose, or that dreaded morning headache. Before you panic about expensive repairs, know this: most heating issues stem from simple problems you can solve at home in under 15 minutes. This guide walks you through every proven fix—from five-second contact cleaning to advanced diagnostics—all based on official ResMed specifications and real-world technician data.
You’ll learn exactly when to DIY and when to call for service, plus how to prevent the problem from returning. Whether you have an AirSense 10, S9, or Fisher & Paykel ICON, this targeted approach will get your humidifier functioning properly again—without unnecessary costs or downtime.
Confirm Real Heating Problems vs. False Alarms
Don’t waste time fixing what isn’t broken. Many “heating failures” are actually normal operation masked by environmental factors. Here’s how to tell the difference:
Water level deception: If any water disappears overnight—even just a 1-2 mm drop—the heater is working. Modern humidifiers evaporate water slowly, especially in cool, humid rooms. You shouldn’t expect dramatic water loss every night.
Critical environmental triggers:
– High room humidity (>60%) dramatically slows evaporation
– Low CPAP pressures (<6 cmH₂O) reduce airflow through water
– Cold bedrooms force the plate to work harder but feel cooler to the touch
Tonight’s verification test: Fill to exactly the MAX line with distilled water. If morning shows ANY water loss, your humidifier is functioning properly. No change? Proceed to the definitive warm-up test below.
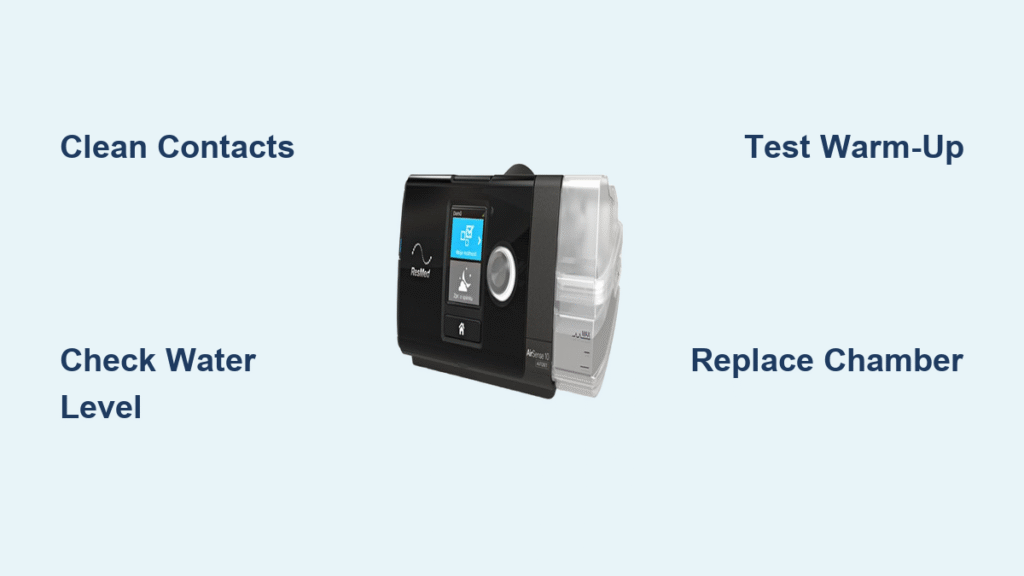
Perform the Definitive Warm-Up Test
This 10-minute test isolates heater function from environmental variables and eliminates guesswork:
- Remove your water chamber completely
- Power on your CPAP machine
- Navigate to Humidity Settings → select Fixed/Manual → set to highest level
- Activate Warm-up/Preheat mode (AirSense 10/11: hold knob 3 seconds)
- Wait 10-15 minutes—no shortcuts here
- Hover hand 1-2 cm above metal plate (never touch directly)
What you should feel:
– Gentle warmth = heater element working perfectly
– Cool plate = actual electrical fault requiring diagnosis
Pro tip: Use a digital thermometer held just above the plate. Working heaters reach 45-55°C within 15 minutes—not scalding hot, but definitely warm. If you feel nothing, move to contact cleaning immediately.
Clean Electrical Contacts in Two Minutes

Dirty electrical connections cause 40% of apparent heating failures. This simple fix solves most cases without tools:
What you’re cleaning:
– Two spring-loaded pins inside humidifier dock (left wall on AirSense models)
– Matching flat metal pads on bottom of water chamber
– Any visible corrosion or mineral buildup from water exposure
Step-by-step cleaning:
1. Unplug CPAP from wall power
2. Dip cotton swab in 70% isopropyl alcohol (not water)
3. Scrub pins with firm pressure—press each pin 5-10 times to restore spring action
4. Clean chamber pads until they shine like new metal
5. Reinsert chamber until you hear the definitive click
Test immediately after reassembly. Thousands of users report instant heater restoration from this single step. If your humidifier works now, make this a weekly maintenance task to prevent future issues.
Inspect Your Water Chamber for Critical Damage

A cracked or warped chamber disrupts the electrical path even when contacts are clean. Replace immediately if you find these issues:
Visual red flags:
– Hairline cracks (hold chamber up to bright light to spot)
– Permanent white mineral deposits that won’t scrub off
– Warped bottom preventing flat contact with heater plate
– Cloudy plastic indicating mineral etching from tap water
Replacement timeline: Chambers last 6-12 months with distilled water. Tap water users often need quarterly replacement because minerals create insulating barriers between the heater and water. Never use tap water—it’s the #1 cause of premature heating failures.
Decode Model-Specific Settings That Block Heating
Different CPAP models hide humidity controls in unexpected places. Check these critical settings before assuming hardware failure:
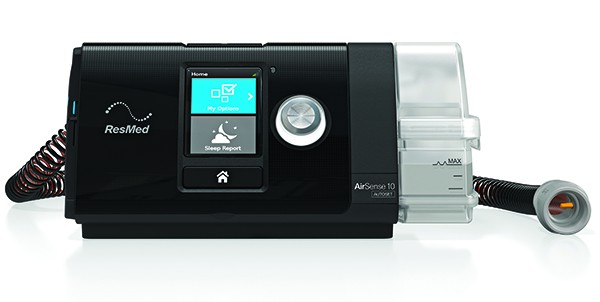
AirSense 10/11 Owners
- My Options → Climate Control → select Manual (not Auto if you don’t have ClimateLine heated hose)
- Green smiley face in sleep report = humidifier OK
- Red frown = heater fault requiring professional service
ResMed S9 Users
- Look for water drop icon on main screen
- Humidity level must be ≥ 3 for active heating
- No visual indicator—rely solely on warm-up test results
Fisher & Paykel ICON
- Preheat mode available in settings menu
- SmartStick displays error codes: E03 = heater fault
Critical oversight: ClimateLine heated hose MUST be connected for Auto Climate Control to function properly. Without it, your humidifier may appear to fail when it’s actually operating correctly in manual mode.
Identify Environmental Factors Mimicking Failure
Your humidifier might work perfectly while room conditions create “no heat” symptoms. Don’t waste time on unnecessary repairs when these factors are at play:
| Room Condition | Impact on Perceived Heating | Quick Fix |
|---|---|---|
| 65°F or colder | Plate works harder but feels cooler | Use heated hose cover |
| >60% humidity | Slow evaporation appears like failure | Increase humidity setting to 6-7 |
| Low CPAP pressures | Reduced airflow = less vapor | Accept lower water usage as normal |
| Nasal mask | Lower leak rates = slower water loss | Normal; no action needed |
Pro insight: Full-face masks consume 30-50% more water than nasal masks due to intentional leak rates. Don’t compare usage between mask types—both can be functioning correctly.
Know When to Call Professionals Immediately
Stop DIY efforts and seek service if you encounter these definite failure signs:
- Warm-up test shows no heat after contact cleaning and chamber replacement
- Error codes appear: “Heating system fault” or “Humidifier error”
- Device under warranty—self-repair voids coverage
- Physical damage to heater plate or electrical components
Recommended service providers:
– CPAP Medic: 877-310-0343 (free estimates, prepaid shipping)
– ResMed Direct: 1-800-424-0737 (US)
– Local DME providers: Often provide loaners during repair
Cost reality check: Out-of-warranty heater repairs run $150-300 versus $800+ for new humidifier units. Never attempt internal repairs unless you’re qualified—opening the device often voids remaining warranty coverage.
Prevent Future Heating Problems with Smart Maintenance
Daily Routine (30 seconds)
- Empty and rinse chamber with distilled water only
- Let air-dry completely to prevent mineral buildup
Weekly Maintenance (5 minutes)
- Clean contact pins and chamber pads with alcohol swab
- Inspect hose for kinks or electrical damage
- Verify all connections click securely
Monthly Tasks (10 minutes)
- Replace disposable filters (dirty filters reduce airflow)
- Deep-clean chamber with vinegar solution
- Check chamber for new cracks or clouding
Critical Don’ts
- Never use tap water—creates insulating mineral deposits
- Don’t immerse the entire humidifier dock in water
- Avoid blocking air intake vents—overheats electronics
Final note: Most heating failures resolve with contact cleaning and chamber replacement. If your warm-up test confirms no heat after these steps, professional service becomes the only safe option. Your sleep quality depends on consistent humidification—don’t ignore persistent heating issues that could compromise your CPAP therapy effectiveness. Implement this maintenance routine and you’ll significantly reduce future “CPAP humidifier not heating” emergencies.


