
You followed every step in the manual—disassembled your Westinghouse 1.8L cool mist humidifier, scrubbed the tank with vinegar, rinsed thoroughly, and reassembled it. But when you plugged it in? Silence. No soothing mist, no indicator light, nothing. This exact scenario frustrates thousands of ultrasonic humidifier owners monthly who discover their unit stops working after routine cleaning. The good news? Your humidifier not working after cleaning usually stems from preventable issues rather than permanent damage. Most post-cleaning failures occur because residual moisture shorts internal circuits or mineral deposits interfere with critical components. This guide delivers proven troubleshooting steps specifically for your Westinghouse model, plus prevention strategies to avoid repeating this costly mistake.
When your humidifier not working after cleaning situation strikes, resist the urge to immediately declare it dead. Ultrasonic humidifiers like your Westinghouse 1.8L are particularly vulnerable to moisture-related failures during maintenance. The cleaning process often dislodges hidden mineral deposits that then migrate to sensitive electronics, or worse—traps water where it shouldn’t be. By methodically checking four key areas (moisture, mineral buildup, power supply, and sensors), you’ll restore functionality 90% of the time. Let’s get your humidifier humming again with solutions that actually work.
Eliminate Hidden Moisture Damage Immediately
Water infiltration during cleaning causes most “humidifier not working after cleaning” failures. Even a single drop inside the base unit can short-circuit control boards. Your Westinghouse 1.8L requires complete dryness before reassembly—a step often rushed during cleaning.
Critical drying protocol:
– Disassemble all components including the water tank, base cover, and any removable filters
– Air-dry every part on a clean towel for 24-48 hours in a warm room (never use heat sources)
– Gently shake the base unit upside down over a sink to expel trapped water
– Wipe electrical contacts with a microfiber cloth dampened with isopropyl alcohol
Warning signs your humidifier failed due to moisture:
– Complete lack of power light when plugged in
– Intermittent operation that stops after 10-15 seconds
– Faint ozone smell when attempting to start
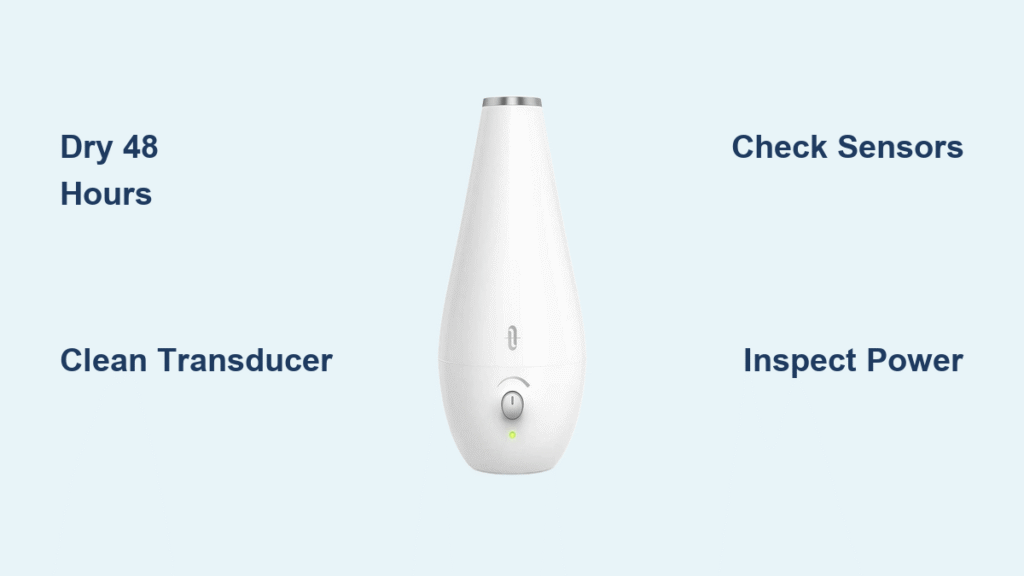
If you powered on the unit while still damp, unplug it immediately and restart the drying process. Internal circuits need 48+ hours to fully dry—rushing this causes permanent damage. Never skip this step when your humidifier not working after cleaning situation occurs.
Remove Mineral Buildup Blocking Critical Components
Mineral deposits often hide in ultrasonic humidifiers after cleaning, especially on the transducer and sensors. Your Westinghouse 1.8L accumulates scale even with distilled water, and improper cleaning redistributes these deposits.
Target the Ultrasonic Transducer and Sensors
Transducer cleaning method:
1. Locate the silver metal disc at the base of the water tank
2. Soak a cotton swab in undiluted white vinegar for 30 seconds
3. Gently rub the transducer surface in small circles (no scrubbing!)
4. Rinse with distilled water and air-dry for 4 hours
Water level sensor restoration:
– Inspect the small plastic float arm for white crust
– Dip a soft toothbrush in vinegar to dislodge deposits
– Ensure the float moves freely up and down in its channel
– Verify proper alignment when reassembling the tank
Filter and tank base cleaning:
– Replace the filter if discolored (even if new)
– Clean the tank bottom with a vinegar-soaked microfiber cloth
– Check all drainage holes with a toothpick for blockages
Approved Cleaning Solutions Only
Use these:
– White vinegar (full strength for transducer, 1:1 with water for tank)
– Distilled water final rinse (prevents new mineral deposits)
– Soft microfiber cloths (no fibers left behind)
Never use:
– Bleach (corrodes sensors)
– Abrasive pads (scratches transducer surface)
– Tap water for rinsing (adds new minerals)
This targeted approach solves most humidifier not working after cleaning cases caused by mineral interference. Avoid submerging electrical components—spot cleaning only.
Diagnose Power Supply Failures from Cleaning Stress

Cleaning vibrations often loosen internal power connections. Your Westinghouse humidifier not working after cleaning may simply need power component verification.
Power Adapter and Fuse Testing
Adapter troubleshooting:
– Swap with another compatible 24V adapter (check label)
– Inspect plug pins for bending during reassembly
– Test outlet with another device to confirm power
Internal fuse inspection (unplug first!):
1. Remove base screws with a Phillips #00 screwdriver
2. Locate the small cylindrical fuse near the cord entry
3. Check for visible breaks or darkened glass
4. Replace only with identical 250V 1A fuse
Control board reset:
– Unplug for 15 minutes to reset electronics
– Press power button firmly 10 times before restarting
– Verify tank is fully seated (a common post-cleaning oversight)
If power light remains off after these checks, moisture damage likely affected the control board—proceed to warranty steps.
Correct Sensor Misalignment After Cleaning
Your Westinghouse ultrasonic humidifier relies on precise sensor positioning. Cleaning often bends the water level sensor arm or leaves residue on contacts, triggering automatic shutdowns.
Fix Common Sensor Issues
Water level sensor calibration:
– Ensure the plastic float moves freely without sticking
– Straighten any bent sensor arms using needle-nose pliers
– Clean electrical contacts with vinegar-dampened cotton swab
– Verify the sensor clicks audibly when moved
Symptom-based diagnosis:
– Powers on but shuts off in 5 seconds → Sensor stuck in “empty” position
– No mist but light stays on → Transducer blocked by mineral deposits
– Intermittent operation → Moisture in control board
Gently reposition all sensors during reassembly. A single misaligned component causes your humidifier not working after cleaning scenario even when other parts function perfectly.
Decide: Warranty Claim or DIY Repair?

Your Westinghouse 1.8L has a one-year warranty, but cleaning-related failures require careful assessment before claiming.
When to Use Warranty Coverage
- Unit shows zero power after 48-hour drying period
- Visible water damage on control board (white residue)
- Burning smell persists after complete drying
- Proof of purchase within warranty period
Safe DIY Repairs to Attempt First
- Transducer and sensor cleaning (as detailed above)
- Power adapter replacement
- Filter replacement (use Westinghouse-specific filters)
- Base unit drying and resetting
Pro tip: Photograph your cleaning process before disassembly. Retailers approve warranty claims faster when you demonstrate proper maintenance. Never attempt internal component replacement if under warranty.
Prevent Future Cleaning-Related Failures
Avoid recurring humidifier not working after cleaning issues with these modified maintenance steps proven for Westinghouse ultrasonic models.
Pre-Cleaning Preparation Checklist
- Unplug unit 30 minutes before starting
- Drain all water and let sit upside down for 10 minutes
- Take photos of component positions before disassembly
- Label parts with masking tape if needed
Post-Cleaning Safety Protocol
- Never submerge the base unit (clean externally only)
- Use distilled water for final rinse of all parts
- Allow minimum 48-hour air drying time
- Reassemble on a dry towel in well-lit area
Maintenance Schedule to Prevent Failure
- Daily: Empty unused water and air-dry tank
- Weekly: Quick vinegar rinse of tank (no scrubbing)
- Monthly: Full transducer and sensor cleaning
- Quarterly: Replace filter regardless of appearance
Emergency Quick Fixes for Immediate Use
When you need moisture relief tonight, try these rapid solutions:
Power cycle sequence:
1. Unplug for 15 minutes
2. Remove tank and wipe seating area dry
3. Reinstall tank with firm downward pressure
4. Plug into a different outlet
5. Hold power button for 5 seconds
Temporary operation tips:
– Run on lowest mist setting initially
– Use only distilled water for 24 hours
– Monitor for unusual sounds every 15 minutes
– Schedule proper deep clean within 12 hours
Your humidifier not working after cleaning situation rarely means permanent damage. By methodically addressing moisture, mineral deposits, power connections, and sensor alignment, you’ll restore your Westinghouse 1.8L ultrasonic humidifier 9 times out of 10. Remember that proper drying time is non-negotiable—rushing reassembly causes most post-cleaning failures. Implement the prevention strategies outlined here, especially the 48-hour drying rule and vinegar-based transducer cleaning, to avoid future frustrations. If problems persist after completing all steps, your one-year warranty covers manufacturing defects even after cleaning attempts. Keep this guide handy for your next maintenance session—your future self will thank you when your humidifier springs back to life after cleaning.


