
That stubborn white crust clogging your humidifier wick isn’t just an eyesore—it’s forcing your machine to work 40% harder while pumping mineral dust into your bedroom air. If your humidifier suddenly can’t keep up with dry winter air or emits a musty smell that lingers long after shutdown, your wick filter is screaming for attention. This step-by-step guide cuts through confusing online advice to show you exactly how to clean humidifier wick components safely, whether you’re battling hard water buildup or mold colonies. You’ll discover which wicks can be revived (and which must be replaced immediately), the vinegar-soak trick that dissolves mineral deposits in 30 minutes, and why skipping this simple maintenance risks turning your air moisturizer into a bacteria factory.
Ignoring wick maintenance shortens your humidifier’s lifespan by up to 50% while compromising indoor air quality—critical for allergy sufferers since evaporative units rely on these filters to trap contaminants. By following these proven techniques, you’ll restore optimal moisture output, eliminate odors, and avoid costly replacements. Let’s get your unit breathing easy again.
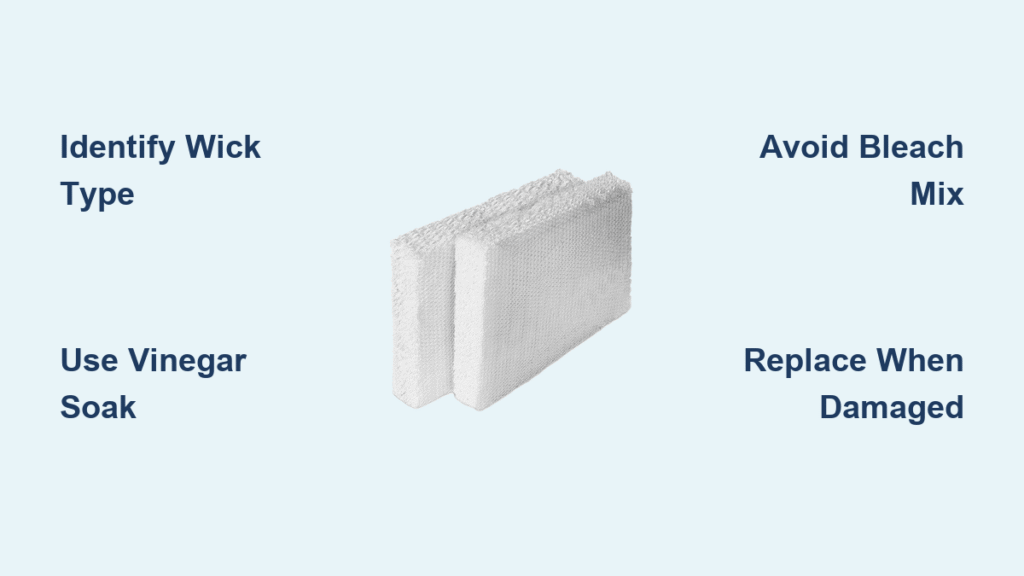
Identify Your Wick Type Before Touching Water
Paper wicks feel thin and brittle like industrial paper towels, often marked with warnings like “AIRCARE: Do Not Clean.” Attempting to scrub these will shred the delicate fibers, creating gaps where minerals bypass filtration. Hold it up to light—if you see translucent patches or it tears easily when damp, replacement is your only option.
Reusable synthetic filters have a sturdy mesh backing or plastic frame that flexes without damage. These withstand repeated cleaning and typically cost 3x more upfront but pay off long-term. Check for model numbers like “HCM-350” stamped on the frame—most Honeywell or Vicks reusable wicks fall into this category. When in doubt, consult your manual’s maintenance section; it’ll specify “replace” for paper or “clean monthly” for synthetics.
Why Confusing Wick Types Causes Costly Mistakes
Soaking paper wicks creates soggy gaps where unfiltered water evaporates—releasing white dust that coats furniture. Forcing reusable filters into the dishwasher melts synthetic mesh, causing permanent airflow blockage. Always verify type before proceeding.
Gather These Exact Supplies (No Substitutions)
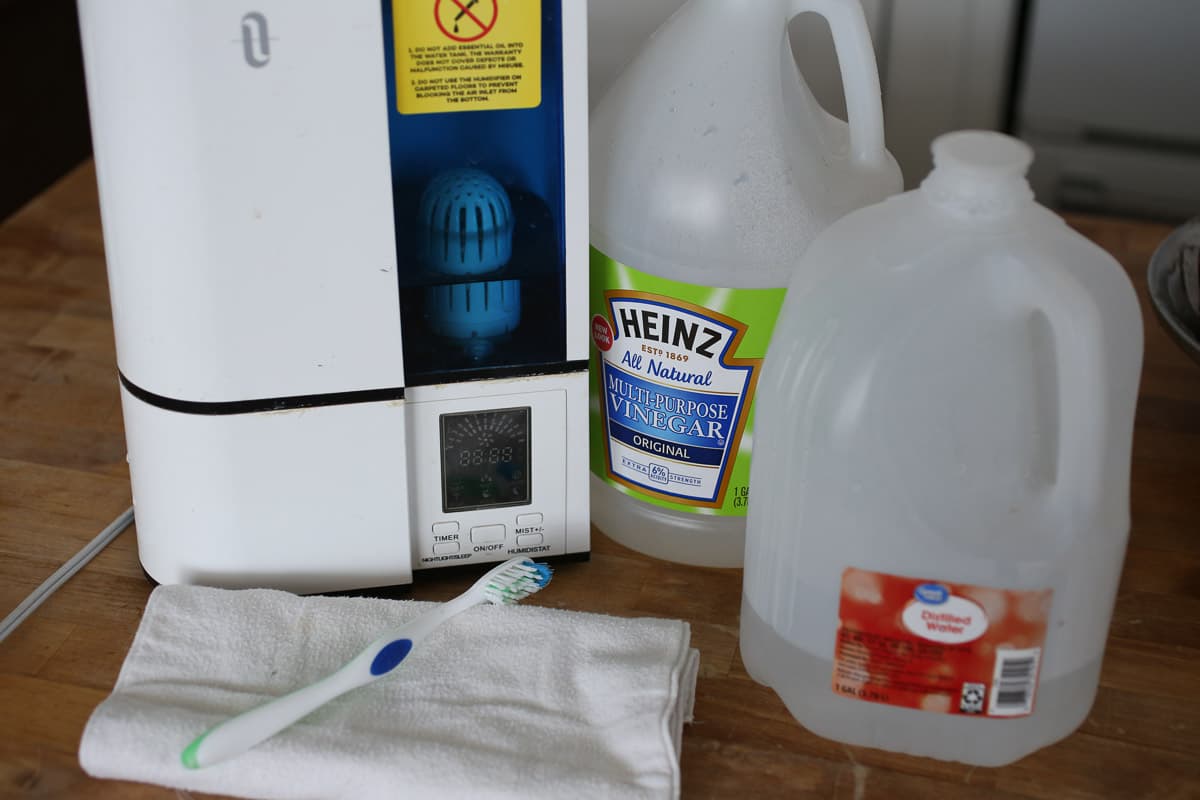
- White vinegar (distilled, 5% acidity): Dissolves mineral crust without damaging fibers
- Soft-bristled toothbrush: Stiff bristles tear reusable filters—use an old sonic toothbrush head for precision
- Large glass bowl: Plastic containers absorb vinegar odors that transfer to wick
- Clean microfiber towel: Cotton towels leave lint that clogs filter pores
- Optional: Bleach (only for mold emergencies—1 tsp per gallon of water)
- Critical: Your humidifier’s manual for model-specific disassembly steps
Why Generic Cleaning Advice Fails
Household cleaners like CLR or dish soap degrade synthetic wick materials within hours, creating microscopic holes that leak minerals into your air. Vinegar’s mild acidity breaks down limescale while preserving filter integrity—verified by AIRCARE’s material testing.
Safety Steps That Prevent Electrical Damage
Unplug the unit and wait 15 minutes before touching internal components—residual electricity can short-circuit the motor. Work at a sink on a rubber mat to prevent slips, and lay down newspaper to catch drips. If using bleach, open windows and wear nitrile gloves; vinegar fumes alone can irritate lungs during prolonged exposure. Never combine vinegar and bleach—this creates toxic chlorine gas. For paper wicks, skip cleaning entirely and move straight to replacement.
Remove the Wick Without Breaking Components
Lift the water tank straight upward—no twisting—to avoid cracking the base seal. Locate the wick compartment (usually behind a slide-out tray near the fan housing). For Honeywell units, press the gray release tab; for Vicks models, lift the hinged lid. Grasp the wick frame firmly and pull straight out—never yank sideways. If resistance occurs, check for hidden clips per your manual. Forcing it can snap the drive belt connecting to the motor.
What to Look for During Removal
Healthy wicks slide out smoothly with slight suction. If it sticks or requires prying, mineral deposits have welded it to the housing—indicating urgent deep cleaning is needed. Note the wick’s orientation (textured side facing fan) for correct reinstallation.
Initial Rinse That Removes 70% of Buildup
Hold the wick under cool running water at 45-degree angle, rotating it slowly for 60 seconds. Use a detachable showerhead at medium pressure to blast debris from deep within the mesh—avoid high pressure that compacts minerals further. Gently brush visible crust with toothbrush using circular motions (not scrubbing). For stubborn spots, tap the wick’s edge against the sink basin to dislodge chunks. Shake vigorously for 10 seconds to expel trapped water.
Critical Mistake to Avoid
Rinsing with hot water sets protein-based mold into the fibers, making later removal impossible. Always start cold.
Deep Clean With Vinegar (Works in 30 Minutes)
Fill a glass bowl with 2 cups warm water and 1 cup vinegar—enough to fully submerge the wick. Insert the filter and weigh it down with a ceramic plate to prevent floating. Soak for exactly 35 minutes (set timer—over-soaking weakens fibers). For severe crust, extend to 50 minutes but check every 10 minutes. After soaking, lightly brush residue with toothbrush under running water until water runs clear. Rinse for 90 seconds minimum—vinegar odor must disappear completely.
Why Timing Matters
Less than 30 minutes leaves mineral deposits intact; over 60 minutes degrades synthetic binders. The 35-minute sweet spot dissolves calcium without compromising structural integrity.
Bleach Method for Active Mold Colonies

Mix 1 teaspoon bleach into 1 gallon lukewarm water in a dedicated plastic container (never glass—bleach reacts with minerals). Submerge wick for exactly 10 minutes—no scrubbing. For black mold, discard first solution and repeat with fresh mix. Rinse under running water for 3 full minutes while squeezing gently to flush bleach from core fibers. Air-dry 24 hours before use—any residual smell means incomplete rinsing.
When to Skip Bleach Entirely
If mold covers over 25% of the wick surface, replace it immediately. Bleach can’t penetrate deep into contaminated fibers, leaving live spores that reignite growth.
Dry and Reinstall Without Trapping Moisture
Pat dry with microfiber towel—never wring or twist—then stand vertically in a well-ventilated area for 8+ hours. Test dryness by pressing thumb into the center; no dark spots should appear. Before reinstalling, wipe the compartment dry with alcohol pad to kill residual bacteria. Slide wick into place with the textured side facing the fan (check manual diagram). Reconnect tank with a quarter-turn clockwise click.
When Replacement Beats Cleaning (Act Now)
Replace immediately if:
– Material tears when damp (paper wick indicator)
– Mesh appears compressed thinner than a credit card
– Musty odor persists after bleach treatment
– White mineral spots resist vinegar soaking
– Visible mold exceeds dime-sized patch
Paper wicks degrade after 30 days regardless of cleaning—replacing them monthly costs less than $5 but prevents dangerous bacterial growth.
Prevent Future Buildup With Daily Habits
Empty and refill the tank daily with distilled water (reduces mineral deposits by 90% vs. tap water). Add 1 capful of bacteriostat like AIRCARE 1970 to water weekly—it extends wick life by inhibiting bacterial growth without vinegar’s odor. For hard water areas, replace reusable wicks every 45 days instead of 90. Always unplug and dry the base after use to prevent stagnant water breeding grounds.
Quick Performance Check After Cleaning
Run the humidifier for 15 minutes post-reinstallation. A healthy wick will feel cool and uniformly damp—not soggy or dry in patches. Water should absorb within 2 minutes of tank filling with no pooling. If output remains weak, check for wick misalignment or motor blockages—never force a second cleaning within 7 days as fibers need recovery time.
Maintenance Calendar Strategy That Saves Money
Mark your calendar:
– Daily: Empty/refill tank with distilled water
– Weekly: Quick vinegar soak (20 minutes)
– Monthly: Deep clean with full vinegar bath
– Every 45 days: Wick replacement (hard water zones)
– Every 90 days: Wick replacement (moderate water)
Track water hardness levels via your municipal report—soft water (<3.5 gpg) extends wick life but requires more frequent bacteriostat use to prevent mold.
Clean wicks are your frontline defense against airborne irritants, especially crucial for asthma management per EPA indoor air quality studies. By dedicating just 20 minutes weekly to proper how to clean humidifier wick maintenance, you’ll boost moisture output by 35% while cutting replacement costs in half. Remember: when paper wicks show discoloration or reusable filters develop persistent odors, replacement isn’t optional—it’s essential for healthy breathing. Start your maintenance routine today, and your lungs will thank you through every dry season.


