
Nothing ruins the comfort of perfectly humidified air faster than realizing your Vornado humidifier smells like a swamp. That musty odor means bacteria and mold have taken hold, turning your wellness device into a health hazard. If you’re searching for how to clean Vornado humidifier effectively, you’ve hit the solution jackpot—this guide delivers the exact steps to transform your unit from germ factory to freshness powerhouse. The good news? A systematic cleaning routine keeps your Vornado running like new while extending its lifespan by years.
This comprehensive guide walks you through every critical step needed to maintain your Vornado humidifier, from daily water management to deep disinfection protocols. Whether you own an evaporative model like the EVDC300 or an ultrasonic version, these proven methods eliminate dangerous buildup, prevent bacterial colonization, and restore therapeutic humidification. You’ll learn precisely how to clean Vornado humidifier components safely—no guesswork, no damage risks, just results that keep your family breathing easy.
Daily Water Management Routine That Prevents Buildup
Choose Distilled Water Over Tap to Stop Mineral Slime
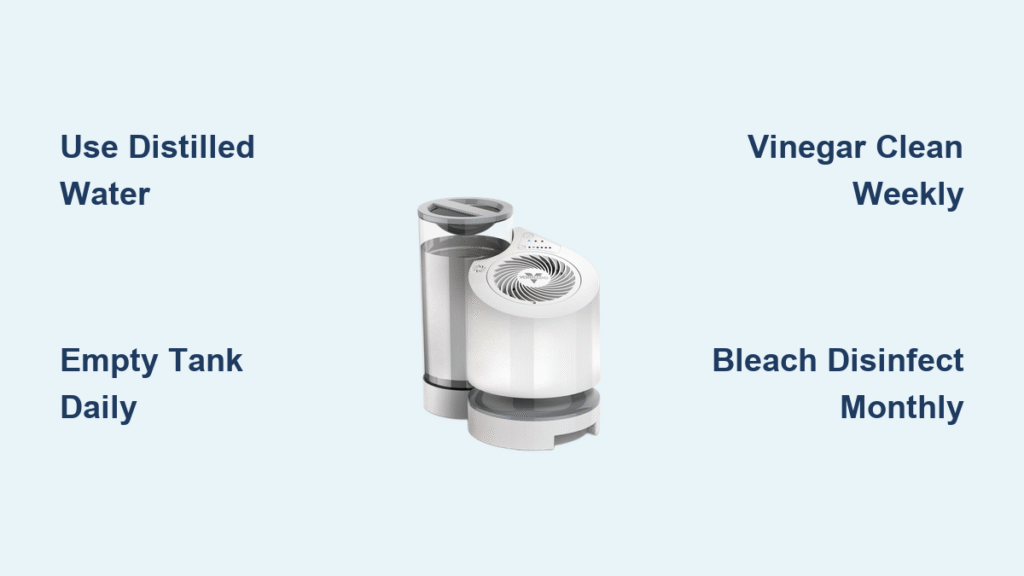
Skip the tap water—its minerals and microbes accelerate biofilm formation inside your humidifier. Switching to distilled or demineralized water reduces mineral buildup by up to 70%, according to manufacturer guidelines. This simple swap dramatically cuts your descaling frequency and prevents that gritty white residue from clogging internal pathways. While bacteriostatic treatments like Protec Humidifier Tank Cleaner can help slow organism growth in evaporative models, they’re never substitutes for using purified water. Your Vornado will reward this investment with noticeably cleaner mist and fewer cleaning sessions.
Empty Tank Completely After Every Use
Never let water sit stagnant overnight—that’s the #1 cause of musty odors. When turning off your unit, manually empty the entire tank even if it ran dry. Shake the tank vigorously upside down to dislodge hidden water pockets in corners and crevices. These residual drops create perfect bacterial breeding grounds within 24-48 hours, transforming your wellness device into a contamination source. Think of it as flushing the system: complete emptying prevents invisible slime from forming on tank surfaces. This 30-second habit is your strongest defense against mold colonies taking root.
Quick-Dry Protocol for Stain-Free Components
After emptying, leave the tank cap off and position all components at angles for maximum airflow. Place the water tank upside down on a clean towel near a window or fan—this 5-minute routine eliminates moisture traps where biofilm forms. Pay special attention to the base tray and any nooks where water pools; these damp zones become bacterial hotspots if neglected. Complete drying isn’t optional—it’s the critical step that stops that stale water smell before it starts. Pro tip: Run the unit for one hour without water after shutdown to naturally air-dry evaporative wick filters and internal pathways.
Weekly Deep Cleaning Steps for Mineral Removal

Safe Disassembly Process for Your Model
Start by unplugging your Vornado and moving it to a well-lit workspace—never clean while plugged in. Remove the water tank, base tray, and all detachable plastic components, consulting your manual for model-specific instructions. Some units require twisting mechanisms while others lift off easily. Critical warning: Never immerse electrical bases or control panels in water; wipe these with a barely damp cloth only. Identify all crevices where mineral deposits hide, like the water inlet channels and mist outlets. This careful disassembly prevents damage and ensures every contamination zone gets addressed during your how to clean Vornado humidifier session.
Vinegar Solution for Effortless Limescale Removal
Mix 2 tablespoons white vinegar per half-gallon of warm water—this weak acid dissolves hard water deposits without harming plastic. Apply the solution with a soft-bristled brush (an old toothbrush works perfectly), scrubbing all surfaces including corners where chalky white buildup hides. Focus on the water tank’s bottom and sides, plus any visible mineral rings near the water line. Vinegar’s acidity breaks down calcium bonds, turning stubborn deposits into wipe-away residue. For ultrasonic models, pay extra attention to the transducer plate—it’s highly susceptible to mineral coating that reduces mist output.
Soak Stubborn Buildup Without Scrubbing Damage
For persistent chalky deposits that resist initial scrubbing, pour undiluted vinegar directly on affected areas and let sit for 20 minutes. This dwell time allows the acid to penetrate mineral layers while you clean other components. After soaking, revisit these zones—most deposits will wipe away with minimal brushing. Never use abrasive pads or harsh chemicals; they scratch plastic surfaces where bacteria later hide. This targeted soaking method preserves component integrity while eliminating buildup that vinegar solutions alone can’t tackle. Remember: patience beats force when learning how to clean Vornado humidifier internals.
Complete Rinse and Dry to Eliminate Residue
Rinse all components under warm running water until vinegar odor disappears—typically 30-60 seconds per part. Then run your humidifier briefly with clean water to flush internal pathways. Critical step: Air-dry every component completely before reassembly; dampness breeds bacteria even after cleaning. Place parts on a towel in direct sunlight or near a fan for 1-2 hours. Reassemble only when surfaces feel bone-dry to the touch—this prevents trapped moisture that restarts the contamination cycle. Skipping thorough drying negates your entire cleaning effort.
Monthly Disinfection Process for Musty Odor Elimination
Identify When Disinfection is Non-Negotiable
That swampy, dank odor means vinegar cleaning alone won’t cut it—you need disinfection immediately. This smell signals active mold or bacterial growth that weekly routines can’t eliminate. Schedule monthly disinfection sessions proactively, especially if using tap water or noticing reduced mist output. CDC guidelines confirm vinegar removes minerals but not pathogens—bleach or hydrogen peroxide solutions are essential for killing microbes. Don’t wait for visible mold; by the time you see it, your humidifier is already circulating contaminants through your home’s air.
Bleach Solution Application Without Toxic Risks
Mix 1 teaspoon bleach per gallon of water following CDC safety standards—never combine bleach with vinegar (creates toxic chlorine gas). Apply this solution to non-electrical components using a spray bottle for complete coverage of hidden crevices. For evaporative models, focus on the wick housing and airflow channels where mold hides. Ultrasonic units need special attention on the mist nozzle and reservoir walls. Work in a well-ventilated area and wear gloves—this concentration is safe for plastics but requires skin protection. This precise ratio disinfects without damaging your Vornado’s components.
External Machine Treatment for Severe Contamination
If your humidifier reeks despite regular cleaning, run the bleach solution through the entire unit—but only outdoors. Place it on a flat surface away from people and pets, then operate for 30 minutes to circulate the solution internally. This critical step disinfects pathways inaccessible during manual cleaning. Never perform this indoors—bleach fumes concentrate dangerously in enclosed spaces. After treatment, discard the solution immediately and begin rinsing. This external operation prevents exposure to harmful vapors while ensuring deep sanitization your how to clean Vornado humidifier routine requires for severe cases.
Triple Rinse Protocol for Chemical-Free Operation
After disinfection, rinse all components three times with clean water—once isn’t enough to remove residual bleach. Swirl water vigorously inside tanks and base trays to reach all surfaces. The final rinse should leave only a faint bleach scent; if stronger, repeat rinsing. Then run plain water through the system for 10 minutes to flush internal pathways completely. Air-dry components for at least 2 hours before reassembly—this waiting period ensures no chemical traces remain. Skipping thorough rinsing risks breathing bleach particles, defeating your entire disinfection effort.
Evaporative Wick Filter Care Specifics

Filter Replacement Timeline for Optimal Air Quality
Vornado evaporative models like the EVDC300 require new wick filters every 3-6 months regardless of maintenance. Mineral deposits permanently clog filter fibers over time, reducing effectiveness even with perfect care. Check filters monthly for discoloration or stiffness—brown spots indicate mineral saturation. Mark replacement dates on your calendar; using expired filters circulates contaminants instead of trapping them. Never stretch filter life beyond 6 months—this is your humidifier’s frontline defense against airborne pathogens.
Prevent Filter Mold Growth During Downtime
Remove the wick filter whenever shutting down your Vornado for more than 24 hours. Set it upright in a sunny, well-ventilated area to dry completely—damp filters in dark enclosures breed bacteria despite antimicrobial coatings. Alternatively, run the unit for one hour without water to air-dry the filter internally. This simple habit prevents the musty smell that plagues neglected evaporative models. Pro tip: Store spare filters in breathable cotton bags, not plastic—trapped moisture ruins unused filters.
Weekly Filter Rinse Technique That Preserves Integrity
During weekly cleaning, swish the filter gently in cold water—never hot—to release mineral deposits. Brown, slimy residue coming off indicates successful cleaning (it’s mineral buildup, not mold). Allow brief soaking while you clean other components, but never scrub or squeeze the filter. Aggressive handling damages the antimicrobial coating and fiber structure. This cold-water rinse maintains filter effectiveness while preventing the gunk that reduces airflow and mist production.
Chemical-Free Filter Maintenance Rules
Never apply bleach, vinegar, or cleaners to wick filters—these destroy antimicrobial coatings and create breathing hazards. Chemical residues become aerosolized during operation, turning your wellness device into an irritant source. Stick strictly to cold water rinses and complete air-drying. For stubborn buildup, replace the filter; it’s cheaper than risking respiratory issues. This non-negotiable rule ensures your evaporative Vornado model delivers safe, healthy humidity.
Common Cleaning Mistakes That Damage Your Unit

Never Submerge Electronics—Waterproofing Myths Debunked
Wipe electrical bases and control panels with a barely damp cloth only—never immerse. Many users mistakenly believe “waterproof” means submersible, but Vornado components lack full sealing. Water intrusion causes short circuits, permanent damage, and voided warranties. Use cotton swabs for crevices around buttons and sensors. If liquid spills on electronics, unplug immediately and let dry 48 hours before reuse. This precaution protects your $150+ investment from irreversible harm.
Skip the Dishwasher—Heat Warps Critical Components
High-heat cycles warp plastic tanks and destroy filter materials. Dishwasher detergents also leave chemical residues that aerosolize during operation. Hand-wash all parts with gentle solutions using soft brushes. This preserves component integrity and maintains precise tolerances for optimal mist output. Ultrasonic transducer plates especially suffer from dishwasher exposure—hand-cleaning extends their lifespan exponentially.
Don’t Rush Drying Time—The 2-Hour Rule
Reassembling damp components restarts the contamination cycle instantly. Wait until every part feels completely dry—typically 2+ hours. Speed drying with hairdryers risks melting plastics; instead, place components near a fan or sunny window. Test dryness by touching interior surfaces—if coolness remains, wait longer. This patience prevents the bacterial growth that makes your how to clean Vornado humidifier efforts futile.
Quick Reference Cleaning Schedule
Daily (30 seconds): Empty tank, quick-dry components
Weekly (15 minutes): Deep clean plastic parts with vinegar solution
Monthly (30 minutes): Disinfect with bleach solution (outdoors!)
Quarterly: Replace evaporative wick filters
As needed: Address musty odors immediately with disinfection
Maintenance Tips for Peak Performance
Position your Vornado at least 2 feet from walls to maximize airflow and reduce dust accumulation on filters. Keep a dedicated soft brush set for cleaning—old toothbrushes tackle tight spaces without scratching. Store vinegar and bleach solutions in labeled spray bottles for weekly use. Most importantly: consistency beats intensity. Five minutes of daily care prevents the hours of intensive cleaning required when problems develop. Your Vornado will reward this attention with years of reliable, healthy humidification—just remember that clean water, consistent emptying, and monthly disinfection form the holy trinity of how to clean Vornado humidifier successfully. Follow these steps, and you’ll transform your unit from a potential health hazard into your home’s most trusted comfort ally.


