
Your furnace has been working overtime this winter, but your skin still feels dry, your throat is scratchy, and your thermostat shows humidity barely reaching 30%. Sound familiar? That clogged humidifier pad is likely the culprit behind your uncomfortable home environment. This simple 5-minute fix can restore your home’s moisture balance and prevent costly water damage from an overworked system. Don’t let dry winter air wreak havoc on your wooden furniture or aggravate respiratory issues when the solution is this straightforward.
Replacing your humidifier pad isn’t just routine maintenance—it’s essential for protecting your home and health. A fresh water panel ensures your humidifier works efficiently, preventing dry air that cracks wood furniture and irritates respiratory systems. When your pad becomes clogged with mineral deposits and debris, your entire HVAC system struggles to maintain proper humidity levels. Let’s walk through exactly how to swap out this crucial component before winter’s worst arrives.
When Your Humidifier Pad Needs Immediate Replacement
Annual Replacement Schedule You Can’t Ignore
Replace your humidifier pad every fall before cold weather hits—this single maintenance task keeps your system running at peak efficiency without guesswork. Mark your calendar for September; this timing ensures optimal performance when your furnace begins daily heating cycles. If you missed the fall window, don’t wait until next year—swap the pad immediately to restore proper humidity levels in your home.
Spring replacement works as a backup plan, especially after heavy winter use. If you’re shutting down your heating system for summer, replace the pad before storing the humidifier for the season. This prevents mineral deposits from hardening during the off-season, making next year’s replacement easier.
Warning Signs Your Pad Needs Changing Now
If your home’s humidity won’t climb past 35% despite thermostat settings, check the pad immediately—don’t wait for your scheduled replacement. Visible debris coating the panel is a dead giveaway that replacement is overdue. Reduced moisture output throughout your home indicates the pad can’t absorb water properly anymore, forcing your furnace fan to work harder and increasing energy bills.
Costly Problems From Ignoring Pad Replacement
A dirty humidifier pad forces your furnace fan to work 40% harder, spiking energy bills without improving comfort. Water backup from clogged pads can flood your basement within hours when the system can’t drain properly. This isn’t just inconvenient—it can cause thousands in water damage repairs.
Summer dust storms happen when dried sediment from old pads breaks loose and circulates through your ducts. This creates the mysterious dusty film on furniture you notice each cooling season. Regular pad changes prevent this seasonal annoyance and improve indoor air quality year-round.
Essential Tools and Supplies for Pad Replacement

Grab these items before starting your humidifier pad change:
– Exact replacement water panel (check your humidifier model number first)
– Small box or trash bag for the dirty old pad
– Flashlight for better visibility inside the unit
– Paper towels for minor drips during the process
The good news? No special tools needed—this job requires only your hands and 5 spare minutes. Unlike complex HVAC repairs, changing your humidifier pad is designed for homeowners to handle themselves.
Quick Visual Inspection Before Starting the Change
:max_bytes(150000):strip_icc()/anatomy-of-the-home-furnace-humidifier-1824773color-d41575bdba834fd59ac29178949a1e2a.png)
Locate Your Humidifier Unit Fast
Find the rectangular unit mounted on your furnace’s return air duct. Most sit near the main unit, either on the side or hanging below the ductwork. The cover typically displays the brand name—AprilAire, Honeywell, or similar—clearly visible. If you’re unsure, follow the small water line from your main supply line to the humidifier unit.
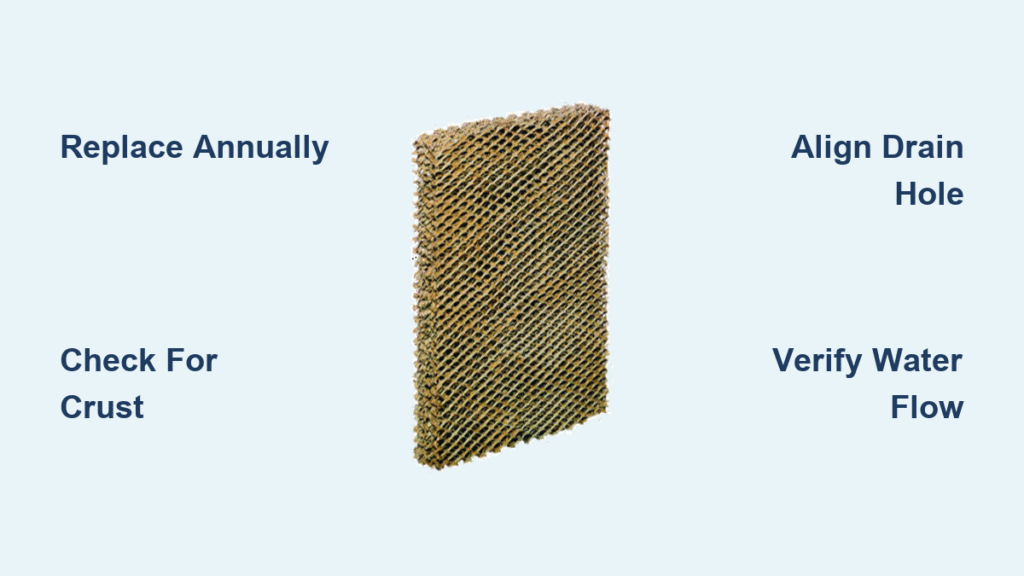
Check Current Pad Condition in 30 Seconds
Peek through the humidifier cover’s slots without removing the cover. White crusty buildup or dark gray coloration confirms replacement is needed immediately. If you see standing water inside the unit, the pad is definitely clogged and requires urgent attention. This quick check takes less than a minute but prevents wasted effort if your pad is still in good condition.
Step-by-Step Humidifier Pad Replacement Process
Remove Humidifier Cover Properly
Pop the cover off using the release tabs on the right side or bottom. Most covers hinge open easily—no tools required. Set it aside where it won’t get stepped on or damaged. If the cover resists, don’t force it; check for additional latches that might be securing it in place.
Disconnect Water Supply Safely
Pull the small plastic hose from the top connection—this stops water flow during replacement. Keep paper towels handy, but expect only a few drops, not a gush. If water continues to flow after disconnecting, you may need to shut off the saddle valve on your main water line before proceeding.
Extract Old Water Panel Without Damage
Grab both metal tabs on the rectangular frame and pull straight out. The entire assembly slides out smoothly. Remember that the frame stays in place—you’re only replacing the pad inside it. If resistance occurs, wiggle gently side-to-side while pulling straight out.
Separate Frame Components Correctly
Pop off the frame’s top piece by pressing the plastic tabs. This reveals the old pad sitting inside. Slide the dirty pad upward to remove it—expect dust and debris. Drop it directly into your waiting box or bag to contain the mess. Never force the frame components; they should separate with minimal pressure.
Install New Panel in the Right Direction
Look for colored marks on your new pad—these must face upward. This direction matters for proper water flow through the system. Slide the fresh pad down into the frame channel until it seats firmly at the bottom. Ensure it sits flat without tilting forward, which could cause water overflow.
Reassemble Frame with Confidence
Snap the top piece back onto the frame until you hear it click. The frame should feel solid with no loose pieces. Check alignment—the pad should sit flat without tilting forward. If components resist snapping together, verify the pad is properly seated before forcing the frame closed.
Reinstall Assembly Perfectly
Slide the frame back into the humidifier with the drain hole positioned at the bottom. Listen for the snap indicating full insertion. The drain hole must align above the outlet tube to prevent water backup. If resistance occurs, remove and reinsert at a slight upward angle before pushing fully in.
Reconnect Water Supply Securely
Push the plastic hose back into the top connection until it clicks. Tug gently to confirm it’s secure. Replace the cover by snapping it shut at both top and bottom. Test the cover’s security by gently tugging—it shouldn’t come loose with normal handling.
Verify Your Humidifier Pad Installation Success
Check for Proper Fit Before Turning On
The cover should overlap the damper area completely with no gaps. Look for even seams around all edges. If the cover won’t close properly, the frame isn’t seated correctly—remove and reinstall. A properly installed pad won’t cause water leaks or system inefficiency.
Test Water Flow and System Operation
Turn your humidifier back on and let it run for 10 minutes. Check beneath the unit for any water drips. No leaks? You’re done. Monitor your thermostat’s humidity reading over the next 24 hours—it should gradually increase to your desired level as the new pad becomes fully saturated.
Maintenance Tips for Longer Pad Life
Annual Inspection Routine That Saves Money
Check your humidifier pad every fall regardless of usage. Even light use can accumulate mineral deposits that reduce effectiveness over time. Photograph the pad each year to track condition changes and anticipate future replacement needs.
Water Quality Impact on Pad Longevity
Hard water areas may need mid-season pad checks. Consider a water softener if you find yourself replacing pads more than twice yearly. Install sediment filters on your home’s main water line to significantly extend pad life and improve system performance.
Emergency Troubleshooting for Common Issues

Cover Won’t Close After Pad Replacement
Frame tilted forward is the usual culprit. Remove and reinsert, ensuring the bottom sits flush. Check for debris in the track that might prevent full insertion. Never force the cover closed—it should snap into place with moderate pressure.
Water Leaks After Changing the Pad
Drain hole misalignment causes overflow. Remove the frame and verify the hole sits directly over the outlet tube. Cross-threaded hose connection—disconnect and reconnect firmly. If leaks persist, check for cracks in the new pad or frame components.
No Humidity Increase After Replacement
Water supply valve might be off—check the saddle valve on your water line. Incorrect pad orientation—remove and flip so colored marks face up. Seasonal damper still in summer position—rotate to winter setting. If problems continue, consult your humidifier’s manual for model-specific troubleshooting.
Your humidifier pad change is complete, but don’t stop here. Replace your furnace filter monthly during heavy use to reduce strain on the entire system. Monitor humidity levels with a separate hygrometer—ideal range stays between 35-45%. Schedule professional HVAC maintenance annually to catch issues before they become expensive problems. Between visits, this simple pad replacement becomes your most powerful tool for maintaining home comfort and preventing costly repairs—mastering how to change humidifier pad ensures your family breathes easier all winter long.


