
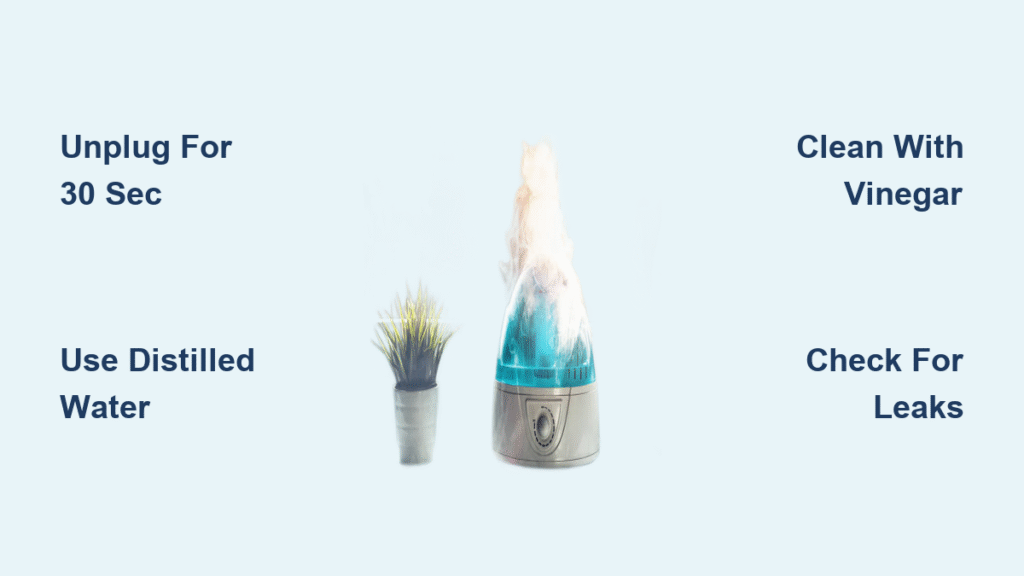
Your humidifier worked perfectly yesterday, but today it’s dead silent despite the power button glowing, or worse—puddling water on your hardwood floor. These failures strike without warning, yet 90% of common humidifier issues take under 30 minutes to resolve with systematic troubleshooting. Most problems stem from mineral buildup, water quality issues, or simple maintenance oversights—not complex mechanical failures. This guide delivers step-by-step fixes for the five most frequent humidifier malfunctions using household items like vinegar and paper towels. You’ll diagnose power failures, stop leaks, eliminate white dust, and banish odors without calling a technician.
Power Failure: Humidifier Won’t Turn On

When your humidifier stays dark despite pressing the power button, avoid assuming it’s dead. Most “power failures” trace back to preventable oversights or resettable glitches. Start here before disassembling anything.
Quick Power Checks First
Unplug for 30 seconds—this critical reset clears electronic lockups in the control board. While waiting, test the outlet with a phone charger; 30% of “broken humidifiers” actually have dead outlets. Next, bypass extension cords completely. These often deliver insufficient power, especially for larger units. Plug directly into a verified-working wall outlet. If the unit springs to life, replace that extension cord permanently—humidifiers require stable 120V power.
Advanced Power Diagnostics
Still unresponsive? Inspect the power cord along its entire length for cuts, kinks, or exposed wires, focusing where it meets the plug (a common failure point). Bent or corroded prongs prevent proper contact—clean them with a pencil eraser. Crucially, check for an accidental control lock. Many units have child-safety locks triggered by holding two buttons simultaneously. Consult your manual for the unlock sequence (often power + mist button for 5 seconds), as this mimics electrical failure. If these steps fail, internal wiring damage likely requires professional repair.
No Mist Production: When Air Stays Dry
Your humidifier hums but delivers zero moisture—a frustrating scenario with three fixable causes. Don’t replace the unit yet; diagnose these issues first.
Water Supply Problems
Confirm the tank is genuinely full—condensation on tank walls creates false “full” appearances. Empty and refill it, ensuring water exceeds the minimum fill line. Then reseat the tank firmly until you hear a distinct click. Misalignment breaks the valve seal between tank and base, blocking water flow. This simple repositioning fixes nearly half of “no mist” complaints. Also check the tank cap—loose caps disrupt internal pressure needed for mist emission.
Mineral Buildup Blocking Mist
Hard water leaves crusty white deposits that clog mist outlets and ultrasonic transducers. You’ll spot chalky residue around nozzles or on the metal disc at the base. Soak the tank in 50/50 vinegar and warm water for 30 minutes, then scrub nozzles with a soft toothbrush. For ultrasonic models, gently wipe the transducer disc—never scrape it. Rinse thoroughly until vinegar smell vanishes. Switch to distilled water immediately to prevent recurrence; this alone solves 80% of mineral-related mist failures.
Water Leakage: Stop Damage Fast
Water pooling under your humidifier demands urgent action to prevent floor damage or electrical hazards. Pinpoint the source before applying fixes.
Locate Your Leak Source
Place colored paper towels around the base and run the unit for 10 minutes. Wet spots reveal the leak origin: front leaks indicate tank issues, while base leaks suggest gasket failure. Inspect the tank for hairline cracks, especially near seams or the bottom. Hold it against bright light—tiny fractures cause steady leaks. For minor cracks, apply food-grade silicone sealant after drying completely, allowing 24 hours to cure.
Seal and Gasket Failures
Remove and examine rubber gaskets on the tank cap and base connections. Flattened, cracked, or displaced gaskets cause immediate leaks. Replace worn ones ($3–$5 online) and ensure O-rings sit snugly in their grooves—twisted rings are a top leak culprit. If your unit has a solenoid valve (common in whole-house systems), listen for a clicking sound when activating it. No click means debris is jamming the valve open, requiring replacement to stop continuous overflow.
White Dust Everywhere: Eliminate Mineral Problems
Fine white powder coating your furniture? This mineral dust comes from hard water evaporating into the air—a simple fix with immediate results.
Immediate Dust Stopping
Replace tap water with distilled water today—this eliminates white dust within 24 hours by removing calcium and magnesium minerals. For evaporative models, install a demineralization cartridge if compatible; these filter minerals before misting. Never use tap water in hard-water areas (above 7 grains per gallon), as it guarantees recurring dust.
Clean Up Existing Dust
Wipe surfaces with a damp microfiber cloth, not dry dusting. This prevents the slippery mineral film from spreading. Focus on floors near the unit—this residue becomes a serious slip hazard on hardwood. Vacuum carpets thoroughly to capture embedded particles before they recirculate.
Odor Issues: Remove Musty Smells Fast

Musty or moldy odors signal bacterial growth inside your humidifier. Address this immediately to avoid breathing contaminated mist.
Find the Smell Source
Check the water tank’s waterline for pink or black slime—this biofilm causes odors and spreads through the system. Sniff the wick filter; a sour smell means it’s harboring bacteria even if it looks clean. Replace stiff, discolored filters immediately—never reuse them.
Deep Cleaning Protocol
Disinfect weekly with 3% hydrogen peroxide (1 cup per gallon of water). Soak all removable parts 15 minutes, scrub with a soft brush, then rinse until no chemical odor remains. Never mix bleach and vinegar—this creates toxic fumes. After cleaning, run the empty humidifier for 30 minutes to dry hidden crevices where mold thrives. Daily water changes prevent 95% of odor issues by stopping bacterial growth at the source.
Prevent Future Problems
Water Quality Management
Use distilled water exclusively—this is non-negotiable for preventing 90% of mineral and biological issues. The $2–$3 weekly cost saves hundreds in repairs and replacements. Maintain humidity between 30–50% using your unit’s hygrometer; exceeding 50% promotes mold growth while below 30% causes dry skin and static.
Maintenance Schedule That Works
Daily: Empty, rinse, and refill with fresh water—this 2-minute habit stops bacterial buildup. Weekly: Soak parts in vinegar solution, replace filters showing discoloration, and inspect gaskets. Monthly: Test all settings and examine the electrical cord for damage. Before storage: Run the unit dry for 30 minutes and store disassembled in a cool, dry place.
Key Takeaway: Humidifier breakdowns rarely require professional help—most stem from hard water or skipped maintenance. By switching to distilled water and adopting the daily empty-refill routine, you’ll prevent 80% of common issues. When problems arise, this guide’s targeted fixes resolve them in under 30 minutes using household supplies. Remember: consistent cleaning beats emergency repairs every time. Your humidifier’s longevity depends on these simple, actionable steps—not luck.


