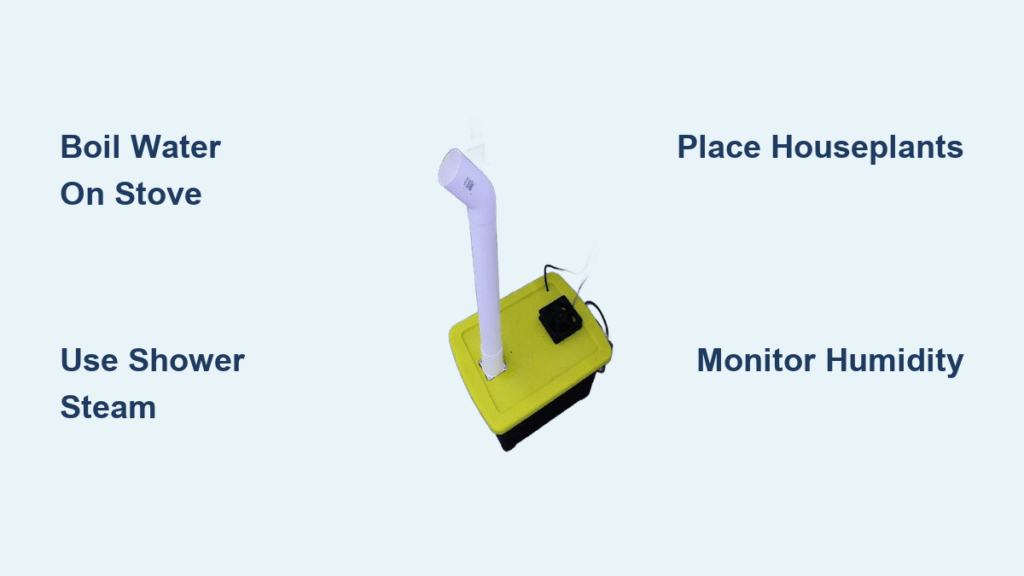
That parched throat waking you at 3 a.m. isn’t just annoying—it’s your body screaming for moisture. When indoor humidity crashes below 30% during winter or heavy AC use, you’re battling cracked furniture, static shocks that sting, and sinuses that feel like sandpaper. The good news? You can make a humidifier instantly with household items, no electronics required. Forget expensive machines—this guide reveals three scientifically sound methods using your stove, shower, and plants to boost humidity in under 10 minutes. You’ll transform dry air into breathable comfort while saving $100+ on commercial units.
Dry air doesn’t just irritate—it damages. Wooden floors warp, cherished guitars develop cracks, and your skin ages faster in arid conditions. Yet most people overlook the simplest solution hiding in plain sight: water evaporation. By strategically heating water or harnessing natural moisture cycles, you create instant humidification. In this guide, you’ll master three proven techniques from the stovetop boil (delivering results in 10 minutes) to stealth shower steam (zero cost) and plant-powered zones (low-maintenance relief). Each method uses items already in your home, requires no technical skills, and safely elevates humidity to the ideal 30-50% range.
Boil Water on Your Stove for Immediate Relief

Fill Kettle with Plain Water to Maximize Vapor Output
Grab any metal kettle or pot—your largest one works best for whole-room impact. Fill it three-quarters full with tap water (about 8 cups for a standard 2-quart kettle). Cold water is perfectly fine since you’ll heat it anyway. Critical visual cue: Leave that top inch empty to prevent dangerous boil-overs when steam surges. This simple stovetop method leverages basic physics: heated water molecules accelerate until they break free as vapor, directly moistening your air.
Bring to Rolling Boil for Optimal Steam Production
Place the filled vessel on your largest burner and crank heat to high. Within 3-5 minutes, you’ll see vigorous bubbling indicating a rolling boil—the sweet spot for vapor generation. Watch for this sign: A steady, visible steam plume rising 6+ inches from the spout or water surface. This isn’t just hot air—it’s measurable humidity being injected into your environment. For maximum effect, maintain this boil for 15-20 minutes while you prep breakfast or coffee.
Add Essential Oils for Therapeutic Benefits (Optional)
Once boiling, carefully drop 3-5 drops of essential oil into the water. Eucalyptus clears congestion, lavender calms nerves, and lemon oil cuts mustiness. Stir gently with a long spoon to disperse oils without risking splashes. Pro tip: Start with 2 drops—oils concentrate as water evaporates, and overdoing it creates overpowering scents. Never add oils to cold water first; heat unlocks their full aromatic potential while ensuring even distribution.
Monitor Water Levels Every 20 Minutes
Set a timer religiously. When water drops below the one-third mark (visible as the liquid line hitting the pot’s shoulder), top it up with hot tap water. Critical safety rule: Never add cold water to a near-empty boiling pot—it causes violent steam eruptions. Always maintain at least 2 cups of water to prevent metal warping and fire risks. Refilling with hot water sustains continuous vapor output without temperature shocks.
Implement Stove Safety Protocol Before Igniting Burner
Place the pot on a back burner with the handle turned inward toward the wall. Clear a 3-foot child/pet exclusion zone around the stove. Non-negotiable rule: Never walk away—even for “just a minute.” If you must leave the kitchen, turn off the burner completely. Partial heat settings still risk dry-boiling, which can ignite nearby items or melt cookware within 90 seconds.
Use Your Shower for Instant Whole-House Humidification
Shower with Door Open to Distribute Steam Naturally
During your regular shower, crack the bathroom door wide open and disable the exhaust fan completely. Hot shower steam will flow into adjacent rooms like a silent humidifier. Key physics insight: Warm, moist air rises and circulates through your home’s natural convection currents—no fans needed. For apartments, prop a towel under the door to block drafts while allowing vapor migration.
Maximize Post-Shower Moisture Retention
If privacy concerns prevent open-door showers, open the door immediately after rinsing off. Keep the exhaust fan off for 30 minutes while steam naturally dissipates. Pro technique: Run an extra 2-3 minutes of hot water at the end of your shower. This creates a “steam burst” that raises humidity 5-8% without significant water waste—ideal for quick evening relief before bed.
Enhance Circulation in Multi-Room Homes
For larger spaces, place a small fan in the hallway blowing across the open bathroom doorway (not directly into it). This gently pulls humid air into living areas without cooling the steam too fast. Visual indicator: If you see visible fog lingering 10 minutes post-shower, you’ve achieved effective humidification—congrats!
Deploy Houseplants for Gentle, Continuous Moisture
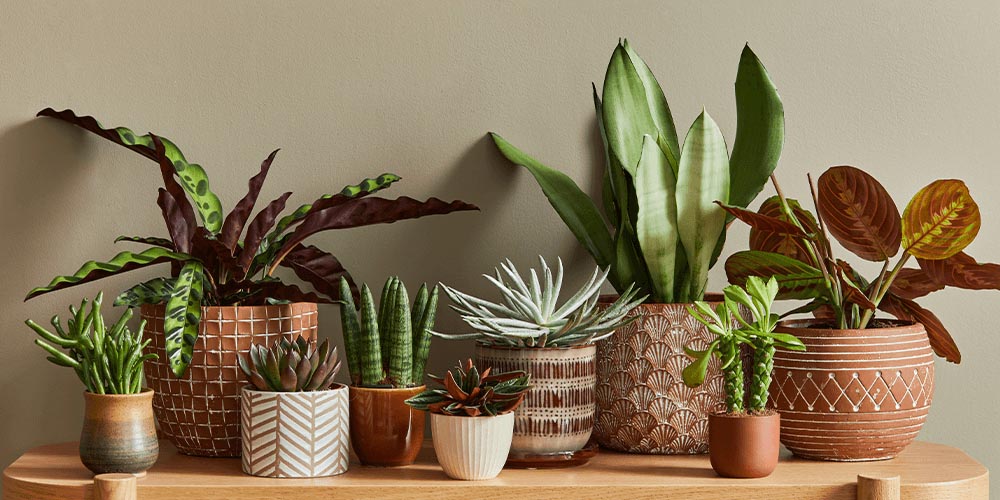
Select High-Transpiration Plants for Steady Output
While plants won’t replace stovetop methods for rapid relief, peace lilies, spider plants, and Boston ferns release consistent moisture through transpiration. Critical sign they’re working: Noticeably softer air in their immediate vicinity within 24 hours. Position them in high-traffic areas like bedrooms or home offices where you spend the most time.
Create Micro-Humidity Zones with Strategic Grouping
Cluster 3-5 plants on a waterproof tray filled with 1 inch of water and pebbles. The stones elevate roots while evaporating water adds bonus moisture. Pro setup tip: Place this grouping near a sunny window—the light accelerates transpiration, boosting output by 20-30%. This simple trick turns your plant corner into a personal humidification station.
Monitor Plants as Natural Humidity Gauges
Check leaves daily for brown, crispy edges—a sure sign your air is too dry. Wilted plants despite regular watering confirm dangerously low humidity. Expert note: If multiple plants show these symptoms, immediately combine plant zones with stovetop boiling for 24 hours to rescue them and your comfort.
Prevent Hazards with Smart Safety Practices
Balance Humidity to Avoid Window Condensation
Over-humidification causes water droplets on cold windows—a breeding ground for mold. If you see condensation, reduce boiling time by 5-minute increments until it stops. Quick fix: Place a hygrometer ($5 at hardware stores) in your main living area; maintain readings between 30-50% for health and safety.
Ensure Daily Ventilation to Refresh Air
Open one window for 5-10 minutes each morning to exchange stale, moisture-laden air with fresh outdoor air. This prevents musty odors while preserving healthy humidity levels. Critical timing: Do this when outdoor humidity is highest (dawn/dusk) to minimize dry air influx.
Respond Immediately to Musty Smells
Persistent damp odors mean you’ve crossed into over-humidification territory. Stop all methods, clean surfaces with vinegar solution, and run exhaust fans for 15 minutes. Resume humidification at half-intensity once the smell vanishes.
Troubleshoot Common Failures in 5 Minutes
Fix “No Humidity Increase” with Leak Checks
If rooms stay dry after 20 minutes of boiling, inspect windows/doors for drafts letting humid air escape. Tape a dollar bill along window seams—if it slides out easily, you’ve found your leak. Seal gaps with temporary weatherstripping while methods run.
Eliminate Uneven Humidity with Fan Positioning
Cold spots in distant rooms? Place a low-speed fan blowing across your boiling pot (not directly at it) to create a moisture “river” through your home. Position it to follow natural air currents—usually from warm to cooler zones.
Optimize Results with a Daily Humidity Schedule

Morning Stovetop Boost While Making Coffee
Run your kettle for 15 minutes as you brew coffee. This delivers immediate relief for dry-mouthed mornings and preps your home for the day. You’ll notice smoother breathing within one work session.
Evening Shower Steam for Overnight Recovery
Time showers to end 30 minutes before bed. Open the door post-shower to let steam humidify bedrooms while you wind down. Wake up to noticeably softer skin and sinuses—no more 3 a.m. coughing fits.
Weekend Plant Grouping for Low-Effort Zones
Cluster plants in living areas during downtime. The combined transpiration from 5+ plants creates micro-zones of comfort where you relax, reducing your need for active methods by 40%.
Creating effective humidity requires zero gadgets—just smart physics. Whether you make a humidifier via stovetop boiling for instant relief, harness shower steam for effortless results, or deploy plants for gentle background moisture, you’ve now got a complete toolkit. Start tonight with the shower method while you bathe, and breathe easier before bedtime. Within 48 hours of consistent use, you’ll reclaim comfortable air without spending a dime on equipment. Your throat, furniture, and sanity will thank you.