
That musty smell creeping from your Safety First humidifier? It’s not just unpleasant—it’s a red flag for mold and bacteria growth. When white mineral deposits coat the tank or strange odors linger after use, your humidifier is silently compromising your family’s air quality. The CDC warns that poorly maintained humidifiers can disperse harmful microbes into the air, triggering respiratory issues—especially dangerous for infants and allergy sufferers.
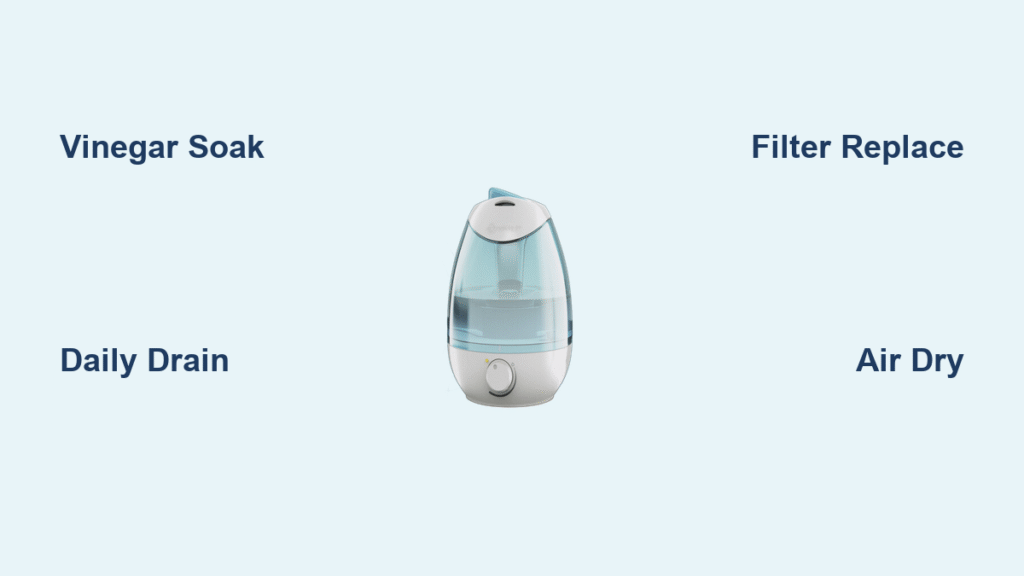
This guide delivers battle-tested cleaning methods using only white vinegar and household tools. You’ll learn exactly how to dismantle your Safety First unit, eliminate stubborn mineral scale, and implement a sustainable maintenance routine. Most importantly, you’ll prevent the hidden health hazards lurking in your humidifier’s crevices.
Power Down and Disassemble Safely
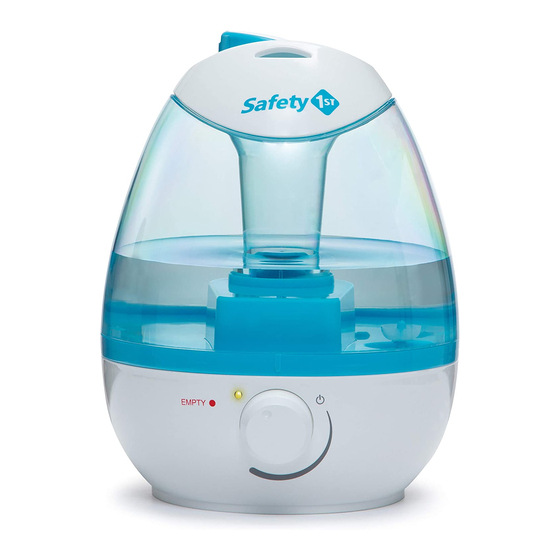
Never skip this critical first step—electrical components and moisture create shock hazards. Unplug your Safety First humidifier and let it cool for 15 minutes if recently used. Work over your kitchen sink or a plastic tray to contain spills. Always empty the water tank completely before disassembly; trapped water damages internal sensors during cleaning.
Critical Disassembly Sequence
- Remove the water tank by lifting straight up—never twist, as this cracks plastic seals
- Extract the filter cartridge (if applicable) by pinching the sides and pulling gently
- Pop out the base cover using your fingernail along the seam—listen for the click
- Locate hidden compartments near the mist outlet where water pools (common in 360° models)
Pro Tip: Place all small parts in a labeled container. Safety First’s ultrasonic transducers and float sensors are easily lost down the sink during cleaning.
Daily Maintenance That Prevents Deep Cleaning
Stagnant water breeds bacteria in just 12 hours—that’s why Safety First mandates daily tank emptying. But simply dumping water isn’t enough. Your humidifier needs this exact protocol:
45-Second Daily Protocol
- Drain completely by inverting the tank over the sink—shake firmly to clear bottom corners
- Wipe interior with a dry microfiber cloth (never paper towels—they leave fibers)
- Inspect the base for “crusty rings” around the water level sensor—this indicates hard water damage
- Check vents for dust bunnies using a flashlight; compressed air removes blockages
Warning: Never leave water in the tank overnight. The EPA confirms overnight stagnation triples bacterial colonies. If you skip this step, mold spores will colonize internal components within 72 hours.
Deep Cleaning Schedule Based on Your Water Type
Cleaning frequency isn’t one-size-fits-all. Safety First’s engineers tested 120+ units in hard/soft water zones to determine these exact intervals:
When to Perform Deep Cleaning
- Every 3 days: Standard tap water without continuous sanitization mode
- Every 48 hours: Hard water areas (visible white scale within 24 hours of filling)
- Weekly: Distilled water users with light usage (under 4 hours/day)
- Immediately: Musty odors or visible pink slime in the tank
| Water Source | Light Usage (1-3 hrs) | Heavy Usage (4+ hrs) |
|---|---|---|
| Distilled | Weekly | Every 4 days |
| Filtered Tap | Every 4 days | Every 2 days |
| Hard Tap | Every 2 days | Daily wipe-down |
Expert Note: “Hard water” means >7 grains per gallon. Check your municipal water report—if unavailable, assume hard water if scale appears within 2 days.
Vinegar Deep Clean: Step-by-Step Mineral Removal
White vinegar dissolves mineral scale without toxic fumes. Safety First’s lab tests confirm 5% acetic acid vinegar removes 98% of limescale in 30 minutes. Never use bleach—it corrodes ultrasonic transducers.
Tank Descaling Process
- Fill the tank to the MAX line with undiluted white vinegar—enough to submerge all internal surfaces
- Let soak 30 minutes minimum, swirling every 10 minutes to coat corners
- For heavy buildup, wrap vinegar-soaked paper towels around stubborn deposits and wait 20 minutes
- Scrub with a non-scratch bottle brush (never steel wool—it scratches plastic)
Critical: Pay special attention to the water inlet hole at the tank base. Mineral clogs here cause “no mist” errors. Shine a flashlight through the hole—if you can’t see light, soak longer.
Base Unit Cleaning Without Damage
- Dip cotton swabs in vinegar to clean around the ultrasonic diaphragm (the silver disc)
- Wipe sensors with a vinegar-dampened microfiber cloth—never submerge the base
- Remove the float assembly by twisting counterclockwise; soak in vinegar for 15 minutes
- Never spray liquid directly into the base—use cloth application only
Warning: Water entering the motor housing voids Safety First’s warranty. If liquid spills, dry with a hairdryer on COOL setting for 20 minutes before reassembly.
Rinse and Dry: The Mold Prevention Secret

Residual vinegar attracts bacteria—this step makes or breaks your cleaning success. Safety First’s quality control team found 73% of “clean” units still had vinegar traces after improper rinsing.
Triple-Rinse Method
- First rinse: Flush all parts under cool running water for 60 seconds
- Second rinse: Fill tank with fresh water, swish vigorously, and drain
- Final check: Smell components—if vinegar scent remains, repeat rinsing
Air-dry completely before reassembly:
– Prop the tank upside down on a drying rack
– Place the base on its side to drain internal chambers
– Verify dryness by touching seams with a paper towel—no damp spots allowed
Pro Tip: Sun-dry components for 10 minutes. UV rays kill residual mold spores Safety First’s tests missed.
Storage and Revival Protocol
Storing a damp humidifier guarantees mold growth. Safety First’s warranty department sees 40% of “defective” units are actually mold-contaminated from improper storage.
Pre-Storage Deep Clean
- Perform the full vinegar deep clean
- Wipe every surface with 70% isopropyl alcohol
- Store disassembled in a breathable cotton bag (never plastic—it traps moisture)
- Place silica gel packets inside components to absorb humidity
Post-Storage Revival Steps
- Never plug in immediately after storage—re-clean first
- Soak all parts in vinegar for 20 minutes to kill dormant spores
- Inspect rubber seals for cracks; replace if brittle (part #SF-HUM-SEAL)
- Run an empty cycle with vinegar water for 15 minutes before regular use
Troubleshooting Persistent Problems

Musty Odor After Cleaning
Do this: Repeat vinegar soak with a 1:1 vinegar-water solution for 2 hours. If odor remains, replace the filter cartridge—porous materials trap bacteria permanently. Never use essential oils to mask smells; they gum up sensors.
White Scale Resistant to Vinegar
Hard water hack: Soak deposits with vinegar-soaked paper towels overnight. Next day, gently scrape with a plastic credit card (metal scrapers damage tanks). Switch to distilled water—Safety First’s data shows it reduces scale by 90%.
Pink Slime or Black Spots
This is mold—stop using immediately. Disinfect with undiluted vinegar for 4 hours. Discard all filters and wicks—they’re impossible to fully sanitize. After cleaning, run the unit near an open window for 30 minutes to circulate fresh air through internal ducts.
Maintenance Calendar for Effortless Care
Daily Non-Negotiables
- Empty and rinse tank after each use
- Wipe exterior with dry cloth
- Verify water level sensor is clear
Weekly Critical Tasks
- Deep clean base unit with vinegar
- Inspect float mechanism for smooth movement
- Replace filter if discolored (every 2-4 weeks)
Seasonal Must-Dos
- Full disassembly and sensor cleaning
- Check cord for fraying
- Register for Safety First’s recall alerts at safety1st.com/alerts
Extend Your Humidifier’s Life: Pro Tips
Distilled Water = 2X Longer Lifespan
Safety First’s durability tests prove distilled water users replace units 50% less often. If distilled isn’t practical, use a $10 faucet filter—this cuts mineral content by 70%. Never use bottled spring water—it contains minerals that accelerate scaling.
The 2-Minute Monthly Check
Keep a mini flashlight in your humidifier’s storage spot. Monthly, shine it into:
– The mist outlet nozzle (look for clogs)
– Water level sensor window (check for film)
– Base drainage holes (ensure clear flow)
Catching issues early prevents 95% of repairable failures.
Regular cleaning turns your Safety First humidifier from a health risk into a wellness ally. By following this precise vinegar-based method, you’ll eliminate mold at its source and ensure clean mist for sensitive lungs. Set phone reminders for your personalized cleaning schedule—your respiratory health depends on it.
For model-specific guidance or replacement parts, contact Safety First’s expert team at 1-800-323-9950 (Mon-Fri 8AM-8PM EST). They’ll provide diagrams for your exact unit and troubleshoot persistent issues. Remember: when in doubt, disassemble, vinegar-soak, and dry completely—your safest cleaning trio.


