
Installing a new filter in your Honeywell air purifier can seem daunting if you’re doing it for the first time, especially when you’re dealing with stale air in your home and a blinking filter replacement light that’s ruining your peace of mind. But don’t worry—installing Honeywell air purifier filters is a straightforward process that most people can handle in under 15 minutes with the right steps. Whether your model is from the popular HPA series or another variant, a quick filter swap can restore peak performance and ensure you’re breathing cleaner air without the hassle of calling in a pro right away.
In this comprehensive guide, we’ll go beyond the basics to cover everything you need to know for a successful installation. From gathering the essential tools to detailed step-by-step instructions tailored to common Honeywell models, plus troubleshooting tips if things don’t go smoothly, you’ll have all the tools to get your purifier running like new. By the end, you’ll feel confident in maintaining your unit yourself, saving time and money while extending its lifespan—let’s dive in and get that fresh air flowing.
What You’ll Need for Installing Honeywell Air Purifier Filters
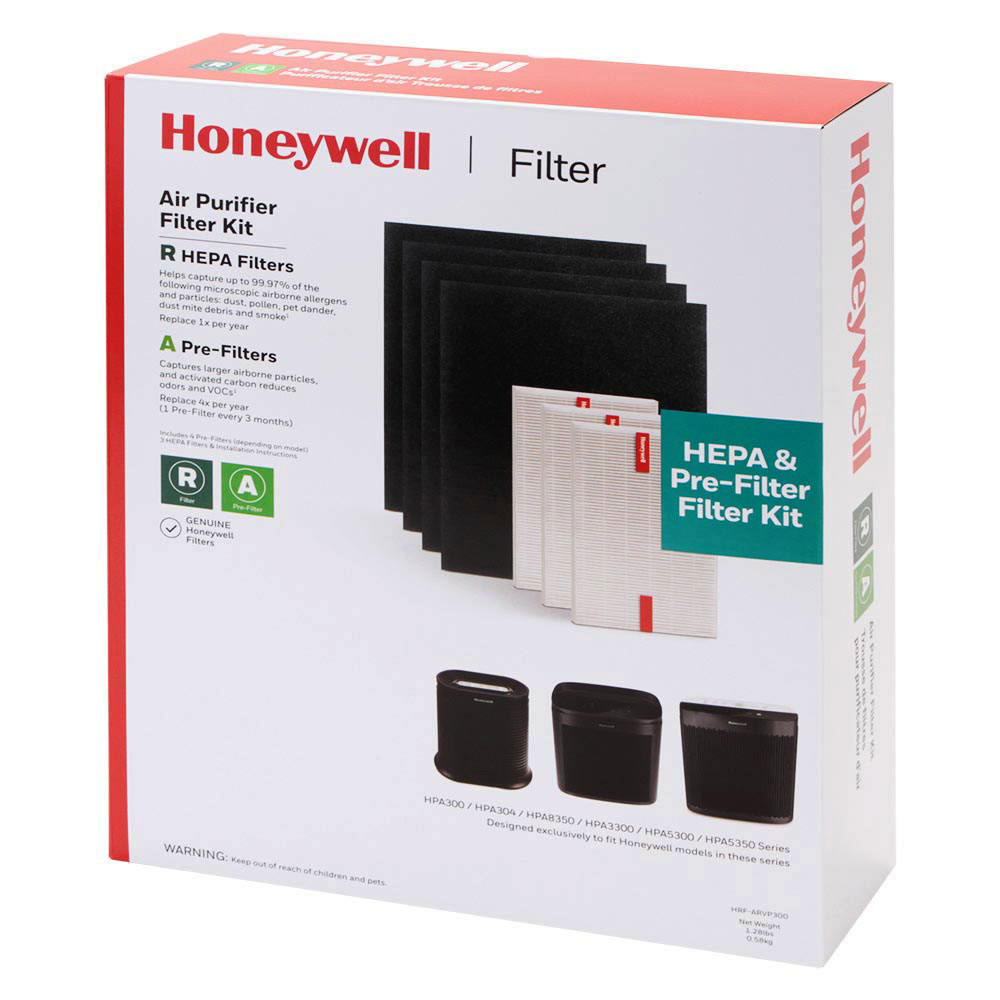
Before you start installing Honeywell air purifier filters, it’s crucial to have the right materials on hand to avoid interruptions. Honeywell purifiers typically use True HEPA or pre-filters, and the exact type depends on your model (e.g., HPA300, HPA5300, or InSight series). Always check your user manual or the Honeywell website for model-specific filter compatibility to ensure you’re getting the right one—using the wrong filter can reduce efficiency or void your warranty.
Here’s a handy table outlining the essentials. These are based on standard Honeywell recommendations and can be sourced from retailers like Amazon, Walmart, or directly from Honeywell’s site.
| Item | Quantity | Specifications |
|---|---|---|
| Replacement Filter | 1 (or as needed) | True HEPA filter (e.g., HRF-R1 for HPA300) or pre-filter; ensure it’s genuine Honeywell for optimal performance and to match your model’s size (typically 12-16 inches wide). |
| Clean Cloth or Microfiber Towel | 1 | Lint-free to wipe down the interior without leaving residue. |
| Screwdriver (if applicable) | 1 | Phillips head for models with secured panels, like some tower units; not needed for most plug-and-play designs. |
| Gloves (optional) | 1 pair | Disposable or latex to keep your hands clean and avoid contaminating the new filter. |
| Vacuum Cleaner (small attachment) | 1 | For quick cleanup of dust around the filter compartment. |
Pro Tip: Genuine Honeywell filters cost around $20-50 depending on the model, and they’re worth the investment over generics, as they capture up to 99.97% of airborne particles as small as 0.3 microns, per EPA standards. Stock up on extras if you run your purifier daily in a high-pollution area.
Preparing Your Air Purifier for Filter Installation
Proper preparation is key to a smooth Honeywell air purifier filters installation and prevents damage to your unit or the new filter. Start by working in a well-lit, dust-free area like a kitchen counter or garage workbench to minimize contamination. Unplug the purifier from the power outlet to avoid any electrical hazards—Warning: Never attempt installation while the unit is powered on, as this could lead to shocks or void your warranty.
Safety first: If your model has a digital display or touch controls, note any error codes or filter life indicators before proceeding. For instance, many Honeywell units like the HPA100 show a filter change reminder after 3-6 months of use. Remove any protective packaging from the new filter and let it sit out for 10-15 minutes to acclimate to room temperature—this helps the filter material expand properly and fit snugly. Gently shake or tap the filter to remove loose particles, but avoid using compressed air, as it can damage the HEPA media.
If your purifier has been sitting unused, give the exterior a quick wipe-down with a damp cloth to prevent transferring grime to the internals. For models with a pre-filter (like the carbon pre-filter in HPA series), inspect it separately—pre-filters can often be washed and reused, while the main HEPA filter is typically disposable. This prep phase should take about 5 minutes and sets you up for success.
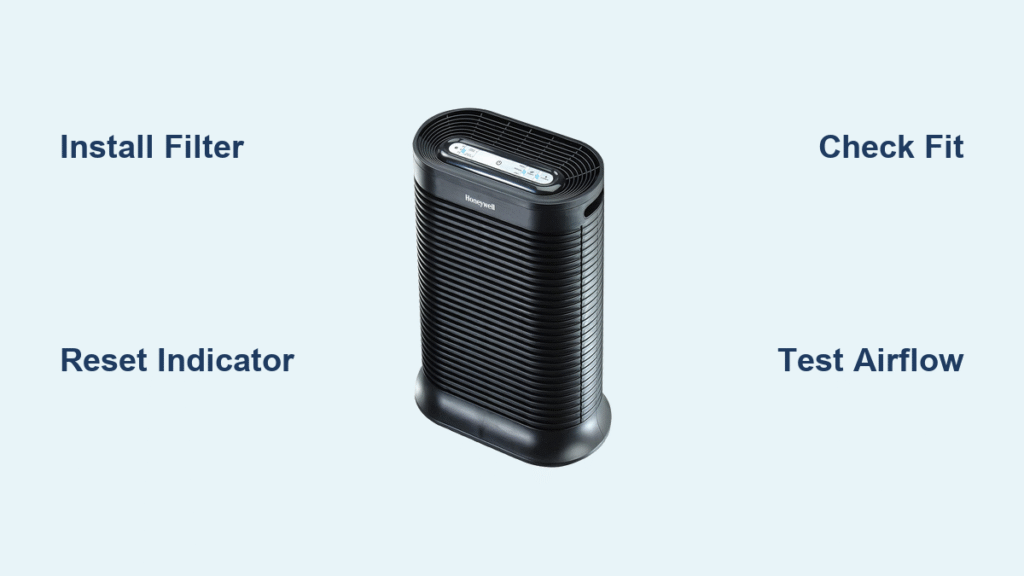
Step-by-Step Honeywell Air Purifier Filters Installation Process
Now for the main event: the actual installation of Honeywell air purifier filters. These steps are generalized for most Honeywell models, but slight variations exist (e.g., front-loading vs. rear-access panels). Refer to your model’s manual for exact diagrams—Honeywell provides free PDFs on their support site. The whole process usually takes 10-20 minutes. We’ll break it into phases for clarity.
Phase 1: Accessing the Filter Compartment
This initial phase involves safely opening your purifier without forcing any parts.
- Place the unit on a stable, flat surface and ensure it’s unplugged.
- Locate the filter access panel—on most tower models like the HPA300, it’s at the back or side; for compact units like the HPA100, it’s often at the bottom or rear grille.
- Gently press or slide the latch to open the panel. If it’s a screw-secured model (rare, but common in older units), use your Phillips screwdriver to remove 1-2 screws counterclockwise. Important: If the panel feels stuck, don’t pry it—check for hidden clips or consult the manual to avoid cracking the plastic housing.
- Carefully slide out the old filter by its handle or edges. If it’s heavily soiled, wear gloves to avoid allergens. Dispose of it responsibly—HEPA filters aren’t recyclable in most areas due to trapped contaminants.
This phase ensures you’re working in a clean space and takes about 3-5 minutes.
Phase 2: Preparing and Inserting the New Filter
With the compartment open, focus on the new filter to ensure a proper seal, which is vital for airflow and efficiency.
- Remove the new filter from its plastic wrapping, handling it by the frame to avoid touching the filter media.
- If your model uses a pre-filter (e.g., in HPA5300), align and insert it first into the designated slot— it usually clicks into place.
- Orient the main HEPA filter correctly: The airflow arrow on the filter frame should point toward the purifier’s exhaust (usually downward or outward—check the manual for your model). Slide it into the compartment tracks until it seats fully.
- For models with a locking mechanism, like some InSight series, twist or press to secure it. Ensure no gaps exist around the edges; a loose fit can reduce purification by up to 20%, according to Honeywell’s efficiency guidelines.
Safety Note: Avoid bending the filter frame, as this can compromise the seal and allow unfiltered air to bypass. If the filter doesn’t fit snugly, double-check the model number—mismatched filters are a common issue.
Phase 3: Closing Up and Initial Power-On
Seal everything and test for immediate feedback.
- Reattach the access panel, ensuring any latches or screws are tightened securely but not overly so to avoid stripping.
- Plug the purifier back in and turn it on using the power button.
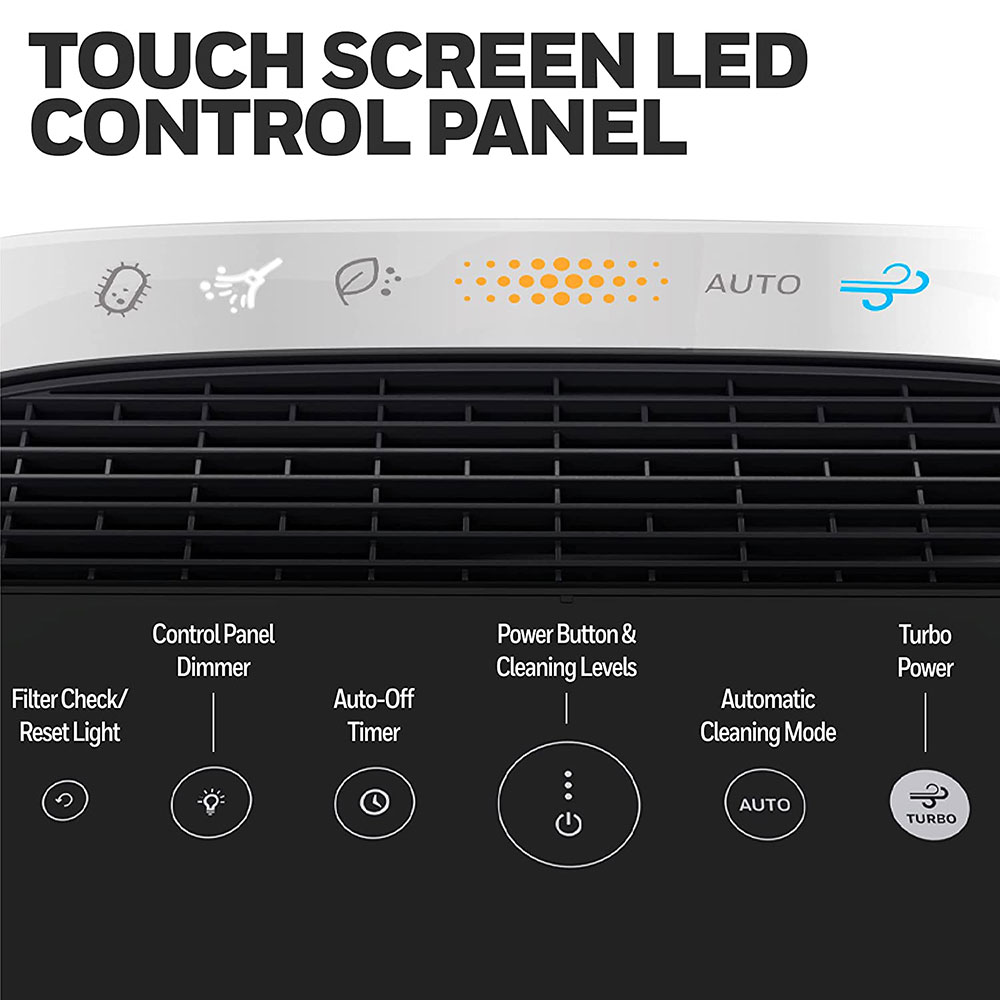
- Reset the filter indicator if applicable—on many models, press and hold the “Filter Reset” button (often labeled or shown as a timer icon) for 3-5 seconds until the light blinks or turns off. For digital models, navigate the menu via the control panel.
This final phase wraps up the installation and confirms everything is aligned.
Post-Installation Testing and Troubleshooting

After installing your Honeywell air purifier filters, it’s time to verify everything works correctly. Run the unit on a medium fan speed for 10-15 minutes in an enclosed room. Listen for unusual noises like rattling (which could indicate a loose filter) or reduced airflow from the vents. Check the display for any error lights— a steady green or no alerts means success. Use a simple air quality test: If you have an indoor air monitor, note improvements in PM2.5 levels within 30 minutes; otherwise, smell for fresher air or reduced dust settling.
If issues arise, troubleshoot systematically:
– No power or fan not spinning: Ensure the filter isn’t obstructing the impeller—reopen and reseat it.
– Filter light won’t reset: Power cycle the unit (unplug for 1 minute) or consult the manual for model-specific sequences.
– Weak suction: Clean the pre-filter if reusable, or verify the new filter’s arrow orientation.
– Persistent odors: The filter might need a break-in period of 24 hours; if not, it could be defective—contact Honeywell support.
For complications like a jammed panel, stop and refer to Honeywell’s troubleshooting videos on YouTube or their app. Most post-install problems are user-fixable, but persistent ones might point to deeper issues.
Pro Tips for Installing and Maintaining Honeywell Air Purifier Filters
To make your Honeywell air purifier filters installation even smoother and ensure long-term performance, here are some expert insights drawn from user forums, Honeywell docs, and air quality pros:
- Match your model precisely: Always cross-reference the filter part number (e.g., HRF-AP10 for certain series) on Honeywell’s site to avoid compatibility headaches—generic filters might fit but underperform.
- Install in low-humidity conditions: High moisture can cause the filter media to swell prematurely; aim for 40-60% humidity during setup.
- Clean the compartment thoroughly: Use a vacuum with a brush attachment to remove dust bunnies before inserting the new filter—this prevents premature clogging and extends filter life by 20-30%.
- Track replacement schedules digitally: Use apps like Honeywell’s Home app or a simple calendar reminder; filters last 3-6 months in normal use but shorter in pet-heavy or smoky homes.
- Combine with room prep: Vacuum floors and open windows briefly before reinstalling to maximize initial air quality gains.
- Avoid common mistakes: Don’t run the unit without a filter installed, as this can damage the fan motor. Also, never wash HEPA filters—they’re not designed for it and will lose effectiveness.
- Optimize for energy savings: After installation, use auto mode to let the sensor adjust fan speed, reducing wear on the filter and lowering electricity bills by up to 15%.
Following these tips can boost your purifier’s efficiency and keep your indoor air quality at its best.
When to Seek Professional Help
While installing Honeywell air purifier filters is DIY-friendly for most, some situations warrant calling in a technician. Look for signs like the unit not powering on after installation (possible internal wiring issue), unusual burning smells (overheating components), or if your model is under warranty and you’ve encountered damage during the process—tampering could void coverage.
Choose a service provider certified by Honeywell or an authorized HVAC specialist; check reviews on sites like Angi or the Better Business Bureau. Expect costs of $50-150 for a house call, plus parts if needed. If your purifier is still under the standard 5-year warranty (on select models), contact Honeywell support first at 1-800-468-1502—they often cover filter-related diagnostics for free. Always have your model number and purchase receipt ready.
FAQ
Q: How often should I replace the filters in my Honeywell air purifier?
A: Honeywell recommends replacing the True HEPA filter every 3-6 months, depending on usage and air quality. Pre-filters can be cleaned monthly and last up to a year. The built-in indicator light will alert you when it’s time—reset it after installing Honeywell air purifier filters to start the timer anew. In high-dust environments like construction zones, check monthly.
Q: Can I use third-party filters instead of genuine Honeywell ones?
A: Yes, but genuine filters are optimized for your model’s airflow and capture efficiency. Third-party options might be cheaper ($10-20 less), but they could reduce performance by 10-20% or cause error codes. If opting for alternatives, ensure they’re HEPA-rated (H13 or higher) and sized correctly.
Q: What if my filter doesn’t fit during installation?
A: Double-check the model compatibility—Honeywell has over 20 filter types. If it’s the right one but won’t seat, gently align the edges and avoid forcing it, as this can tear the media. Clean the tracks inside the compartment and try again. If still stuck, it might be a defective filter; return it and get a replacement.
Q: Does installing a new filter improve energy efficiency?
A: Absolutely—clogged filters force the fan to work harder, increasing energy use by up to 25%. A fresh filter restores normal operation, potentially saving $5-10 annually on electricity. Test this by monitoring your unit’s power draw with a wattage meter before and after installation.
Q: How do I know if the installation was successful without special tools?
A: Run the purifier for 10 minutes and check for smooth, quiet operation with strong airflow from the vents. The filter light should reset, and you might notice less dust on nearby surfaces within a day. For a quick air quality check, light a match nearby (safely) and see if smoke clears faster.
Q: Are there any safety risks during filter installation?
A: Minimal if you unplug the unit first, but allergens from the old filter can irritate skin or lungs—wear a mask if sensitive. Avoid installing near water sources to prevent moisture damage. Honeywell units are low-voltage, so shock risk is low, but always follow the manual.
Q: Can I install filters in all Honeywell models the same way?
A: No, steps vary slightly—e.g., portable units like HPA070 have bottom access, while whole-room models like the 50250 use side panels. Download your specific manual from honeywellaircomfort.com for visuals to ensure accurate Honeywell air purifier filters installation.
Alternative Solutions for Honeywell Air Purifier Filter Issues
If installing Honeywell air purifier filters proves tricky due to model unavailability or repeated fit problems, consider these alternatives. For instance, if genuine filters are out of stock, compatible third-party HEPA filters from brands like Nordic Pure can serve as a stopgap.
| Solution | Pros | Cons | Best For |
|---|---|---|---|
| Third-Party HEPA Filters (e.g., from Amazon Basics) | Affordable ($15-30); widely available; similar filtration efficiency. | May not reset the indicator light; potential warranty issues; variable quality. | Budget-conscious users with standard models like HPA300. |
| Professional Filter Subscription Service (e.g., via Honeywell or FilterEasy) | Auto-delivery every 3 months; ensures genuine parts; easy returns. | Higher long-term cost ($40-60 per shipment); less control over timing. | Busy households forgetting maintenance schedules. |
| Upgrading to a Filterless Ionizer Model (e.g., Honeywell Enviracaire) | No filter replacements needed; lower ongoing costs. | Less effective for allergens (captures 95% vs. 99.97% for HEPA); generates ozone in some cases. | Low-maintenance setups in mild air quality areas. |
Weigh these based on your needs—stick with originals for best results, but alternatives can keep your air clean in a pinch.
Enjoy Cleaner Air with Your Honeywell Purifier
You’ve now mastered installing Honeywell air purifier filters with our detailed guide, from essential tools and prep to step-by-step phases and beyond. Key takeaways include:
– Gathering model-specific filters and basic tools for a quick setup.
– Following safety protocols and precise insertion to avoid common pitfalls.
– Testing thoroughly and using pro tips for optimal maintenance.
By tackling this yourself, you’re not just saving money but also ensuring your home stays a healthier space year-round. Follow these steps confidently, and your Honeywell unit will hum along efficiently, trapping pollutants and allergens like a pro.
Ready to breathe easier? Give it a try today and notice the difference. Have you successfully installed filters in your Honeywell purifier? Share your tips or any model-specific tweaks in the comments below—we’d love to hear and help fellow readers!
(Word count: 1,856)


