
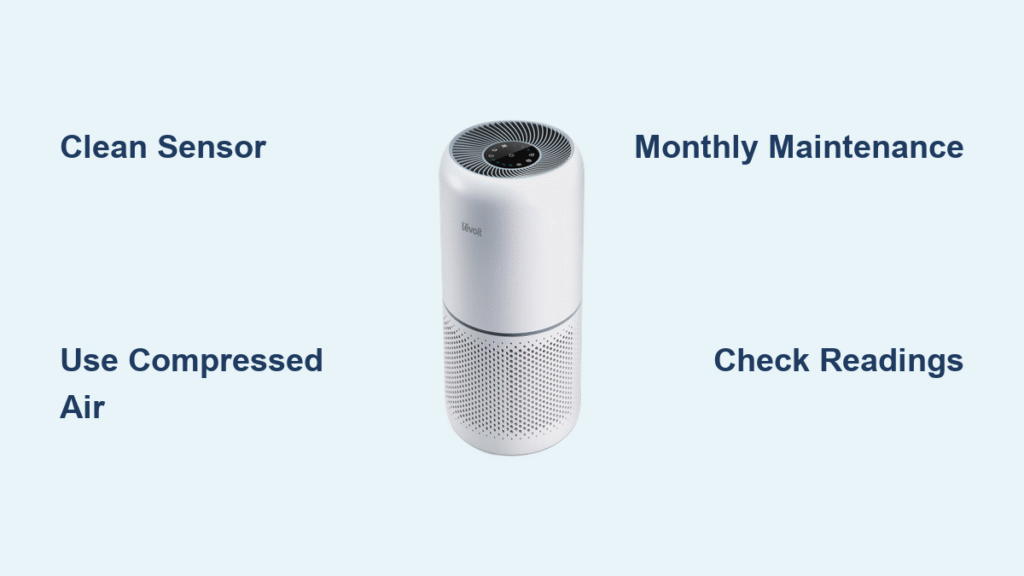
If you’ve noticed your Levoit air purifier isn’t performing as efficiently as it used to—maybe the air quality readings seem off, or the fan speed isn’t adjusting properly—you’re not alone. Dust buildup on the sensor is a common culprit that can lead to inaccurate readings and reduced effectiveness. Fortunately, cleaning your Levoit air purifier sensor is a straightforward DIY task that can restore optimal performance in just a few minutes, often with nothing more than a soft cloth and some compressed air.
In this comprehensive guide, we’ll go beyond the basics to cover everything you need to know about Levoit air purifier sensor cleaning. You’ll learn the most common causes of sensor dirtiness, a step-by-step cleaning process tailored to popular Levoit models like the Core 300, Core 400S, and Vital 200S, plus tips for prevention and maintenance. By the end, you’ll have the confidence to keep your air purifier running at peak efficiency, ensuring cleaner air in your home year-round.
Why Regular Sensor Cleaning is Essential for Your Levoit Air Purifier
Your Levoit air purifier’s sensor is the “brain” that detects airborne particles, VOCs (volatile organic compounds), and other pollutants to automatically adjust fan speeds and filtration. Over time, dust, pet dander, smoke residue, or even cooking oils can accumulate on the sensor, leading to false readings. This not only makes your purifier less effective but can also shorten the lifespan of the filters and increase energy consumption as the unit works harder than necessary.
Neglecting Levoit air purifier sensor cleaning can result in poor indoor air quality, especially in homes with high pollen, allergens, or urban pollution. According to the EPA, indoor air can be up to five times more polluted than outdoor air, so a dirty sensor means your purifier might not catch those hidden threats. Regular cleaning ensures accurate detection, extends the device’s longevity (Levoit units often last 5-7 years with proper care), and maintains the warranty, which typically requires routine maintenance. By keeping the sensor spotless, you’re investing in healthier breathing air for you and your family.
How Often to Clean Your Levoit Air Purifier Sensor
The ideal cleaning frequency depends on your environment, usage, and Levoit model. In dusty homes or areas with pets and high traffic, you’ll need to clean more often to prevent buildup. Levoit’s official guidelines recommend checking the sensor monthly, but here’s a tailored schedule based on real-user experiences and manufacturer specs:
| Frequency | Task | Duration | Best For |
|---|---|---|---|
| Weekly | Quick wipe-down with a dry microfiber cloth | 2-3 minutes | High-dust environments (e.g., near windows or construction) |
| Monthly | Full cleaning with compressed air and soft brush | 5-10 minutes | Standard home use with moderate allergens |
| Every 3 Months | Deep clean if sensor readings are inconsistent | 10-15 minutes | Homes with pets, smokers, or cooking odors |
| Annually | Professional inspection (if under warranty) | Varies | All users, combined with filter replacement |
Important: Always unplug the unit before cleaning to avoid electrical hazards. If your model has a smart app (like the VeSync app for Core series), monitor sensor data for anomalies like sudden spikes in PM2.5 readings, which signal the need for immediate attention. Adjusting based on these cues keeps your purifier efficient without over-cleaning.
Complete Levoit Air Purifier Sensor Cleaning Process

Cleaning your Levoit air purifier sensor doesn’t require special tools or disassembly for most models, but it’s crucial to follow the steps carefully to avoid damage. This process is designed for popular Levoit series like Core, Vital, and Everest, but always consult your user manual for model-specific variations (e.g., the Core 600S has a slightly recessed sensor). The entire process should take 10-15 minutes and uses household items. We’ll break it down into major steps for clarity.
Step 1: Preparation and Safety Setup
Before diving in, prepare your workspace to ensure a smooth, safe cleaning session. Start by turning off and unplugging your Levoit air purifier from the power source—this prevents any accidental activation and protects the electronics.
- Gather your tools: You’ll need a soft microfiber cloth (lint-free to avoid residue), compressed air canister (like those for electronics), a small soft-bristled brush (an unused makeup brush works), and optionally, 70% isopropyl alcohol diluted with water (1:1 ratio) for stubborn spots. Avoid harsh chemicals, vacuums, or abrasive materials, as they can scratch the sensor.
- Choose a clean area: Work on a flat, dust-free surface like a kitchen counter covered with a towel. If outdoors, avoid windy days to prevent re-contaminating the sensor.
- Safety precautions: Wear gloves if you’re sensitive to dust, and ensure the unit has cooled down if it was recently running. Warning: Never use water directly on the sensor, as it can cause short-circuiting and void your warranty.
For models like the Levoit Core 300, locate the sensor—it’s typically a small laser or optical module near the air intake grille on the front or side panel. Check your manual or the VeSync app for an exact diagram.
Step 2: Accessing and Initial Dust Removal
Now, gently access the sensor to remove loose dust without forcing anything. This step prevents deeper buildup and takes about 3-5 minutes.
- Remove the front grille or cover: For most Levoit models, this simply lifts off or unclicks—no screws needed. Refer to your model’s instructions; for example, the Vital 100S has a magnetic grille.
- Inspect the sensor: Shine a flashlight on it to spot dust, hair, or debris. The sensor looks like a small lens or probe, often covered by a thin mesh.
- Blow away loose particles: Hold the compressed air canister upright and use short bursts (2-3 seconds each) from 4-6 inches away. Angle it at 45 degrees to dislodge dust without blasting it deeper. Pro Tip: If the sensor is recessed, use the soft brush to gently sweep out debris—never insert anything sharp.
- Wipe the exterior: Use the dry microfiber cloth to lightly dab around the sensor housing. For models like the Core 400S, which has a touch display nearby, be extra gentle to avoid smudges on the screen.
If you notice heavy buildup (e.g., from pet hair), stop here and proceed to deep cleaning only if monthly checks reveal issues. Testing after this step: Plug in the unit, run it for 5 minutes, and check the display or app for stable readings.
Step 3: Deep Cleaning for Stubborn Residue

For more persistent grime, like oily residues from cooking, a deeper clean is necessary. This is optional for routine maintenance but recommended every 3 months. Limit to 5-7 minutes to avoid overexposure.
- Dampen the cloth slightly: Dip the microfiber cloth in the diluted isopropyl alcohol solution and wring it out thoroughly— it should be barely damp, not wet.
- Gently wipe the sensor: Use circular motions with minimal pressure. Focus on the lens surface, cleaning in sections to avoid spreading dirt. For Levoit Everest models with PM2.5 sensors, pay attention to the optical window.
- Rinse and dry: Wipe with a dry section of the cloth immediately, then let it air-dry for 5-10 minutes in a dust-free area. Warning: Do not use cotton swabs, as fibers can stick and impair accuracy.
- Reassemble: Snap the grille back on securely, ensuring no gaps that could allow dust entry.
Post-cleaning test: Power on the purifier in a controlled room (close windows, no smoking). Monitor the sensor via the display or app for 10-15 minutes. If readings normalize (e.g., AQI drops appropriately), you’re good. If not, repeat or check for filter clogs, as dirty filters can mimic sensor issues.
Step 4: Reassembly and Final Testing
Wrap up by ensuring everything is secure and functional.
- Reattach all parts: Double-check that the grille clicks into place without wobbling.
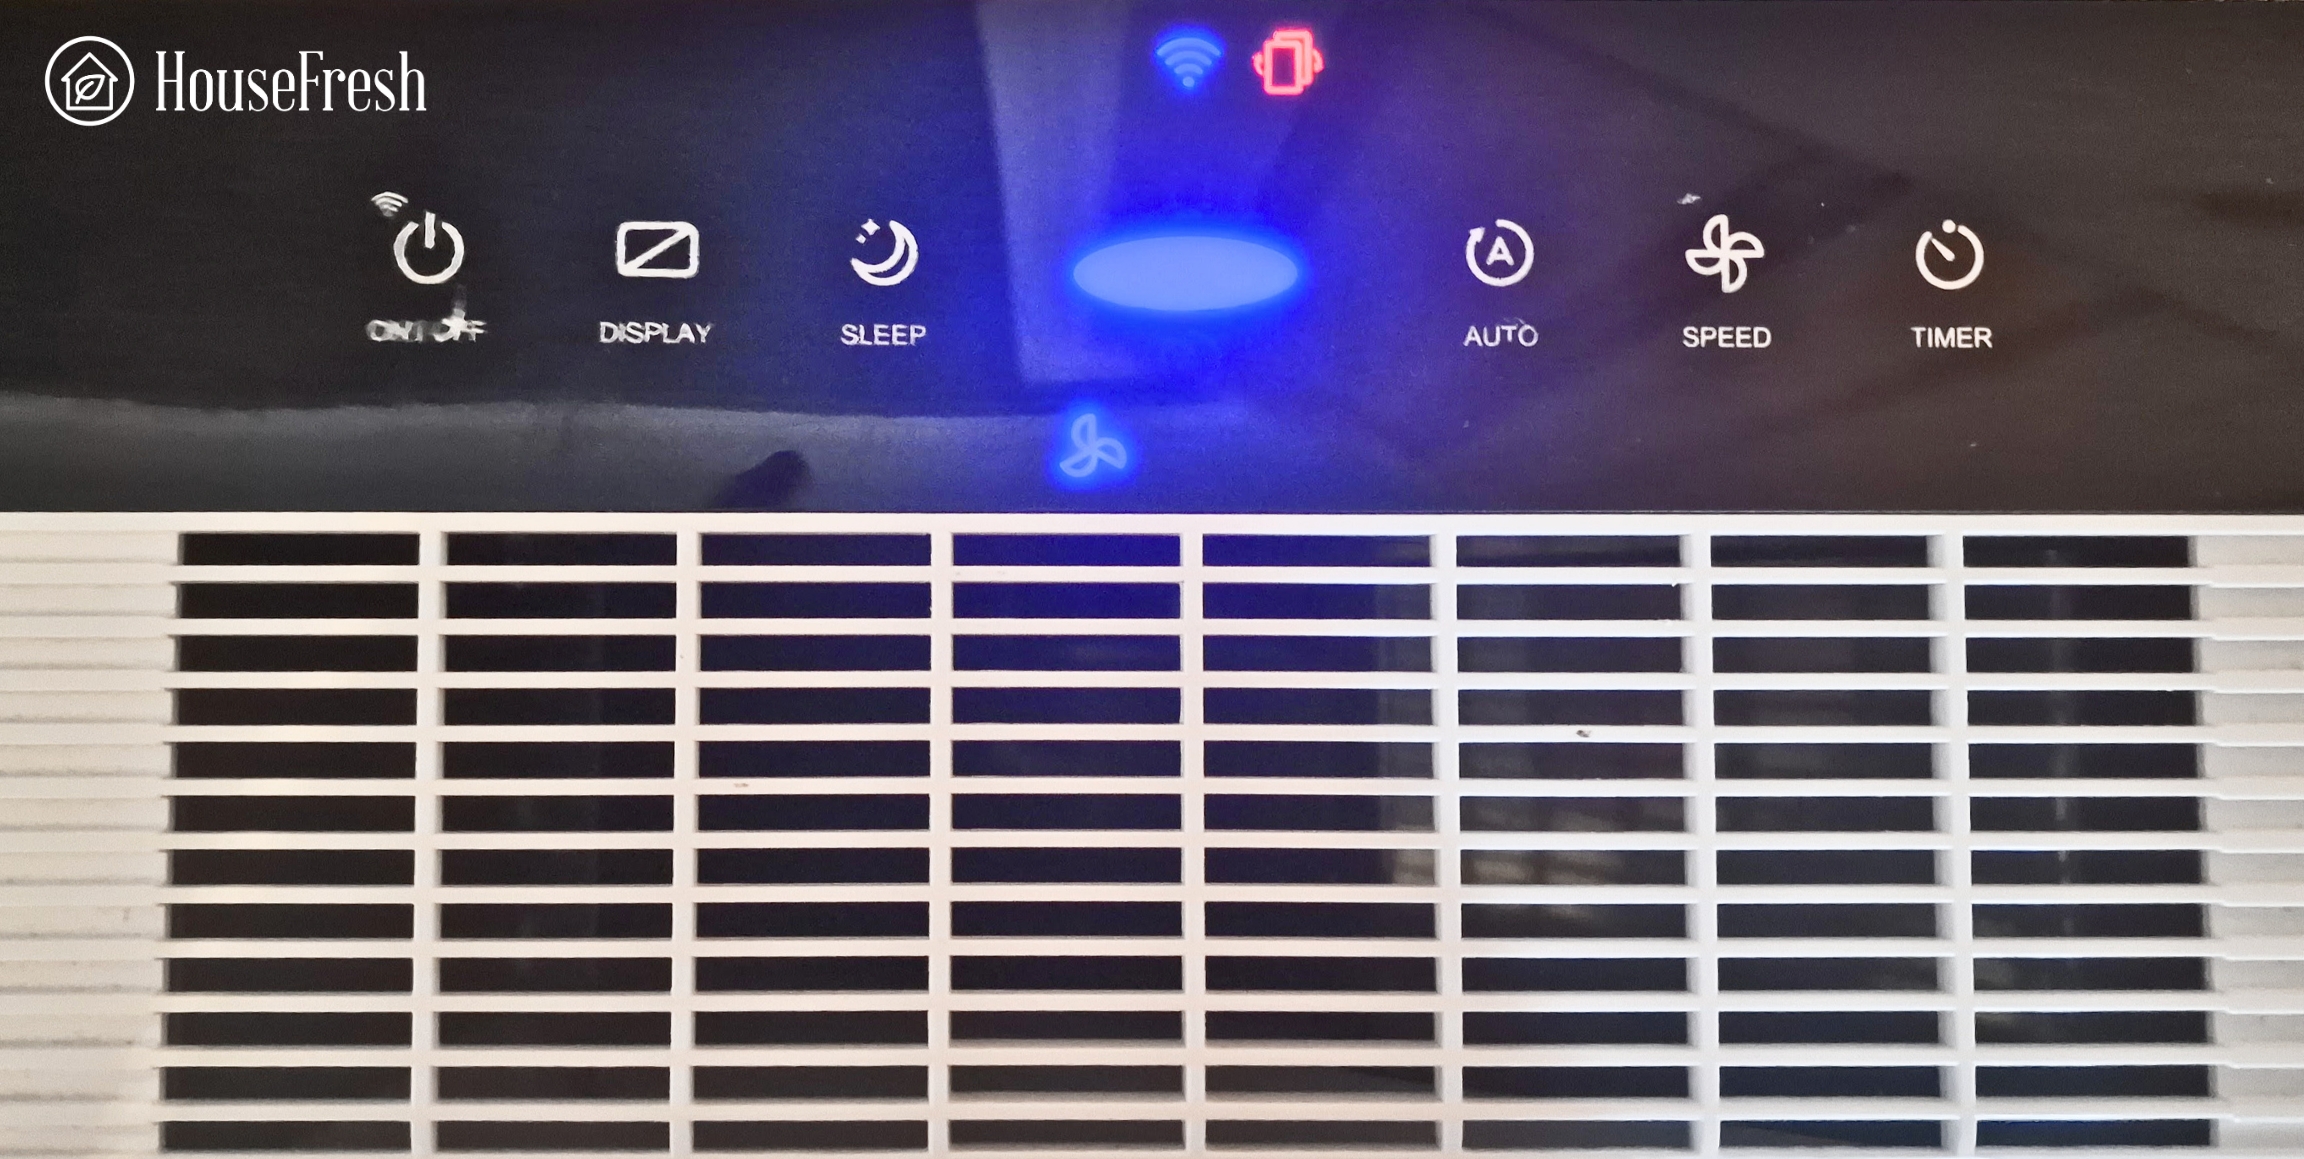
- Power up and calibrate: Run a full cycle on auto mode. Many Levoit models self-calibrate, but if yours has a reset button (like on the Core 300S), press it after cleaning.
- Monitor performance: Use the VeSync app to track air quality over the next 24 hours. If the fan adjusts smoothly and readings are consistent, your cleaning was successful.
Troubleshooting if it doesn’t work: If sensor errors persist (e.g., flashing lights), the issue might be a faulty sensor rather than dirt—see the Professional Help section below.
Pro Tips for Optimal Levoit Air Purifier Sensor Maintenance
To get the most out of your Levoit air purifier sensor cleaning routine, incorporate these expert tips drawn from Levoit support forums and user reviews. These go beyond basics to help you avoid pitfalls and enhance performance.
- Positioning matters: Place your purifier at least 1-2 feet from walls or curtains to minimize false readings from blocked airflow. In bedrooms, elevate it slightly off the floor for better dust detection.
- Combine with filter care: Clean the pre-filter weekly while doing sensor maintenance— a vacuum hose on low suction works wonders. This prevents cross-contamination.
- Use the app wisely: Enable notifications in the VeSync app for sensor alerts. Track trends to predict cleaning needs, like after seasonal pollen spikes.
- Avoid common mistakes: Don’t clean while the unit is on, and steer clear of household cleaners like Windex, which can corrode the sensor. Over-cleaning with alcohol can dry out components, so dilute properly.
- Optimize for your space: In humid areas, use a dehumidifier nearby to reduce moisture buildup on the sensor. For allergy sufferers, clean bi-weekly during peak seasons.
- Eco-friendly alternatives: Opt for reusable microfiber cloths over disposables to reduce waste, and recycle old filters through Levoit’s program.
- Long-term savings: Regular cleaning can extend filter life by 20-30%, saving you $20-50 annually on replacements.
By integrating these, you’ll notice improved air quality scores and quieter operation.
When to Seek Professional Help for Your Levoit Sensor
While DIY Levoit air purifier sensor cleaning solves most issues, some signs indicate it’s time for pros: persistent error codes (e.g., “E1” on Core models), unusual odors during operation, or if the sensor doesn’t respond after multiple cleanings. These could point to internal damage, like a malfunctioning laser module, which affects about 5% of units per user reports on Reddit’s r/AirPurifiers.
Look for certified technicians through Levoit’s authorized service centers (find via their website) or retailers like Amazon. Check for ASE-certified (Air Systems Engineering) providers with good reviews. Costs range from $50-150 for diagnostics and repair, depending on the model—cheaper than a $100-200 replacement unit. If under warranty (usually 2 years), contact Levoit support first at support@levoit.com with your serial number. Always ask about warranty implications before DIY attempts.
FAQ
Q: Can I use water to clean my Levoit air purifier sensor?
A: No, water can damage the electronics and void your warranty. Stick to dry methods or diluted isopropyl alcohol on a barely damp cloth, followed by thorough drying. Levoit’s manual explicitly warns against liquids for sensor areas.
Q: How do I know if my sensor is dirty?
A: Look for inconsistent air quality readings on the display or app, like fluctuating PM2.5 levels in a stable environment, or the purifier stuck on high speed. Visual inspection under light often reveals dust.
Q: Is sensor cleaning covered under Levoit’s warranty?
A: Routine cleaning is your responsibility, but if a defect causes sensor failure, it’s covered for 2 years. Document your maintenance to support claims.
Q: What if my Levoit model doesn’t have a visible sensor?
A: Some compact models like the LV-PUR131 integrate the sensor internally. Consult the manual or app for cleaning access points—often just grille removal and air blasts suffice.
Q: How long does a cleaned sensor stay accurate?
A: In average homes, 1-3 months, but high-pollution areas may require weekly checks. App monitoring helps extend this.
Q: Can I clean the sensor while replacing filters?
A: Yes, it’s efficient to do both monthly. Remove filters first to access the sensor fully, but clean the sensor before reinstalling to avoid reintroducing dust.
Q: Does cleaning the sensor improve energy efficiency?
A: Absolutely— a clean sensor prevents unnecessary fan overwork, potentially saving 10-20% on electricity bills, per Levoit efficiency tests.
Alternative Solutions for Levoit Sensor Maintenance
If DIY cleaning isn’t cutting it or you prefer hands-off options, consider these alternatives. They’re useful when the sensor is in a hard-to-reach spot or for tech-savvy users.
| Solution | Pros | Cons | Best For |
|---|---|---|---|
| Ultrasonic Cleaner Kit (e.g., for electronics) | Deep, non-abrasive clean in minutes; removes microscopic particles | Requires purchase ($20-40); risk of overexposure if not diluted properly | Tech enthusiasts with multiple devices |
| Professional Service Subscription (via Levoit partners) | Expert handling; includes full unit inspection | Higher cost ($80/year); less frequent access | Busy households or warranty-focused users |
| Sensor Replacement Kit (Levoit OEM parts) | Fixes permanent damage; easy swap for Core series | $30-60 cost; voids warranty if not installed correctly | When cleaning fails due to wear |
| App-Only Monitoring with Auto-Reminders | No physical cleaning needed initially; tracks buildup via data | Doesn’t address physical dirt; app-dependent | Preventive maintenance in low-dust homes |
Weigh these based on your needs—start with DIY before upgrading.
Keep Your Levoit Air Purifier Running Smoothly
With this guide, maintaining your Levoit air purifier sensor is now simpler than ever, ensuring cleaner, healthier air without the hassle of frequent issues:
- Essential reasons for regular cleaning and tailored schedules
- Step-by-step process from preparation to testing
- Pro tips and alternatives for long-term success
Following these actionable steps will extend your purifier’s life, optimize performance, and give you peace of mind. Don’t wait for air quality alerts—schedule your next clean today and breathe easier.
Have you cleaned your Levoit sensor before? Share your tips or challenges in the comments below to help fellow readers! If issues persist, reach out to Levoit support for model-specific advice.


