
Is your Dyson air purifier not performing as well as it used to? Are you noticing reduced airflow, unpleasant odors, or simply want to ensure optimal performance? Deep cleaning your Dyson air purifier can significantly improve its efficiency and extend its lifespan. This guide will walk you through a comprehensive cleaning process, addressing common issues and providing expert tips to get your air purifier back to its best.
This guide goes beyond a quick dusting. We’ll cover everything from safely disassembling your Dyson, cleaning each component thoroughly, and reassembling it correctly. We’ll also explore preventative maintenance and troubleshooting common problems you might encounter along the way, ensuring your air purifier continues to deliver clean, fresh air for years to come.
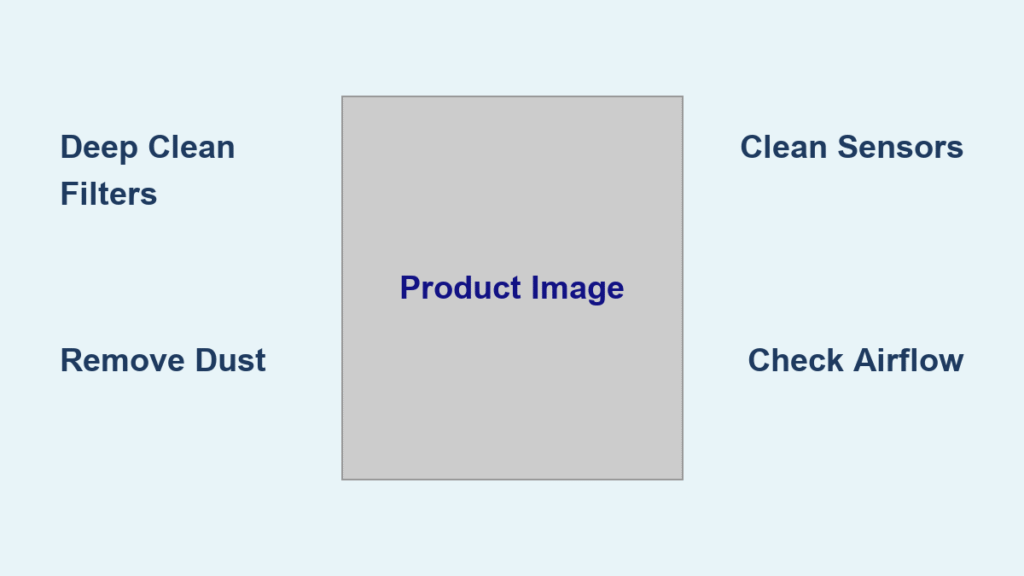
Understanding Your Dyson Air Purifier & Safety First
Before diving into the cleaning process, it’s crucial to understand the different parts of your Dyson air purifier. While models vary, common components include the base, pre-filter, HEPA filter, carbon filter, and airflow sensors. Always consult your model’s user manual for specific instructions and diagrams.
Important Safety Precautions:
- Disconnect Power: Always unplug your Dyson air purifier from the power outlet before cleaning.
- Avoid Water Damage: Never submerge any part of the air purifier in water.
- Gentle Cleaning: Use only mild detergents and soft cloths to avoid damaging components.
- Dry Thoroughly: Ensure all parts are completely dry before reassembling and powering on.
- Sensor Caution: Be extremely careful when cleaning airflow sensors; they are delicate.
What You’ll Need for Deep Cleaning
| Item | Quantity | Specifications |
|---|---|---|
| Phillips Head Screwdriver | 1 | Appropriate size for model |
| Soft Cloths | 3-5 | Microfiber recommended |
| Mild Dish Soap | Small Amount | Phosphate-free |
| Vacuum Cleaner with Brush Attachment | 1 | For initial dust removal |
| Small Brush | 1 | Soft-bristled toothbrush or similar |
| Isopropyl Alcohol | Small Amount | 70% or higher |
| Cotton Swabs | 1 Pack | For detailed cleaning |
| Distilled Water | Small Amount | For rinsing |
| Optional: Compressed Air | 1 Can | For removing dust from filters |
Step-by-Step Deep Cleaning Process
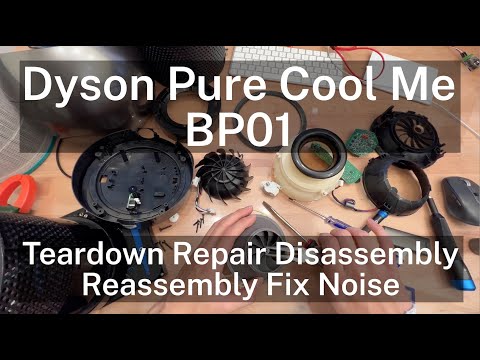
Phase 1: Initial Disassembly & Dust Removal
- Unplug the Purifier: Ensure the air purifier is disconnected from the power outlet.
- Remove Outer Housing: Many Dyson air purifiers have a removable outer housing. Consult your user manual for specific instructions on how to safely remove it.
- Vacuum External Surfaces: Use the brush attachment of your vacuum cleaner to gently remove dust and debris from the exterior of the purifier and the interior of the housing.
- Remove Filters: Carefully remove the pre-filter, HEPA filter, and carbon filter (if applicable). Note their orientation for reassembly.
Phase 2: Cleaning the Filters

- Pre-Filter Cleaning: The pre-filter captures large particles. Vacuum it thoroughly. If it’s washable (check your manual), gently hand wash it with mild dish soap and distilled water, then allow it to air dry completely.
- HEPA Filter Cleaning: Do not wash the HEPA filter. Gently tap it against a trash can to remove loose dust. You can also use compressed air (held at a distance) to dislodge dust, blowing from the clean side to the dirty side. Replace the HEPA filter according to the manufacturer’s recommendations – typically every 1-2 years.
- Carbon Filter Cleaning: Do not wash the carbon filter. Similar to the HEPA filter, gently tap it to remove loose dust. Replacement is recommended every 6-12 months depending on usage.
Phase 3: Cleaning the Interior & Sensors
- Vacuum Interior: Use the vacuum cleaner with the brush attachment to remove dust from the interior of the purifier, focusing on the fan blades and airflow pathways.
- Clean Fan Blades: Gently wipe the fan blades with a slightly damp (with distilled water) soft cloth. Be extremely careful not to bend or damage the blades.
- Airflow Sensor Cleaning: This is the most delicate part. Use a cotton swab lightly dampened with isopropyl alcohol to carefully clean the airflow sensors. Avoid applying excessive pressure.
- Wipe Down Interior Surfaces: Wipe down all interior surfaces with a slightly damp cloth and mild dish soap solution. Rinse with a clean, damp cloth and dry thoroughly.
Phase 4: Reassembly & Testing
- Ensure Everything is Dry: Double-check that all components are completely dry before reassembling.
- Reinstall Filters: Reinstall the filters in the correct orientation, as noted during disassembly.
- Reattach Housing: Carefully reattach the outer housing, ensuring it clicks securely into place.
- Plug In & Test: Plug the air purifier back into the power outlet and turn it on. Observe that the airflow is strong and there are no unusual noises.
Pro Tips for Dyson Air Purifier Maintenance
- Regular Pre-Filter Cleaning: Clean the pre-filter at least once a month, or more frequently in dusty environments. This extends the life of your HEPA and carbon filters.
- Filter Replacement Schedule: Adhere to the manufacturer’s recommended filter replacement schedule for optimal performance.
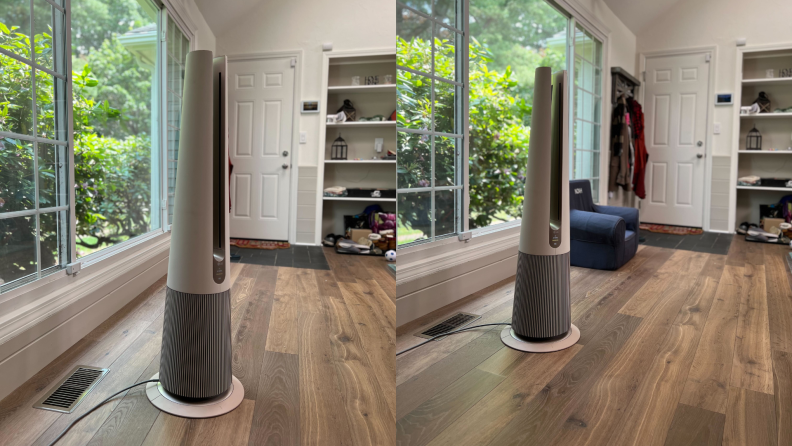
- Placement Matters: Position your air purifier in a central location with good airflow, away from obstructions like walls and furniture.
- Avoid Direct Sunlight: Prolonged exposure to direct sunlight can degrade filter materials.
- Air Quality Monitoring: Use a separate air quality monitor to track the effectiveness of your air purifier.
- Check for Error Codes: Familiarize yourself with the error codes displayed on your Dyson air purifier and refer to the user manual for troubleshooting.
- Soft Brush for Sensors: Use a very soft brush (like a makeup brush) to gently remove dust from sensors before using alcohol.
When to Call a Professional
- Persistent Error Codes: If your air purifier displays error codes that you cannot resolve after troubleshooting.
- Motor Issues: Unusual noises or a complete lack of airflow could indicate a motor problem requiring professional repair.
- Internal Damage: If you suspect internal damage due to a fall or other incident.
- Warranty Concerns: If your air purifier is still under warranty, attempting repairs yourself may void the warranty.
FAQ
Q: How often should I replace the Dyson air purifier filters?
A: The pre-filter should be cleaned monthly and replaced as needed. The HEPA filter typically lasts 1-2 years, and the carbon filter 6-12 months, depending on usage.
Q: Can I wash the HEPA filter?
A: No, washing the HEPA filter can damage it and reduce its effectiveness. It should be gently tapped to remove dust or replaced.
Q: What does the airflow sensor do?
A: The airflow sensor detects the amount of air flowing through the purifier and adjusts the fan speed accordingly.
Q: My Dyson air purifier is making a loud noise. What could be the problem?
A: A loud noise could indicate a blocked filter, a damaged fan blade, or a motor issue. Check the filters first, and if the noise persists, contact Dyson support.
Q: How do I know if my air purifier is working properly?
A: You should notice improved air quality and reduced dust levels. Some Dyson models have air quality indicators that provide real-time data.
Enjoy Cleaner, Fresher Air
By following this deep cleaning guide, you can restore your Dyson air purifier to its optimal performance and enjoy cleaner, fresher air in your home. Remember to prioritize safety, be gentle with delicate components, and adhere to the manufacturer’s recommendations for filter replacement.
Have you successfully deep cleaned your Dyson air purifier? Share your experience and any helpful tips in the comments below!


