
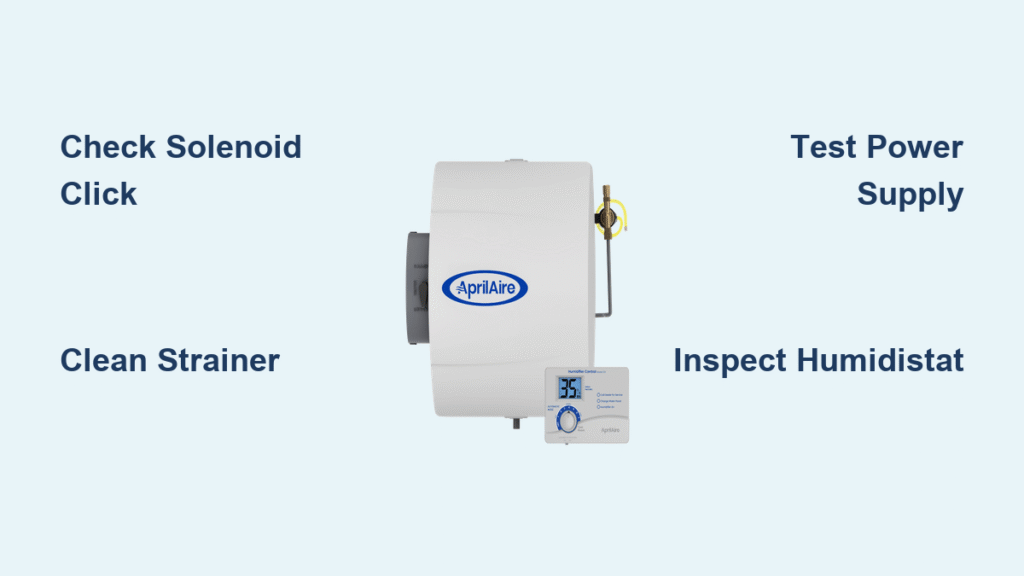
Your Aprilaire humidifier sits dormant while dry air leaves your skin parched and static shocks zap your fingertips. This common winter headache strikes when furnace heat evaporates indoor moisture, yet your unit refuses to respond. Most Aprilaire humidifier not working issues stem from simple electrical faults or mineral buildup—not catastrophic failure. In this guide, you’ll learn precise diagnostics and $5 fixes for every symptom, from silent solenoids to runaway water flow. Skip the technician call and restore optimal humidity in under an hour.
When your humidifier ignores the TEST position, don’t panic. Aprilaire units fail predictably due to power interruptions or component blockages. The critical first step is verifying whether the problem is electrical or mechanical. This guide eliminates guesswork with field-tested procedures from HVAC technicians who repair hundreds of units annually. You’ll discover why 80% of “dead” humidifiers actually need only a cleaned strainer or recalibrated sensor—not expensive replacements.
Test Mode Failures First
No Water Flow During Test Mode
When spinning the humidistat to TEST yields silence, your unit needs power verification. Set the furnace to run, then rotate the humidistat dial fully clockwise to TEST/RESET. Listen for the solenoid’s distinct metallic click—absence confirms electrical failure. Grab your multimeter: measure 24 VAC across the solenoid terminals while the furnace operates. Zero volts indicates a power supply issue; 24 VAC present points to solenoid failure.
Trace the problem systematically:
– Check the furnace control board for a blown 3A fuse (common failure point)
– Verify 24 VAC between R and C terminals on the furnace board
– Inspect low-voltage wiring for loose wire nuts or damaged cables between R → humidistat → solenoid → C
Perform a component test sequence: Jumper R to H terminals at the furnace—solenoid should click immediately. If not, remove the solenoid and apply 24 VAC directly. No click? Replace the solenoid. If it clicks but fails in-circuit, test humidistat continuity in TEST position (should read 0 ohms). Replace whichever component fails these checks.
Manual Humidistat Spins Freely
Roman numeral dial humidistats that rotate without resistance signal internal damage. Never force a stiff dial—this worsens the problem. First, check for a loose brass set screw behind the dial face; tighten it with a small screwdriver. If resistance remains absent, the internal linkage has detached. Gently press the control arm toward the unit’s interior while rotating the dial—reconnect the plastic cam to the switch mechanism. Persistent spinning means the humidistat assembly is broken and requires replacement.
When Test Works But Normal Mode Doesn’t
Humidity Already Above 45%
Your unit might be functioning perfectly—it’s just too humid already. Aprilaire units automatically shut off above 45% relative humidity (RH) to prevent over-saturation. Verify actual conditions with a separate hygrometer; if it reads 46%+ while your humidistat is set to “6” (≈40% RH), the unit is working as designed. Outdoor temperature compensation further reduces set-points in cold weather. For example, at 0°F outside, the unit may target only 30% RH.
Bad Outdoor Sensor Symptoms
Faulty outdoor sensors cause normal-mode failures even when TEST works. Disconnect the sensor wires at the control panel (not furnace) and measure resistance between them. Infinite resistance means a broken wire or sensor; erratic readings indicate damage. Perform a bypass test: temporarily jumper the sensor terminals at the control board. If the humidifier now operates normally (as if outdoor temp is 70°F), replace the outdoor sensor. Consult your service manual’s resistance chart—e.g., a 10 kΩ thermistor should read ~30 kΩ at 32°F.
Water Won’t Shut Off When Blower Stops
Continuous Flow Diagnosis
Immediately shut off the humidifier at the breaker—water should stop within 30 seconds. If flow continues, close the saddle valve to prevent duct flooding. This usually indicates a stuck isolation relay. Locate the gray metal relay box near your furnace. Pull the 24V coil wire while water flows; if it stops immediately, replace the relay (OEM spec: 50 VA, 24 VAC coil, SPST-NO contacts). Welded contacts from electrical arcing are a common failure.
For a temporary fix, move the humidifier’s 24V hot lead from the “Hum” terminal to “W” on the furnace board. This forces the unit off when heating cycles end but sacrifices humidification during continuous fan operation. Never bypass the humidistat permanently—this creates dangerous continuous flow risks.
Intermittent or Weak Performance
Partial Flow Issues
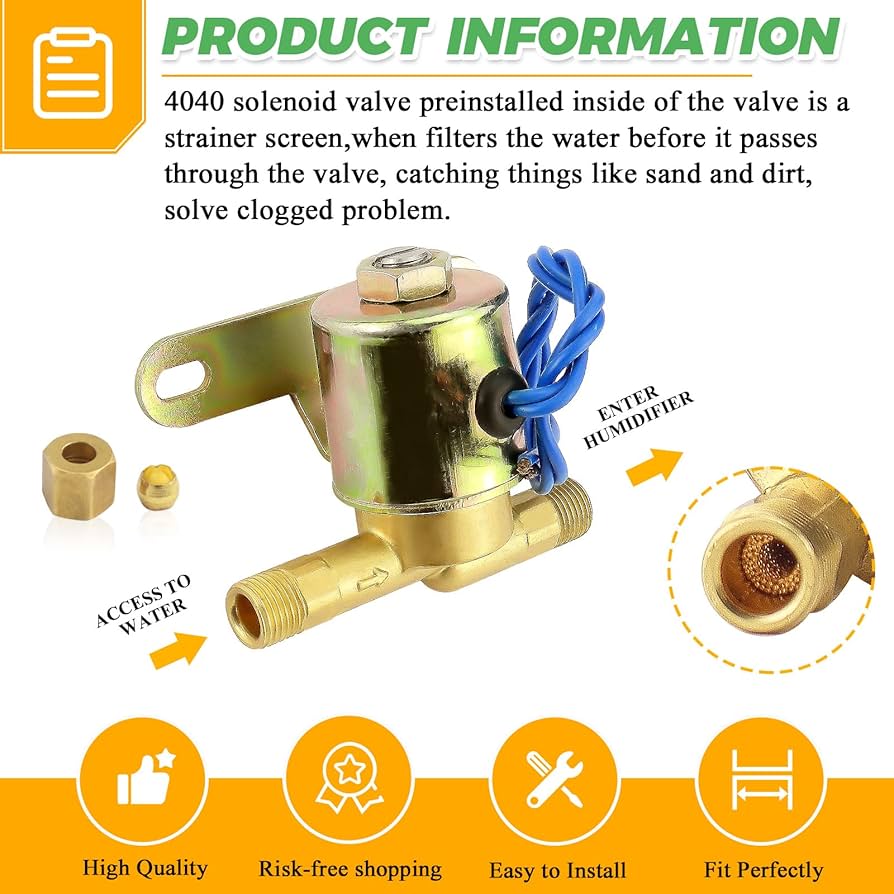
Low water flow often stems from clogged solenoid strainers. Shut off the saddle valve, relieve pressure, and remove the solenoid inlet fitting (left-hand thread). Pull the mesh screen inside and rinse under warm water—mineral deposits here restrict flow by 90%. Reinstall with fresh Teflon tape. Also check tray leveling: place a torpedo level across the water distribution tray and adjust mounting screws until perfectly horizontal. Uneven trays cause water to channel through only 2-3 holes, leaving pads half-dry.
Mineral Buildup Solutions
Annual deep cleaning prevents most weak-performance issues. Replace the evaporator pad, then soak the distribution tray in a 1:3 vinegar solution for 30 minutes. Clear the 1/16″ orifice in the water outlet fitting using a paperclip—never drill or enlarge it. For saddle valves, turn fully clockwise to close, then reopen counterclockwise 2-3 turns to break mineral deposits. Replace valves if handles spin freely without resistance.
Component Testing Procedures

Solenoid Coil Testing
Disconnect both solenoid wires and measure resistance across coil terminals. A good coil reads 20-40 ohms; <10 ohms indicates a short (causing overheating), while infinite resistance means an open circuit. For a bench test, connect a 24VAC transformer directly to the coil—it must produce a loud click and visible plunger movement. Weak clicks require cleaning the diaphragm seat with a soft brush; no click means replacement.
Humidistat Calibration
Manual dial models need recalibration if room humidity doesn’t match settings. Remove the cover to access the calibration screw. With an accurate hygrometer reading 45% RH, adjust the screw until the dial midpoint (“5”) aligns with this value. For digital models, press and hold the SET button for 5 seconds, then use arrow keys to match the hygrometer reading before exiting setup mode.
Real-World Repair Walkthrough
Case Study: Model 600M Complete Failure
A Model 600M showed no water flow in any mode, with a freely spinning humidistat dial. Initial checks confirmed 24 VAC at the solenoid but no click. The repair sequence:
1. Inspected saddle valve—water supply confirmed
2. Removed solenoid and found a sludge-clogged inlet strainer
3. Cleaned strainer and tapped solenoid body to free the diaphragm
4. Verified strong click during direct 24VAC test
After reassembly, the unit restored normal operation in 45 minutes—no parts replaced.
Common Mistakes to Avoid
Never overtighten saddle valves—this can crush copper pipes causing leaks. Avoid generic evaporator pads; Aprilaire pads are engineered for precise flow rates. Skipping annual startup checks invites mineral buildup that seizes valves. Most critically, don’t ignore drain line inspections—clogged drains cause overflow damage even when the unit “works.”
Prevention and Maintenance Schedule
Monthly during heating season: Check water flow during furnace cycles, verify drain line movement, and listen for proper solenoid clicking. Annual service requires evaporator pad replacement (every 6-12 months based on water hardness), solenoid strainer cleaning, and humidistat calibration. For end-of-season shutdown, close the saddle valve, run TEST mode to clear lines, dry the pad to prevent mold, and cover the unit against summer dust.
Key Takeaway: 90% of Aprilaire humidifier not working scenarios resolve with basic maintenance—clogged strainers, misaligned trays, or blown fuses. Always start diagnostics with TEST mode verification and power checks before replacing components. Your dry air emergency likely has a 20-minute fix hiding in plain sight, saving you $150+ in service calls. Prioritize annual cleanings and sensor checks to keep your unit humming reliably through every winter.


