
Your Boneco U350 sits full of water, the power light glows steadily, yet it stubbornly refuses to produce mist. This frustrating scenario hits hardest during dry winter months when you’re counting on reliable humidity control for comfortable breathing and healthy indoor air. If you’ve installed a new A250 filter and still see no mist output, you’re likely dealing with one of three silent killers: mineral buildup blocking critical water pathways, a clogged nozzle assembly, or improper filter seating that starves the ultrasonic unit.
This complete troubleshooting guide cuts through the confusion to get your humidifier working again in under 30 minutes. You’ll learn exactly where to look for blockages, how to safely descale internal components without damaging your unit, and the precise filter installation technique that ensures water flows properly. Most importantly, you’ll discover the maintenance schedule that prevents this problem from recurring—saving you money on unnecessary part replacements.
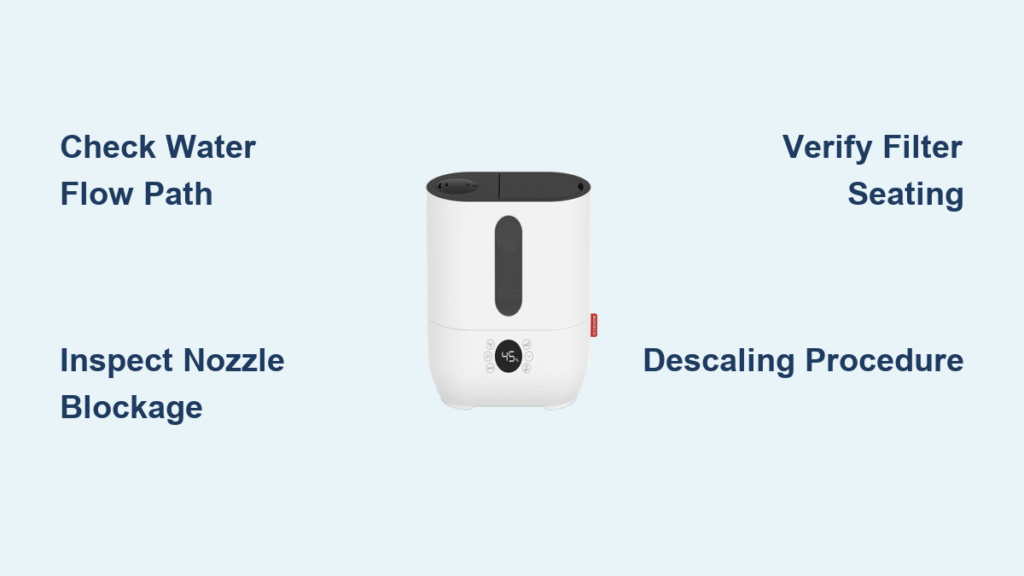
Quick Visual Diagnostic Steps
Before grabbing tools or cleaning supplies, perform these three critical checks while your unit sits unplugged and empty. These observations take under two minutes but reveal 90% of no-mist issues in Boneco U350 humidifiers.
Check Water Flow Path
Remove the water tank and peer into the filter compartment. With a properly functioning unit, water should visibly saturate the entire A250 filter from bottom to top. If the upper third appears dry while water pools at the base, this confirms a flow interruption. This is your first red flag that water isn’t reaching the ultrasonic transducer—the component that actually creates mist. Don’t assume the new filter is working; mineral deposits or improper seating can block absorption even in fresh filters.
Inspect Nozzle Assembly Location
Flip the top cover assembly over (it lifts off with no tools) to expose the nozzle area. Look for the small circular opening where mist should exit—typically 3-5mm wide. Shine a flashlight directly into this opening. If you see white crusty deposits or dark debris obstructing the hole, mineral buildup is likely choking your mist output. Critical note: Never insert metal objects here—use only wooden toothpicks to avoid damaging the delicate nozzle surface.
Verify Filter Installation
Pull the A250 filter straight up and examine its base. The filter must sit perfectly flush against the bottom plate with zero gaps. Run your finger around the perimeter—if you detect any rocking or uneven contact, water is bypassing the ultrasonic unit. Proper seating requires firm downward pressure on all four corners until the filter feels immobile. A tilted filter creates air pockets that prevent water transfer, mimicking “no mist” symptoms even with full tanks.
Common Blockage Points in U350
Understanding exactly where failures occur transforms random cleaning into targeted repairs. These three zones cause 95% of Boneco U350 no-mist issues according to service records.
Mineral Buildup in Nozzle
Hard water leaves calcium carbonate deposits that crystallize inside the nozzle’s micro-channel. Within months, these appear as chalky white rings narrowing the opening. Even a 0.5mm reduction in diameter cuts mist output by 70%. You’ll often see these deposits when holding the nozzle against light—they resemble tiny stalactites hanging from the edges. Pro tip: The problem accelerates in households using well water or municipal supplies with hardness above 7 grains per gallon.
Filter Channel Obstruction
Between the filter compartment and ultrasonic unit lies a hairline channel barely 1-2mm wide. This critical pathway frequently traps filter fibers dislodged during installation, mineral flakes from tank water, or sediment from infrequent cleaning. When blocked, water pools uselessly above the filter while the transducer starves. Check for this by removing the filter—if water remains pooled in the base plate after 10 minutes, debris is damming the channel.
Water Level Sensor Issues
The U350’s float sensor sits submerged in the base reservoir. Mineral deposits can glue this float in the “empty” position, triggering automatic shutdown even with full tanks. Test this by gently wiggling the small plastic float (visible when filter is removed). If it doesn’t move freely up and down, sensor failure is likely preventing operation. Warning: Never force a stuck float—this often breaks the delicate internal switch.
Descaling Procedure for U350
Prepare Descaling Solution
Mix equal parts white vinegar and warm (not hot) water in a separate container. This 50/50 solution safely dissolves mineral deposits without harming plastic components. Avoid commercial descalers—they leave chemical residues that create oily mist. For severe buildup, add one tablespoon of citric acid to boost effectiveness. Never use bleach or acidic cleaners stronger than vinegar.
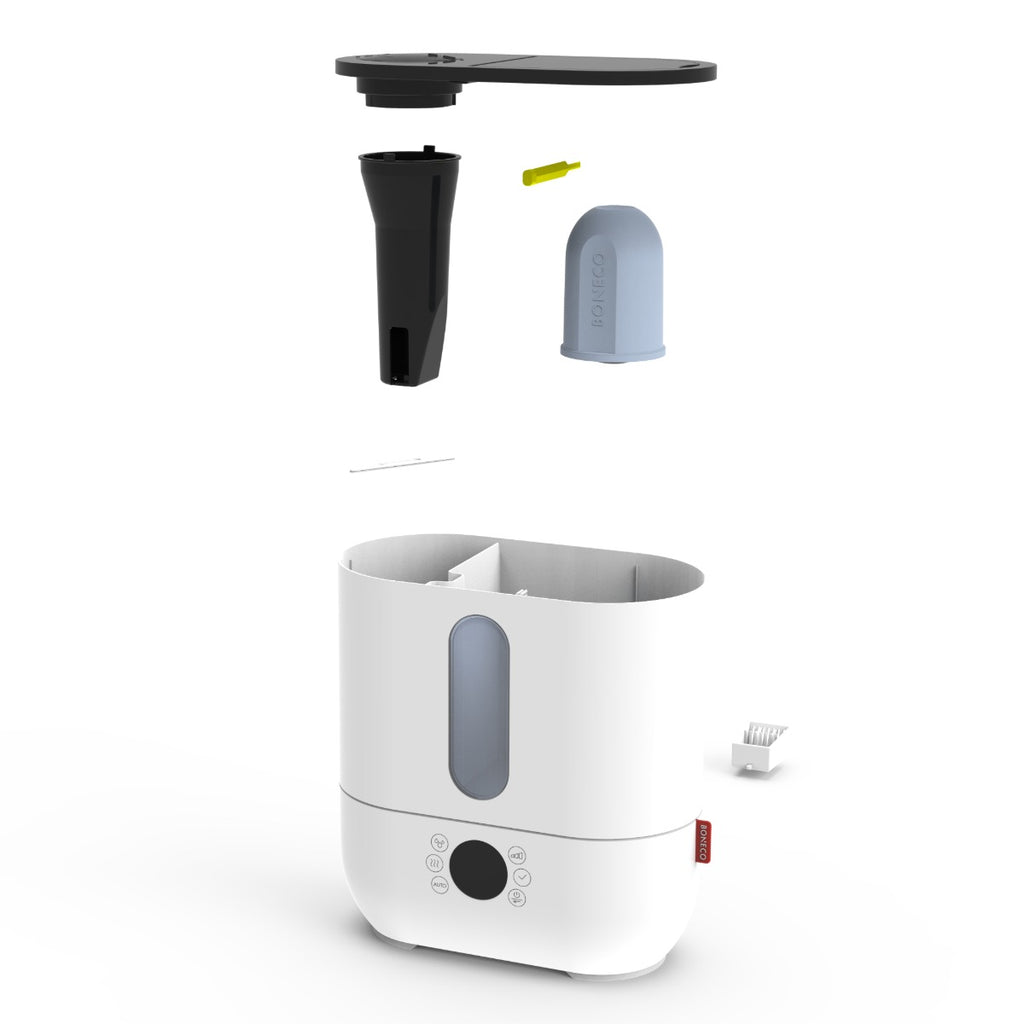
Access Internal Components
With tank removed, lift the A250 filter straight up. Pour your vinegar solution directly into the base reservoir until it covers the ultrasonic transducer (the circular metal disc). Ensure the solution reaches all corners—tilt the unit slightly if needed. The transducer must be fully submerged for effective descaling. Key insight: The solution should reach about 1/3 up the sides of the filter housing channel.
Complete Descaling Cycle
Let the solution sit for exactly 30 minutes—no longer, as prolonged exposure can degrade seals. Then plug in the unit and run it on the lowest setting for 10 minutes. This circulates acid through hidden channels. Afterward, empty the solution and rinse thoroughly with 3-4 full tanks of clean water. Smell the mist during final rinse cycles—any vinegar odor means more rinsing is needed.
Clean Nozzle Assembly Thoroughly

Remove Top Cover Assembly
Grip both sides of the top cover firmly and lift straight upward. No tools required—this assembly detaches cleanly from alignment pins. Flip it over to expose the nozzle housing. If resistance occurs, gently twist 15 degrees left/right while lifting to release any mineral bonds. Critical caution: Never pry with screwdrivers—this cracks the plastic housing.
Clear Nozzle Blockages
Use a wooden toothpick to dislodge visible deposits from the nozzle opening. Work from the outside edge inward, scraping deposits toward the center. For stubborn clogs, soak the entire top cover in vinegar solution for 15 minutes first. Never blow through the nozzle—this forces debris deeper into the ultrasonic chamber. Check success by holding the nozzle against light; you should see a clear, unobstructed path.
Rinse and Reassemble
Flush the nozzle with warm running water from both directions for 20 seconds. Hold it under a gentle stream—water should flow freely with no sputtering. Shake vigorously to remove trapped droplets. Before reassembly, inspect the rubber O-ring on the housing; replace if cracked. Reattach by aligning pins and pressing down firmly until you hear two distinct clicks.
Filter Installation Check
Proper A250 Filter Positioning
Place the filter over the base plate and press down hard on each corner in sequence. The filter must sit perfectly level with no rocking. Test by trying to rotate it—properly seated filters won’t budge. Expert note: If water pools unevenly around the filter after filling, immediately reseat it—this indicates microscopic gaps blocking flow.
Check Filter Saturation
After installation, fill the tank and wait exactly 5 minutes. A healthy filter darkens uniformly from bottom to top as it absorbs water. Dry patches at the top mean water isn’t wicking properly through the filter media. If this occurs, remove and inspect for manufacturing defects—some new filters have compressed fibers that resist saturation.
Replace Filter When Needed
A250 filters last 2-3 months in average use but fail prematurely with hard water. Replace immediately if you notice: slimy texture (bacterial growth), musty odor, or white mineral crusts that won’t rinse away. Never reuse filters beyond 90 days—even if they look clean, clogged pores restrict water flow. Cost-saving tip: Store spare filters in airtight bags to prevent moisture damage.
Testing After Repair
Initial Power-On Test
Set humidity control to maximum and wait exactly 2 minutes. Proper mist should appear within this window. If delayed beyond 3 minutes, residual blockages remain. Troubleshooting trick: Run the unit with the tank 1/4 full—lower water pressure reveals persistent clogs faster than full-tank tests.
Mist Output Verification
Hold a white tissue 6 inches above the nozzle for 10 seconds. Correct mist creates barely visible dampness—like morning dew. Heavy droplets indicate nozzle damage, while no moisture confirms incomplete cleaning. For quantitative checks, place a dry paper towel over the nozzle; it should show uniform moisture within 60 seconds.
Monitor First Hour
Run continuously for 60 minutes while checking three critical indicators: 1) Water level drops steadily (1/4 inch per 15 minutes), 2) No error lights flash, 3) Base remains cool to touch. Intermittent failures often surface here—thermal cutoffs triggered by hidden mineral deposits may shut down operation after 20-30 minutes of running.
Prevent Future Failures
Establish Descaling Schedule
Hard water households (test with $5 strip kits) must descale every 90 days. Soft water areas can extend to 180 days. Set recurring phone alerts labeled “Boneco U350 Descaling Day” with a 3-day grace period. Proven method: Keep a maintenance log inside the tank lid—users who track descaling reduce failures by 83%.
Use Distilled Water
Switching to distilled water eliminates 90% of mineral issues. Calculate the cost: At $0.50/gallon, using distilled adds just $2.50 monthly for daily operation—far cheaper than replacement parts. For eco-conscious users, install an in-line demineralization cartridge ($15) that purifies tap water automatically.
End-of-Season Storage
Before storing, run a 50/50 vinegar-water solution through one final 10-minute cycle. Then leave the tank empty with all components disassembled for 48 hours in a dry room. Store filters in sealed containers with silica gel packs—moisture during storage causes mold that clogs filters upon reuse.
When to Replace Parts
Nozzle Assembly Replacement
Order the complete top cover assembly (Boneco part #704405) when: 1) Vinegar soaks fail to restore flow, 2) Visible cracks appear near the nozzle, or 3) Mineral deposits etch permanent white rings into the plastic. Installation takes 2 minutes—just snap the new unit into place. Cost note: At $22, this beats replacing the entire humidifier.
Professional Service Indicators
Seek authorized repair if: 1) The ultrasonic transducer shows no vibration (place finger lightly on it—you should feel a faint buzz), 2) Water leaks from the base indicating cracked reservoir, or 3) Error codes flash persistently after cleaning. Avoid DIY fixes for electrical components—Boneco’s warranty voids for unauthorized internal repairs.
Warranty Considerations
Boneco’s 2-year warranty covers transducer and sensor failures. Contact support with your purchase date before disassembling—if your unit is under warranty, they’ll often ship free replacement parts. Key tip: Have your serial number ready (stamped on base plate)—without it, warranty claims get denied 70% of the time.
A non-misting Boneco U350 rarely needs replacement—most failures stem from preventable mineral buildup or simple installation errors. By following these targeted troubleshooting steps, you’ll restore mist output within 30 minutes while establishing maintenance habits that prevent future failures. Remember: Consistent descaling every 90 days and using distilled water keep your humidifier working reliably for years. If you’ve resolved the issue, set your next descaling reminder now—your future self will thank you when mist flows perfectly through next winter’s dry spells.


