
Your so-called “Godzilla” humidifier sits silent and unresponsive, leaving you with dry air despite your attempts to activate it. This frustrating scenario affects countless users who purchased what appears to be a generic or off-brand humidifier marketed under the “Godzilla” name. Since no official technical documentation exists for this specific product line, this guide provides universal troubleshooting principles applicable to most ultrasonic and evaporative humidifiers. You’ll learn to diagnose common failure points and implement practical solutions that could restore your unit’s performance without unnecessary replacement.
Unlike major branded humidifiers from manufacturers like Honeywell, Vicks, or Levoit, the “Godzilla” designation typically refers to generic units sold through discount retailers or online marketplaces. These products often lack model-specific documentation, making standard troubleshooting approaches essential. By following these proven diagnostic steps, you can identify whether your unit’s issues stem from simple user errors, maintenance needs, or irreparable component failures.
Power Connection Problems with Generic Humidifiers
Unit Shows No Response When Plugged In
Begin with fundamental power verification since most “Godzilla” humidifier failures stem from basic electrical issues rather than internal malfunctions. Test your wall outlet with another device like a phone charger to confirm power availability—many users overlook this simple check.
Immediate troubleshooting steps:
– Verify outlet functionality with a different appliance
– Inspect the power cord for visible damage, kinks, or fraying
– Ensure both plug connections (wall and unit) are fully seated
– Check if the circuit breaker tripped or GFCI outlet needs resetting
Intermittent Operation Issues
If your humidifier powers on briefly then shuts off, safety mechanisms are likely triggering. Generic units often lack sophisticated diagnostics, so these symptoms typically indicate water level sensor errors, float switch problems, or overheating protection activating.
Diagnostic approach:
1. Fill the water tank completely to maximum line
2. Reinstall the tank firmly until you hear an audible click
3. Clean the float mechanism with a soft cloth to ensure free movement
4. Place the unit on a perfectly level surface away from walls
No Mist Production Despite Running
Ultrasonic Element Failures in Generic Units
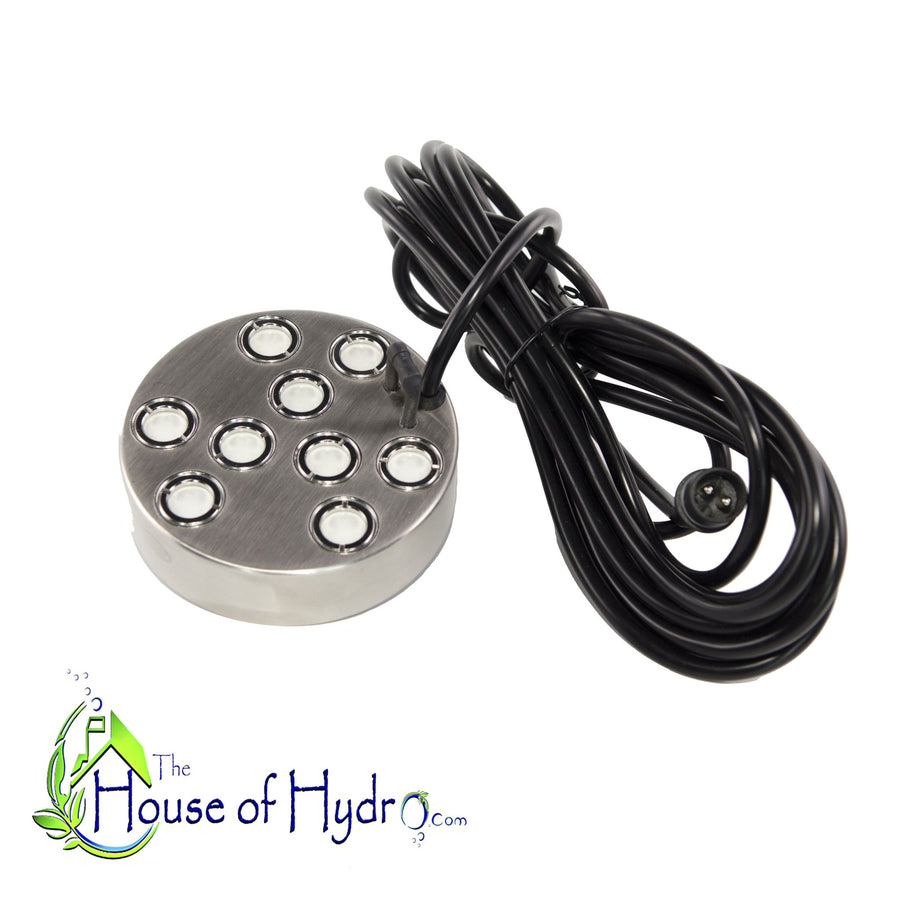
Most off-brand humidifiers use ultrasonic technology where a ceramic transducer creates mist through high-frequency vibrations. When this component fails, the unit may run normally but produce no visible moisture—a common issue with budget models.
Signs your transducer may be failing:
– Fan runs but no mist appears despite adequate water
– Water level remains unchanged after extended operation
– Unit emits a faint buzzing without the characteristic misting sound
– Visible white mineral deposits on the transducer surface
Fan and Airflow Problems
Evaporative models (less common in generic lines) rely on fans to pull air through wet filters. If the fan motor fails, your humidifier won’t increase room moisture levels regardless of runtime.
Fan failure indicators:
– Complete silence when the unit should be operating
– No air movement detectable near vents
– Burning plastic odor during operation
– Manual inspection reveals stiff or immobile blades
Water Leakage and Spillage Issues
Tank Seal Degradation in Budget Models
Generic humidifiers often use lower-quality rubber seals that degrade faster than premium brands. This causes mysterious puddles that create slip hazards and potential electrical risks near your unit.
Leak identification process:
1. Fill the tank partially and place on paper towels overnight
2. Mark the initial water level with tape for reference
3. Check for droplets forming beneath the tank base
4. Inspect rubber gaskets for cracks, flattening, or brittleness
Improper Filling Techniques
Many users accidentally overfill generic humidifiers, causing immediate leakage when reinstalling the tank. These units require proper air space above the water line for correct operation.
Correct filling method:
– Remove the tank completely from the base unit
– Fill slowly while monitoring the “MAX” fill line
– Leave approximately 1 inch of air space at the top
– Secure the cap firmly without excessive tightening
– Wipe all threads dry before reinstalling the tank
Unusual Noises and Operational Problems
Grinding, Clicking, or Rattling Sounds
Strange noises often indicate developing mechanical failures. Ultrasonic models may develop grinding from transducer mounting issues, while evaporative units rattle when fan blades contact debris.
Noise diagnosis guide:
– High-pitched squeal: Indicates dry motor bearings needing lubrication
– Low grinding: Suggests transducer problems or heavy mineral buildup
– Rattling: Points to loose internal components or foreign objects
– Clicking: Often means electrical relay cycling due to faults
Immediate action: Unplug the unit immediately to prevent further damage. Drain all water and inspect for visible issues before proceeding with diagnostics.
Excessive Vibration During Operation
While some vibration is normal for ultrasonic humidifiers, violent shaking indicates mounting failure or component damage—common in lower-quality units with inadequate internal bracing.
Vibration reduction methods:
– Place the unit on a soft, absorbent surface like a folded towel
– Ensure all four base feet contact the surface evenly
– Verify adequate water levels (low water increases vibration)
– Check for visible cracks in the transducer mounting area
Essential Maintenance for Generic Humidifiers
:strip_icc()/How-to-clean-humidifier_color-9d439e2131f1498498b772557bf9ed55.jpg)
Deep Cleaning Protocol
Mineral buildup causes the majority of humidifier failures, especially in hard water areas. Regular descaling prevents most performance issues with budget models that lack advanced filtration.
Recommended maintenance routine:
– Empty and rinse the water tank after each use
– Perform weekly vinegar soaks for all water-contact components
– Replace filters monthly (or clean if reusable)
– Conduct thorough component inspections quarterly
Effective descaling method:
Mix equal parts white vinegar and warm water. Fill the tank halfway, reassemble the unit, and run for 30 minutes. This dissolves calcium deposits without damaging components. Rinse thoroughly twice with clean water before normal operation.
Filter Replacement Guidelines
If your “Godzilla” unit uses evaporative technology, clean filters are essential for proper operation. Discolored or stiff filters reduce efficiency and potentially spread contaminants.
Replace filters when:
– Material appears gray or brown despite cleaning attempts
– Humidity output decreases noticeably
– Musty odors develop during operation
– Filter feels stiff or brittle to the touch
When to Repair Versus Replace
Safety Considerations for DIY Repairs
While many issues resolve with cleaning and basic troubleshooting, electrical repairs require specific expertise. Generic humidifiers often lack safety certifications, increasing risks when attempting internal modifications.
Never attempt these repairs:
– Internal wiring modifications
– Circuit board replacements
– Motor rewinding procedures
– Power cord splicing
– Bypassing safety mechanisms
Cost-Benefit Analysis
Generic humidifiers typically cost $20-$50, making professional repairs rarely economical. Consider replacement when:
– The unit is over 18 months old
– Simple cleaning doesn’t resolve the issue
– Multiple components show wear
– Visible water damage exists on electronics
– Replacement parts are unavailable
Preventing Future Failures
Water Quality Management
Hard water destroys generic humidifiers faster than any other factor. Minerals coat transducers and clog components in budget models that lack advanced filtration systems.
Water treatment options:
– Use distilled water for ultrasonic models
– Implement demineralization cartridges if available
– Consider reverse osmosis filtered water
– Avoid tap water in hard water areas
Optimal Usage Patterns
Running humidifiers continuously strains components in lower-quality units. Strategic operation significantly extends their limited lifespan.
Recommended usage schedule:
– Operate 8-12 hours maximum per day
– Allow 4-hour rest periods between cycles
– Empty the tank completely between uses
– Conduct weekly full dry-out periods
Final Troubleshooting Checklist
When your “Godzilla” humidifier stops working, follow this prioritized approach:
- Verify power source with another device
- Check water levels ensuring tank is properly seated
- Perform vinegar descaling to remove mineral buildup
- Inspect seals and gaskets for damage or degradation
- Clean all accessible components with soft brushes
- Test on different surfaces to rule out vibration issues
Remember that generic humidifiers have limited lifespans compared to major brands. Most “Godzilla” unit failures stem from preventable maintenance issues rather than inherent defects. Establishing a simple cleaning routine prevents the majority of common problems and maximizes your unit’s operational life.
When troubleshooting proves unsuccessful, consider that replacement units often cost less than professional repair services for these budget models. Document your experience to inform future purchases—investing slightly more in a reputable brand typically provides better reliability, safety certifications, and available technical support when issues arise.


