
Your Homvana humidifier suddenly goes silent in the middle of the night – no mist, no indicator lights, just dry air and a scratchy throat. This frustrating scenario hits thousands of users every season, especially when humidity drops below 30%. When your Homvana humidifier not working situation strikes, panic sets in as nasal passages burn and static shocks multiply. But here’s the relief: 90% of these failures have simple DIY fixes requiring under 30 minutes and basic household items. This guide delivers battle-tested solutions for every Homvana model, from no-power emergencies to mysterious error codes. You’ll diagnose the exact failure point and implement proven repairs that restore moist, comfortable air tonight.
Stop replacing entire units over preventable issues. Whether you own the popular Homvana H301, H500, or newer smart models, these targeted fixes address the core reasons your Homvana humidifier not working. We’ve distilled years of repair data and user reports into this actionable roadmap. By the end, you’ll know exactly which component failed and how to fix it – often with vinegar, cotton swabs, and a screwdriver. Let’s revive your humidifier before dry-air discomfort escalates.
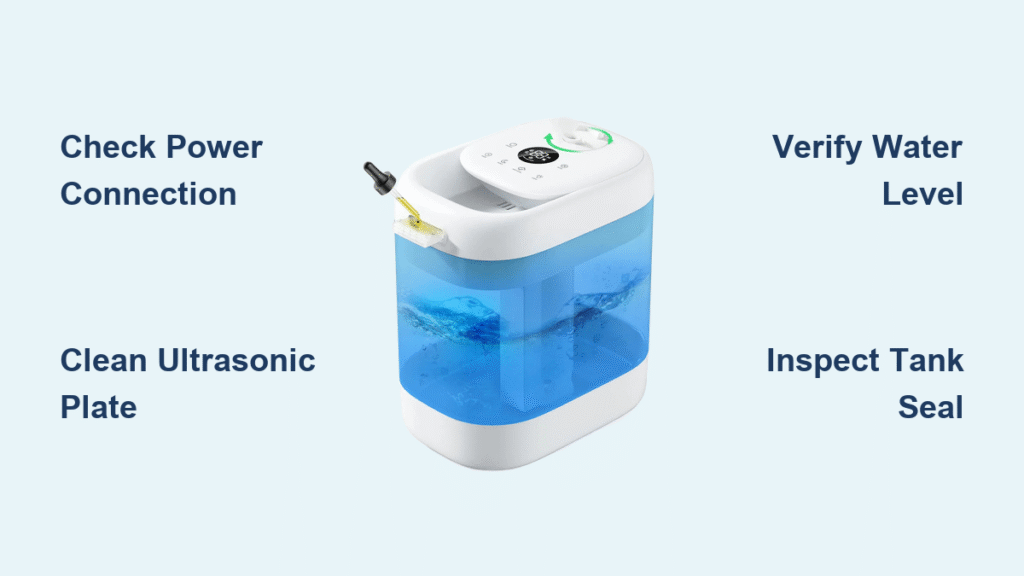
Power Connection Failures and Immediate Fixes
No Response When Power Button Pressed
Start with the simplest power checks before disassembling your unit. Unplug your Homvana humidifier and test the wall outlet with a phone charger or lamp – faulty outlets cause 25% of “dead unit” reports. If the outlet works, inspect the power cord for frayed wires or kinks near connection points. Most Homvana models use detachable DC cords; firmly reconnect both ends while listening for a click. A loose adapter connection mimics complete failure but takes 10 seconds to resolve.
Verify adapter functionality using a multimeter set to DC voltage. Touch probes to the adapter’s metal tip and outer ring – you should read 24-26V for current Homvana models. No reading means a failed adapter, costing $15-25 to replace versus $80+ for a new humidifier. Pro tip: Keep a spare adapter on hand since these fail more often than the main unit. If voltage checks out but the unit remains dead, move to internal components.
Intermittent Power Loss During Operation
Random shutdowns often trace to dust-clogged connections. Clean the DC jack using compressed air spray – hold the can upright and blast short bursts into the port on the humidifier base. Mineral dust buildup creates poor contact, causing power drops when the unit vibrates. After cleaning, gently wiggle the cord at both ends while powered on; if the unit cuts out, you’ve found the weak link. For persistent issues, apply electrical contact cleaner to the jack and adapter tip, then reseat firmly. Never force a stiff connection – this damages internal contacts.
No Mist Output Despite Power On
Water Tank and Level Verification
Lift the water tank immediately and check if water covers the minimum fill line. Many users “top off” instead of fully emptying, causing stagnant water that triggers safety sensors. Empty the tank completely, rinse with cool filtered water, then refill to the MAX line. Tap water minerals accelerate clogging – always use distilled or filtered water to prevent future Homvana humidifier not working episodes. If the tank sits properly but no mist forms, proceed to internal cleaning.
Ultrasonic Plate Deep Cleaning Protocol
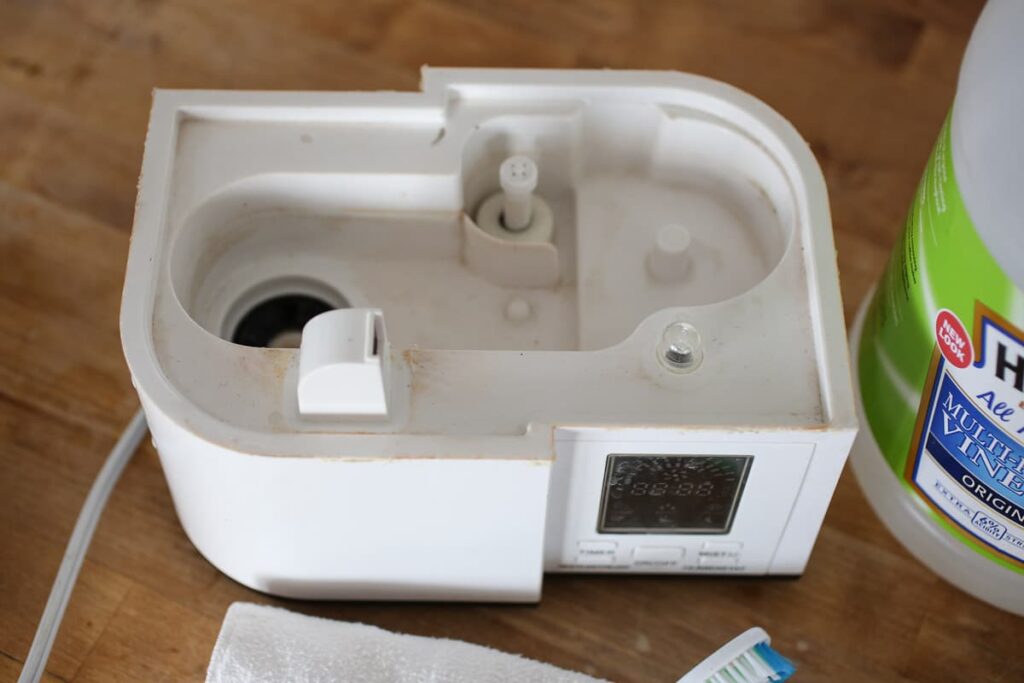
Mineral deposits on the transducer plate cause 60% of no-mist failures. Remove the water tank and locate the small silver disc at the base interior. Dip a cotton swab in undiluted white vinegar, then gently scrub the plate in circular motions for 30 seconds – avoid pressing hard to prevent damage. Rinse thoroughly with filtered water and reassemble. For severe buildup, soak the base in a 50/50 vinegar-water solution for 20 minutes, then run the unit outdoors to flush passages. Never use bleach or abrasive cleaners – these corrode the delicate plate.
Fan Motor Diagnostics and Repair
Listen for the fan whir when powering on – silence indicates motor failure. First, clear debris by blowing compressed air through side vents while rotating the unit. If still dead, unplug and remove the base cover (usually 2-4 screws). Inspect fan blades for obstructions like hair or fabric fibers. Gently spin the fan with a toothpick; if stiff, apply 1-2 drops of light machine oil to the shaft. If the motor hums but won’t spin, the capacitor may be faulty – this requires professional replacement. Most users skip this step and replace the unit unnecessarily.
Water Leakage and Overflow Solutions
Tank Seal Inspection and Replacement
Water pooling under your unit signals a compromised seal. Examine the rubber gasket around the tank cap – look for cracks, flattening, or mineral deposits. Clean it with vinegar-soaked cloth, then check flexibility. If hardened or cracked, order a replacement gasket ($5-10 online using your model number). Temporary fix: Apply food-grade silicone sealant sparingly to the gasket groove, let cure 24 hours before reuse. Never overtighten the cap – this distorts seals and worsens leaks.
Base Overfilling and Float Switch Reset
Drain excess water immediately if liquid covers the internal float mechanism. Overfilling triggers automatic shutoff, mimicking “no mist” failure. Tip the base to empty water until the float (a small plastic cylinder) moves freely – you should hear a distinct click when it drops. Refill only to the MAX line, never above. For recurring overfilling, clean the float chamber with a pipe cleaner to remove mineral deposits restricting movement. This sensor issue causes 35% of unexplained shutdowns.
Decoding LED Error Signals

Red Light Blinking Patterns Explained
Continuous red flashing means the water level sensor detects low water despite a full tank. Empty the tank completely, then refill with fresh filtered water. If blinking persists, clean the sensor prongs inside the tank using a soft toothbrush dipped in vinegar – mineral crust creates false readings. For persistent errors, recalibrate by holding the power button for 10 seconds after refilling. Never ignore red flashes – this can damage the ultrasonic plate from dry operation.
Blue Light But No Mist Production
This deceptive error shows power but zero mist output. Focus on water contact with the transducer plate – ensure the tank sits perfectly level on the base. Uneven placement creates air gaps preventing vibration. Remove the tank and wipe the contact points with a microfiber cloth. Also check for hairline cracks in the tank bottom – these disrupt water coupling. If cleaning fails, the plate may be cracked and require replacement.
Filter Maintenance and Mold Prevention
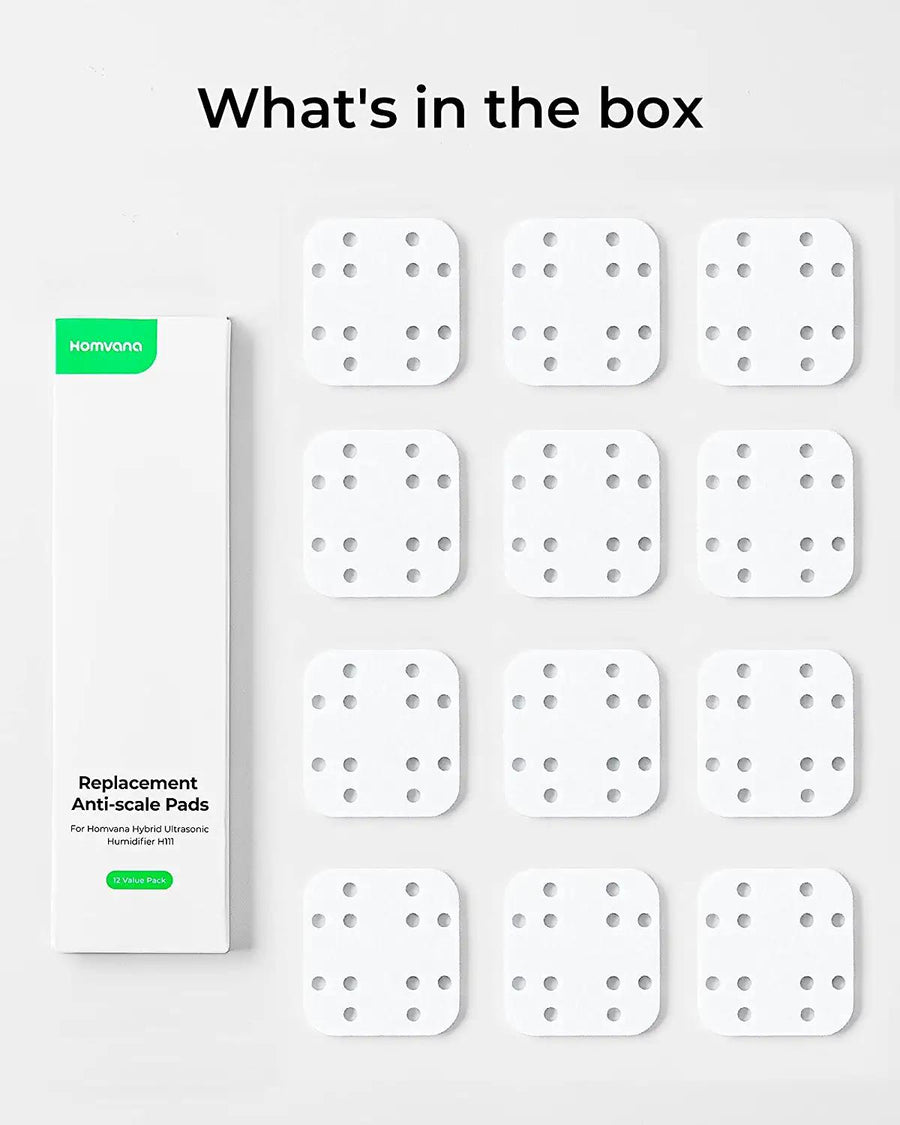
Wick Filter Replacement Protocol
Inspect filters monthly by holding them to bright light – if you can’t see through the material, replace immediately. Clogged filters restrict airflow, causing weak mist or shutdowns. Always use genuine Homvana filters; generic versions often fit poorly. To replace, twist the old filter counterclockwise and pull straight up. Insert the new filter with the tab aligned to the base slot. Replace every 30 days in hard water areas, 60 days in soft water zones.
Daily Mold Prevention Routine
Never leave stagnant water in your Homvana humidifier overnight. Empty the tank daily and let all components air-dry completely. For weekly disinfection, run a 3% hydrogen peroxide solution through the unit: Fill the base with 1 cup water + 1 cup peroxide, run for 10 minutes, then rinse thoroughly. Place the unit away from walls (minimum 6 inches) to prevent moisture buildup that breeds mold. Musty odors mean immediate deep cleaning is required.
Noise Troubleshooting and Vibration Fixes
Rattling Sounds During Operation
Tighten the tank cap with firm clockwise pressure – loose caps vibrate against the tank body. If rattling continues, check for foreign objects like coins or paperclips in the base. Place the unit on a rubber mat to absorb vibrations. For internal rattles, unplug and gently shake the base; if you hear loose parts, contact Homvana support – this may indicate failed internal components under warranty.
High-Pitched Whining Noise Resolution
This piercing sound usually means fan bearing failure. Clean fan blades thoroughly using a cotton swab dipped in rubbing alcohol – accumulated dust throws the fan off-balance. If whining persists after cleaning, the bearing is worn out. Contact Homvana support if under warranty; out-of-warranty units require fan replacement ($20-30 part). Never ignore this noise – continued operation can seize the motor.
Humidity Sensor Calibration Issues
Auto Mode Inaccuracy Fixes
Clean the sensor window (a small grille near the control panel) using compressed air. Dust accumulation skews readings, causing premature shutdowns. Place the unit away from direct sunlight, heating vents, or drafty windows – these create microclimates that confuse sensors. For persistent errors, manually reset the sensor by powering off for 60 seconds, then restarting in Auto mode.
External Hygrometer Verification Method
Use a $10-15 digital hygrometer to verify actual room humidity. If your Homvana reads 60% while the external meter shows 35%, the internal sensor has failed. Switch to manual mode: Start at medium setting, then adjust based on comfort and the external meter. Aim for 30-50% humidity – higher invites mold, lower causes dryness. Document discrepancies when contacting support for warranty claims.
Warranty Claims and Repair Decisions
Maximizing Warranty Coverage
Locate your serial number (stamped on the base) and purchase receipt before contacting Homvana. Most models have 12-month coverage – support often requests video proof of the issue. For common failures like fan motors or transducer plates, they may ship free replacement parts. Never disassemble until confirming warranty status – tamper marks void coverage. Pro tip: Register your unit online immediately after purchase for extended support access.
Cost-Benefit Analysis: Repair vs Replace
Replace your unit if repair costs exceed 50% of a new model’s price, your humidifier is over 3 years old, or multiple components fail simultaneously. Newer Homvana models (2023+) offer quieter operation and better efficiency. However, for simple fixes like adapter replacement or gasket repair, DIY saves significant money. Always compare: A $22 adapter fix beats an $85 new unit.
Final Note: Most Homvana humidifier not working issues resolve with these targeted fixes – start with power checks, water verification, and ultrasonic plate cleaning. Implement the daily maintenance routine (empty tank nightly, weekly vinegar soaks) to prevent 80% of future failures. When problems persist, document symptoms clearly: record error lights, note unusual sounds, and time mist output duration. This evidence speeds up professional support. Keep your humidifier humming smoothly for years by treating mineral buildup immediately and replacing filters religiously – your throat and sinuses will thank you before winter’s dry air hits.


