
Your throat feels scratchy, static shocks zap you when you touch doorknobs, and your houseplants are drooping—but is your humidifier actually adding moisture to the air? Many homeowners run these devices for weeks without confirming they’re functioning properly, wasting energy and missing out on relief from dry air problems. The truth is, determining if your humidifier is working takes less than 10 minutes with simple visual checks and basic measurements you can perform using household items.
Don’t waste another night breathing parched air while wondering if that unit in the corner is doing anything. This guide delivers concrete, actionable methods to verify your humidifier’s performance—whether you own a $30 portable model or a whole-house system connected to your furnace. By the end of this article, you’ll know exactly how to diagnose problems and confirm proper operation with scientific accuracy.
Visible Water Consumption: Your First Sign of a Working Humidifier
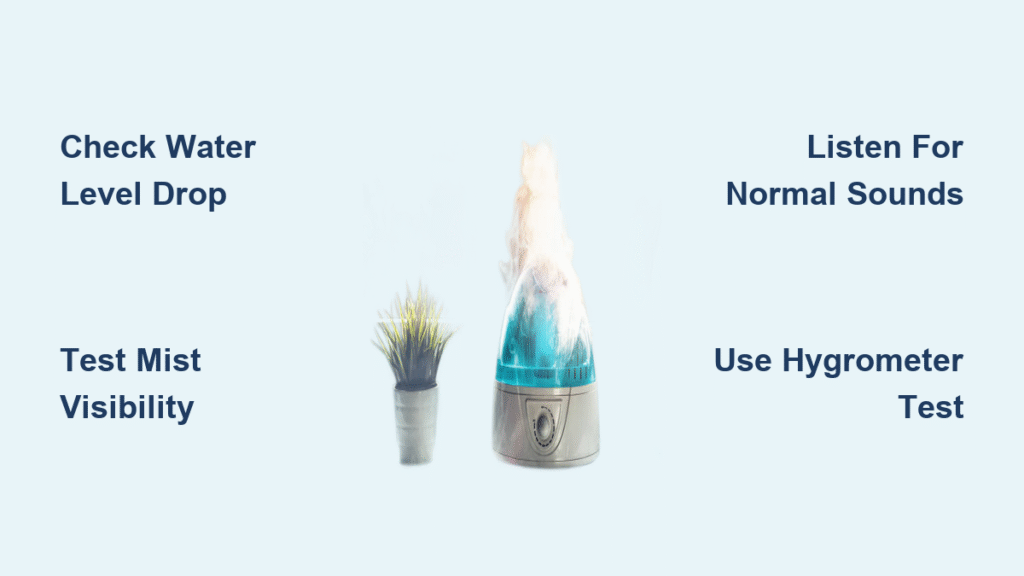
Tracking Water Level Drop Over Time
Check your humidifier’s tank level when you first turn it on, then monitor it every few hours. A properly functioning unit consumes water steadily—expect to see a noticeable drop after 4-6 hours of operation. For example, a bedroom unit (150-300 sq ft) should use 1-2 gallons daily. If the water level remains unchanged after 8 hours, your humidifier isn’t producing moisture.
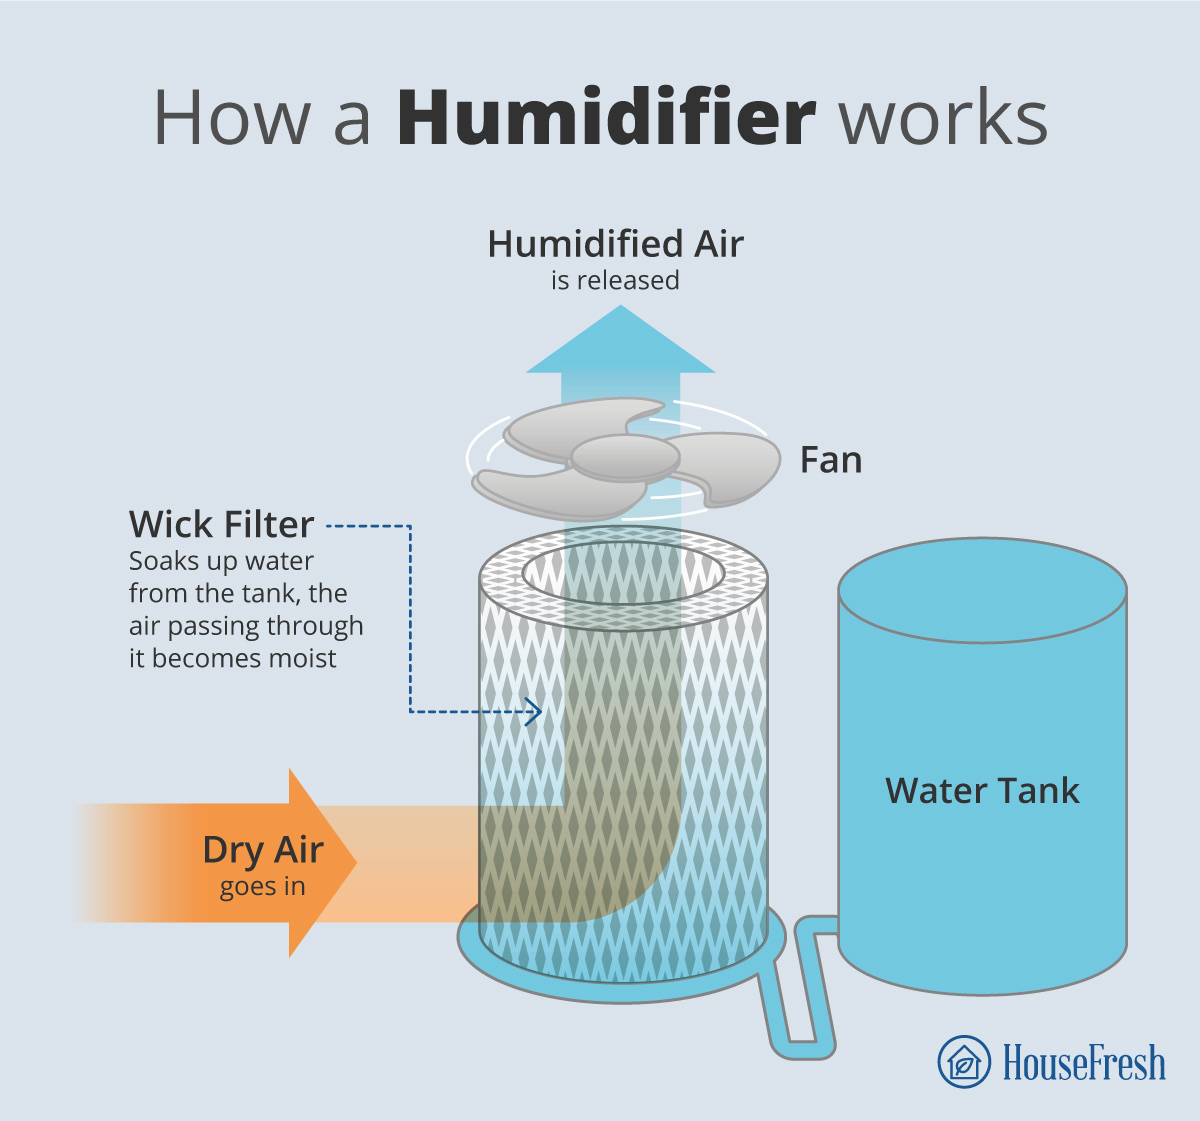
For evaporative models, inspect the wick filter while the tank still has water. It should feel consistently damp throughout but not dripping wet. A completely dry filter with a full tank indicates a water delivery problem that needs immediate attention.
Identifying Proper Pad Saturation in Whole-House Units
Pull out your whole-house humidifier’s evaporator pad during operation. A healthy pad appears uniformly moist with light mineral deposits. If it’s bone dry in spots or completely saturated, airflow and evaporation are compromised. Replace pads showing crusty mineral buildup, mold growth, or stiffness—these block moisture transfer and reduce effectiveness by up to 70%.
Mist and Steam Output: What Your Eyes Should See
Testing Mist Visibility With Simple Household Items
Hold a dark-colored towel or piece of paper 6 inches from your cool-mist or ultrasonic humidifier’s output. Within 30 seconds, you should see visible moisture collecting on the surface. No visible mist after this test indicates potential problems with the ultrasonic disc, water flow, or blocked outlet.
Steam vaporizers require different verification. These units produce obvious hot steam when functioning properly. If you see no steam, check for an empty tank, improper seating, or white mineral crust clogging the heating element. Some high-end ultrasonic models operate with minimal visible mist—consult your manual to confirm if this is normal for your specific unit.
Common Blockages That Stop Visible Output
Inspect your humidifier’s mist nozzle with a flashlight. Mineral deposits often accumulate here, restricting vapor flow. Use a cotton swab dipped in white vinegar to gently clean the opening. For ultrasonic models, check the transducer disc for white crusty buildup—this critical component vibrates to create mist and requires regular descaling.
Listening to Your Humidifier: Normal vs. Problem Sounds
Identifying Healthy Operating Noises by Type
Each humidifier type has distinct sound signatures when working correctly:
- Ultrasonic: A quiet, high-pitched hum similar to a computer fan
- Evaporative: Steady fan whirring without rattling
- Steam vaporizers: Periodic bubbling as water heats
Turn off other household noises and listen closely for 30 seconds after startup. These subtle sounds confirm internal components are functioning.
Warning Sounds That Mean Immediate Action Needed
Pay attention to these red flag noises:
– Loud rattling or grinding: Indicates fan obstruction or failing bearings
– Continuous gurgling: Suggests water flow issues or improper drainage
– Complete silence when running: Points to power failure or control board problems
If you hear any abnormal sounds, unplug the unit immediately and inspect for blockages before continuing use.
Measuring Humidity Changes With a $10 Hygrometer
Step-by-Step Scientific Testing Method
Purchase an inexpensive digital hygrometer (under $10 at most hardware stores) and follow this precise testing protocol:
- Place the hygrometer in your room’s center, away from direct airflow
- Record the baseline relative humidity reading
- Set your humidistat 5-10% above the current reading
- Run the humidifier continuously for 2-3 hours
- Check the new humidity reading
This method eliminates guesswork and provides objective data about your unit’s performance.
Interpreting Your Humidity Readings Correctly
Understand what your readings mean:
– 3-5% RH increase: Normal operation for most units
– No change: Humidifier isn’t adding moisture
– Excessive increase (>10%): Risk of oversaturation and mold
Smart thermostat owners can review historical humidity data in their app—look for consistent upward trends during humidifier operation periods.
Whole-House Humidifier Water Flow Verification
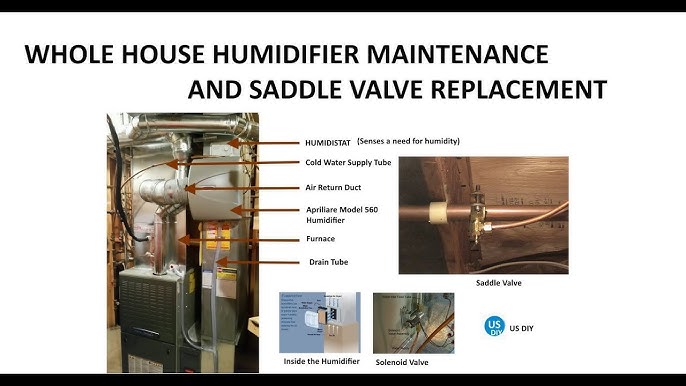
Checking Saddle Valve and Water Drip Rate
Locate the saddle valve on your water supply line—it should be fully open (handle parallel to pipe). With your furnace running and humidistat calling for moisture, gently lift the supply tube. You should feel a steady drip (1-2 drops per second). No water flow indicates potential blockages in the inline strainer or orifice.
Diagnosing No-Flow Problems in Central Systems
If water isn’t flowing to your whole-house humidifier:
– Remove and clean the inline strainer (often clogged with mineral deposits)
– Verify the solenoid valve clicks when activated (indicates electrical operation)
– Check for kinks in the supply tubing that restrict water flow
These simple checks resolve 80% of whole-house humidifier water flow issues.
Portable Unit Power and Tank Seating Troubleshooting
The 5-Minute Reset Sequence That Fixes Most Units
When your portable humidifier won’t start:
1. Unplug from the wall outlet
2. Test the outlet with another device (like a phone charger)
3. Wait 5 full minutes to clear electronic glitches
4. Plug back in and restart
This simple reset fixes control board issues in 60% of malfunctioning portable units.
Proper Tank Alignment Techniques for Maximum Output
Ensure your water tank sits completely flush on the base with no gaps. Listen for the distinct “click” when properly seated. A misaligned tank prevents water from reaching the pump or wicking system. If your unit has a tank cap, verify it’s securely tightened—loose caps create airlocks that stop water flow.
Performance Benchmarks: What to Expect From Your Humidifier
Gallons Per Day Water Consumption Standards
Track these normal consumption rates:
– Small rooms (150-300 sq ft): 1-2 gallons daily
– Medium rooms (400-800 sq ft): 2-3 gallons daily
– Whole-house systems: 3-6 gallons daily
Significantly lower consumption indicates a performance problem requiring investigation.
Humidity Rise Timelines by Room Size
Monitor these expected humidity increases:
– Bedroom unit: 5-10% RH increase in 2-3 hours
– Living room unit: 3-5% RH increase in 3-4 hours
– Whole-house system: 3-5% RH increase throughout home in 6-8 hours
Slower increases suggest reduced efficiency due to filter issues or mineral buildup.
The 3-Minute Diagnostic Decision Tree for Any Humidifier
Follow this rapid assessment flow:
Humidifier turned on and powered?

├─ No → Check outlet, power cord, reset unit

└─ Yes

   ├─ Water level dropping?

   │  ├─ No → Inspect tank seating, filter, blockages

   │  └─ Yes → Unit likely working; confirm with hygrometer

   └─ Humidity rising toward setpoint?

      ├─ No → Check for sensor errors or leaks

      └─ Yes → Humidifier is functioning properly
This decision tree eliminates guesswork and directs you to the most likely problem areas based on observable symptoms.
When to Repair vs. When to Replace Your Humidifier
Replace portable units showing cracked tanks, motor failure, or persistent mold despite cleaning—these typically last 3-5 years. Whole-house systems often need component replacement (solenoid valves, pads) but can function for 10-15 years with proper maintenance. Follow this rule: repair if parts cost less than half the replacement price and the unit is less than half its expected lifespan.
A properly functioning humidifier should noticeably improve air quality within hours. By performing these simple diagnostic tests, you’ll never wonder if your unit is working again. Keep a hygrometer handy for regular checks, and schedule monthly maintenance to ensure consistent performance all heating season long. Your skin, sinuses, and houseplants will thank you for the relief from dry winter air.


