
Are you frustrated with a new air purifier sitting in its box, intimidating you with its parts? Assembling a new appliance shouldn’t be a headache. Often, it’s a straightforward process, and a quick setup can have you breathing cleaner air in minutes. This guide will walk you through a typical air purifier assembly, offering solutions for common challenges along the way.
This comprehensive guide goes beyond basic instructions. We’ll cover everything from unboxing and identifying components to filter installation, power-up testing, and even troubleshooting common assembly issues. By the end of this article, you’ll confidently have your air purifier assembled and working, improving your indoor air quality.
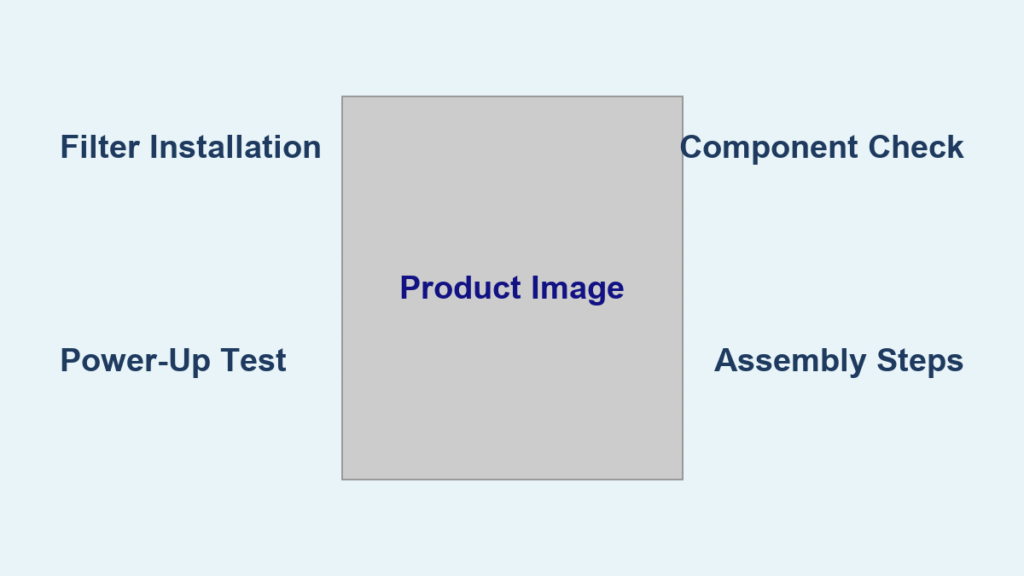
What You’ll Need for Air Purifier Assembly
| Item | Quantity | Specifications |
|---|---|---|
| Air Purifier Unit | 1 | Based on model purchased |
| Filters (Pre-filter, HEPA, Carbon) | Varies | Check model specifications |
| Power Cord | 1 | Standard plug, voltage varies by region |
| User Manual | 1 | Specific to your air purifier model |
| Screwdriver (Phillips/Flathead) | 1 | May be required for some models |
| Protective Gloves (Optional) | 1 Pair | To prevent dust/dirt transfer |
Preparation Steps and Safety Considerations
Before you begin, choose a well-lit, spacious area to work. Lay down a drop cloth or cardboard to protect your flooring.
Safety First:
- Unplug the unit: Even if you haven’t plugged it in yet, familiarize yourself with the power cord and ensure it’s disconnected throughout the assembly process.
- Read the manual: Each air purifier model is slightly different. The user manual is your primary resource and contains model-specific instructions.
- Handle filters carefully: Avoid damaging the filter media. Wear gloves if you have sensitivities.
- Be mindful of small parts: Some models may have small screws or components. Keep them organized to avoid loss.
Step-by-Step Assembly Process
Phase 1: Unboxing and Component Identification
- Carefully open the box: Avoid using sharp objects that could damage the unit.
- Inventory the contents: Compare the components to the parts list in the user manual. Ensure everything is present.
- Identify key components: Familiarize yourself with the main body, filter compartment(s), control panel, and any included accessories.
Phase 2: Filter Installation
- Locate the filter compartment: This is usually on the back or side of the unit. Refer to your manual for the exact location.
- Remove the protective packaging from the filters: Most air purifiers include multiple filters:
- Pre-filter: Captures large particles like dust and pet hair.
- HEPA Filter: Captures microscopic particles like pollen and mold spores.
- Carbon Filter: Absorbs odors and gases.
- Install the filters in the correct order: The manual will clearly illustrate the correct order. Typically, it’s pre-filter first, then HEPA, then carbon.
- Secure the filters: Most filters slide or snap into place. Ensure they are firmly seated. Some require clips or screws.
Phase 3: Assembling the Unit (if applicable)
- Attach any removable panels: Some air purifiers have panels that need to be attached after filter installation.
- Secure with screws: If screws are required, use the appropriate screwdriver and tighten gently. Do not overtighten.
- Connect any additional components: This may include handles, wheels, or sensor covers.
Phase 4: Final Checks and Power-Up
- Visually inspect the unit: Ensure all components are securely attached and no packaging remains inside.
- Plug in the power cord: Connect the power cord to the air purifier and then to a wall outlet.
- Power on the unit: Use the power button to turn on the air purifier.
- Test the fan speeds: Cycle through the different fan speeds to confirm they are functioning correctly.
- Check the control panel: Verify that the lights and displays are working as expected.
Pro Tips for Air Purifier Assembly
- Filter orientation matters: Pay close attention to the airflow direction indicated on the filters. Installing them backward can reduce effectiveness.
- Don’t force anything: If a component doesn’t fit easily, double-check the instructions. Forcing it can cause damage.
- Register your product: Registering your air purifier online allows you to receive warranty updates and important product information.
- Keep the box and packaging: The original packaging can be useful for storage, transportation, or potential warranty claims.
- Clean the exterior: Wipe down the exterior of the unit with a damp cloth to remove any dust or fingerprints.
- Filter reset: Some models require resetting the filter replacement indicator after installing new filters. Consult your manual.
- Placement for optimal airflow: Place your air purifier in a central location with good airflow, away from obstructions like furniture or curtains.
Professional Help Section

Sometimes, despite your best efforts, assembly can be tricky. Here are signs you might need professional assistance:
- Missing parts: If critical components are missing, contact the retailer or manufacturer.
- Damaged components: If any parts are damaged during unboxing or assembly, do not attempt to use the unit.
- Persistent issues: If you’ve followed the instructions carefully and the unit still doesn’t function correctly.
What to look for in a service provider:
- Authorized repair center: Using an authorized repair center ensures qualified technicians and genuine replacement parts.
- Positive reviews: Check online reviews to gauge the provider’s reputation.
- Warranty compliance: Ensure the repair won’t void your warranty.
Typical cost ranges: Repair costs vary depending on the issue and the provider. Expect to pay between $50-$150 for basic repairs.
FAQ Section
Q: What if I can’t find the user manual?
A: Most manufacturers offer downloadable manuals on their websites. Search for your air purifier model number online.
Q: Can I use aftermarket filters?
A: While possible, using aftermarket filters may compromise performance and void your warranty. It’s generally best to use filters specifically designed for your model.
Q: How often should I replace the filters?
A: Filter replacement frequency depends on usage and air quality. Typically, pre-filters should be cleaned or replaced every 1-3 months, HEPA filters every 6-12 months, and carbon filters every 3-6 months.
Q: What do the different fan speeds mean?
A: Lower fan speeds are suitable for quiet operation and light purification. Higher fan speeds provide more powerful purification for faster results.
Q: My air purifier is making a strange noise. What should I do?
A: Check the filters to ensure they are properly installed and not obstructed. If the noise persists, contact customer support.
Alternative Solutions Section

If you’re struggling with assembly, consider these alternatives:
| Solution | Pros | Cons | Best For |
|---|---|---|---|
| Online Video Tutorials | Visual guidance, can be easier to follow | May not be specific to your model | Visual learners, common assembly issues |
| Manufacturer Support | Direct assistance from experts | May have long wait times | Complex assembly, specific model questions |
| Professional Assembly Service | Convenient, guaranteed results | Most expensive option | Those uncomfortable with DIY |
Enjoy Your New Air Purifier
Congratulations! You’ve successfully assembled your air purifier.
Recap:
– You’ve unpacked and identified all components
– You’ve installed the filters correctly
– You’ve powered on and tested the unit
Now, breathe easy knowing you’ve taken a step towards cleaner, healthier air.
Did this guide help you assemble your air purifier? Share your experience in the comments below! What model did you assemble, and did you encounter any challenges?


