
Your Dyson AM10 humidifier silently battles dry air, but without regular maintenance, it becomes a breeding ground for mold and mineral buildup. That faint musty odor? It’s biofilm thriving in hidden crevices despite your unit’s UV-C system. When green moss appears in the water tank or mist output dwindles, it’s screaming for attention. This isn’t just about efficiency—unclean humidifiers disperse contaminated mist into your breathing space, risking respiratory irritation. I’ll show you exactly how to clean Dyson humidifier components safely, from quick monthly wipes to deep disassembly that restores peak performance. Follow these steps to transform your unit from a health hazard into a reliable comfort ally.
Most owners assume the UV-C light handles everything, but it only sanitizes water in transit—not tank walls, fan blades, or the ultrasonic atomizer. That’s why you still see green slime accumulating monthly. Skipping deep cleaning leads to clogged nozzles, reduced mist output, and persistent odors no amount of vinegar can fix. By the end of this guide, you’ll confidently tackle all three access levels of your AM10, recognize critical wear patterns, and implement a foolproof maintenance schedule. Let’s reclaim your air quality in under 20 minutes per session.
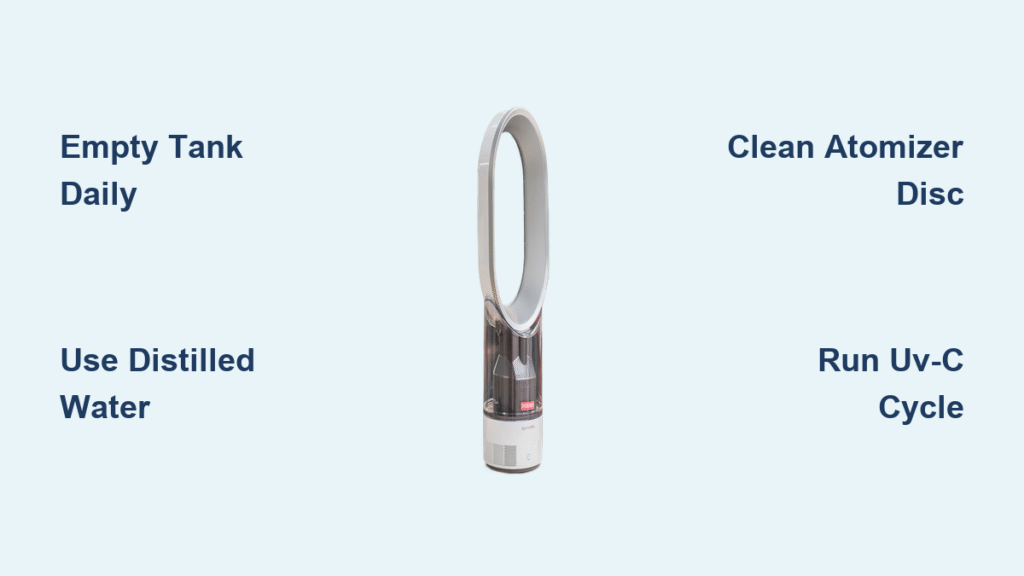
Monthly Cleaning Routine
Essential Monthly Steps
Grab your unit and empty the water tank completely. Rinse it thoroughly under running water while scrubbing interior surfaces with a clean microfiber cloth—focus on corners behind structural supports where biofilm hides. Run the UV-C cycle with fresh distilled water for 15 minutes to sanitize internal pathways. Finally, inspect for early warning signs: green moss specks, chalky mineral rings, or slimy residue on the tank floor. If you spot any, schedule deep cleaning immediately. Set a recurring phone alert for the 15th of each month; this 20-minute ritual prevents 95% of major issues.
Pro tip: Never skip the UV-C cycle after rinsing—it’s your first line of defense against airborne contaminants even during routine maintenance.
UV-C System Limitations
The UV-C light only targets water flowing through the system, leaving tank walls, fan blades, and external surfaces untouched. Biofilm forms when organic matter clings to plastic surfaces, creating a protective layer the UV light can’t penetrate. That’s why you’ll still see green moss despite the self-cleaning feature—it’s literally shielded from the light. Remember: UV-C sanitizes but doesn’t clean physical debris. If your mist smells earthy or looks cloudy, mineral deposits are likely blocking the atomizer disc, requiring manual intervention.
Deep Cleaning Preparation
Required Tools and Materials
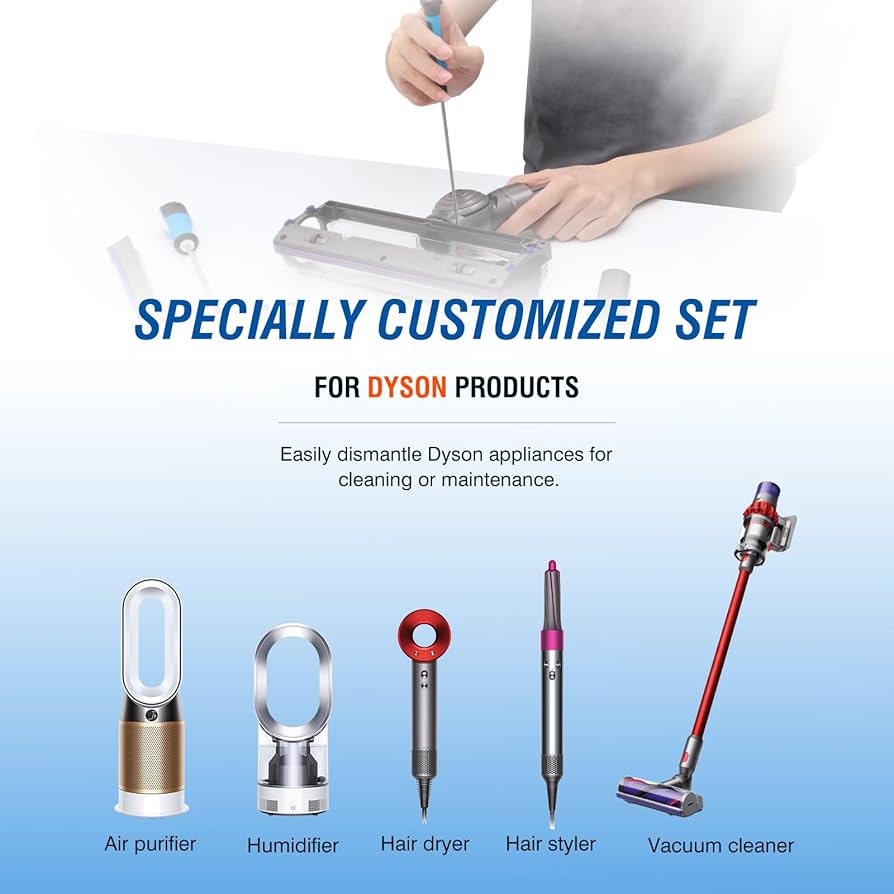
Before disassembling, gather these non-negotiable items: Torx screwdrivers (sizes T8 and T10—you’ll crack the housing with standard tools), a magnetizer to secure tiny screws, the $7 multi-shaped brush set from AliExpress for tank crevices, plastic pry tools (or fingernails), and clean towels. Distilled water is essential for rinsing—tap water reintroduces minerals. Skip harsh chemicals; Dyson specifies water-only cleaning to avoid damaging conductive coatings. Without these precise tools, you risk stripping screws or cracking brittle plastic components.
Warning: Standard screwdrivers won’t fit the star-shaped screws—Torx tools are mandatory.
Safety First
Always unplug the unit for 10 minutes before starting—residual electricity poses shock risks near water pathways. Disassembly voids your warranty, so photograph each step for error-free reassembly. If you’re uneasy about handling electrical components, contact Dyson support instead. Never force stubborn parts; the plastic housing fractures easily under pressure. Work on a clean, well-lit surface with all tools organized to avoid losing screws. Safety isn’t optional here—water and electricity demand absolute caution.
Complete Disassembly Guide

Remove the Water Tank
Lift the tank straight up and empty it completely. Check for green moss—this indicates overdue cleaning. Use the narrow brush from your set to scrub: the tank floor (where biofilm anchors), walls above the waterline, and hidden corners behind support ribs. Pay special attention to the fill neck; mineral deposits here restrict water flow. Rinse until water runs clear, then air-dry upright for 30 minutes. Skipping this step spreads contaminants deeper into the unit during disassembly.
Screw Removal Protocol
Locate the six Torx screws on the white outer cover—three on each side. Apply gentle downward pressure while turning slowly; these anchor into soft plastic that cracks if over-tightened. Stop immediately if resistance increases. Magnetize your driver to hold screws securely. Rushing causes stripped heads, requiring emergency glue fixes. Remember: slow, controlled movements prevent costly damage. Each screw removal should feel smooth, like unscrewing a lightbulb—not forcing a rusted bolt.
Expert note: Use slow, controlled movements. Rushed removal causes expensive damage.
Housing Separation Process
White Cover Removal
Press your thumb firmly against the white exterior while inserting fingernails into the seam between cover and base. Pull upward with steady, even pressure—no jerking. Work slowly around the perimeter like unzipping a jacket. Expect a fragile, click-like release; the plastic feels thin and brittle. If resistance occurs, reposition your grip. Forcing it cracks the housing, turning a $20 fix into a $300 replacement. Patience here saves hours of frustration.
Component Access Levels
After removing the cover, you’ve reached Level 1: the black capsule assembly. Unscrew its four Torx fasteners for Level 2 access to the rotor assembly. Finally, lift the rotor to expose Level 3—the ultrasonic atomizer disc. Each level reveals critical components: Level 1 houses fan blades (dust magnets), Level 2 contains water channels (mineral traps), and Level 3 holds the vibration-sensitive atomizer. Track parts in labeled containers—you’ll need this map during reassembly.
Ultrasonic Atomizer Maintenance

Identify the TDK Atomizer
Beneath the rotor lies the TDK atomizer disc—a three-ring ceramic system vital for mist creation. The top layer is a shiny conductive coating, the middle ring is dark non-conductive ceramic, and the bottom layer contains electrodes. When powered, it vibrates ultrasonically to turn water into mist. Never touch the conductive surfaces with bare fingers; oils degrade performance. Inspect it for wear patterns: a healthy disc shows uniform shine across all rings.
Spot Wear Patterns
Normal deterioration appears as patchy thinning of the conductive coating, revealing the dark ceramic substrate underneath. This causes uneven mist—some areas spray heavily while others sputter. If your humidifier runs but produces weak or lopsided mist despite a full tank, the atomizer is failing. Don’t confuse this with clogs; wear is irreversible. Check monthly during deep cleans: visible ceramic means replacement time. Ignoring it strains the motor and spreads contaminated water.
Replacement Options
When cleaning won’t restore performance, replace the disc. Individual TDK atomizers cost $0.25 wholesale (buy 100 for $25 online), but retail kits on Amazon run $47—overpriced but convenient. For DIYers, carefully disconnect the two wiring harnesses before swapping discs. If you own multiple units, bulk buying saves long-term. Amazon kits include tools, but verify compatibility; some fit older models. Professional replacement takes Dyson technicians 15 minutes—worth considering if you’re uncomfortable with micro-electronics.
Pro tip: Buy 100 discs for $25 if you maintain multiple units or plan long-term use.
Post-Cleaning Reassembly
Dry Thoroughly Before Reassembly
Air-dry all components for 2-4 hours on clean towels—moisture causes short circuits. Check hidden crevices like screw holes and rotor grooves with a cotton swab. Test electrical connections by briefly plugging in the base (without tank) to confirm the UV-C light activates. Run a 10-minute empty cycle to verify smooth operation before reloading water. Skipping this dry-test invites electrical damage that voids all warranty options.
Common Reassembly Mistakes
Over-tightening screws cracks the housing—a top reason for repair calls. Missing alignment pins prevents the white cover from sealing, causing water leaks. Forgetting the rotor’s correct orientation (it only fits one way) reduces mist output by 70%. Most critically, skipping the test cycle misses loose connections that manifest as “mystery failures” weeks later. Lay out parts in disassembly order and reverse the process slowly. If resistance occurs, stop—you’ve misaligned something.
Preventive Maintenance Tips
Reduce Future Cleaning Needs
Use distilled water exclusively—it slashes mineral deposits by 80%. Empty the tank daily when not in use to prevent stagnant water breeding bacteria. Between monthly deep cleans, give the tank a 2-minute rinse weekly. Monitor mist output; a 20% reduction signals early clogs needing attention. These habits transform deep cleaning from a chore into a 20-minute refresh.
Storage Best Practices
Before storing for >2 weeks: Complete the monthly cleaning cycle, run UV-C with fresh water, dry all parts for 6+ hours, and store the tank upside-down to prevent dust accumulation. Never pack it damp—the humid Indian climate breeds mold in sealed boxes. Reassemble and test before reuse; stored units often have stiff rotors needing lubrication.
When to Seek Professional Help
Contact Dyson Support
For India-based users: Call 1800-258-6688 (9 AM-6 PM) or WhatsApp +91 8800560658. Have your serial number’s first three digits ready—they streamline diagnostics. Email Ask@dyson.in for callback requests. Support can often troubleshoot via video call, avoiding unnecessary disassembly. Describe symptoms precisely: “reduced mist with green tank residue” gets faster help than “it’s not working.”
Professional Service Indicators
Seek help immediately for cracked housing (DIY glue fails under vibration), electrical buzzing after reassembly, persistent mold despite monthly cleaning, or confusing atomizer replacement. If your unit is under warranty, professional service preserves coverage—deep cleaning yourself voids it for internal damage. Remember: health risks from contaminated mist outweigh repair costs.
Remember: Deep cleaning maintains performance and prevents health issues from contaminated mist. Your AM10 will reward proper care with years of reliable service.
Schedule your next cleaning now—before green moss appears. Consistent monthly maintenance takes 20 minutes but prevents hours of deep scrubbing later.


