
Your Vicks humidifier works overtime during dry seasons, but mineral deposits and bacterial buildup can choke its performance. A clogged filter doesn’t just reduce mist output—it can spread harmful particles throughout your home. The good news? Most Vicks filters can be restored to like-new condition with the right cleaning approach.
Whether you’re dealing with stubborn scale deposits or musty odors, this guide walks you through proven methods to clean your Vicks humidifier filter safely and effectively. You’ll learn exactly which cleaning solutions work best, how often to perform each step, and when replacement becomes necessary. Proper maintenance ensures your Vicks humidifier delivers clean, healthy moisture to your home all season long.
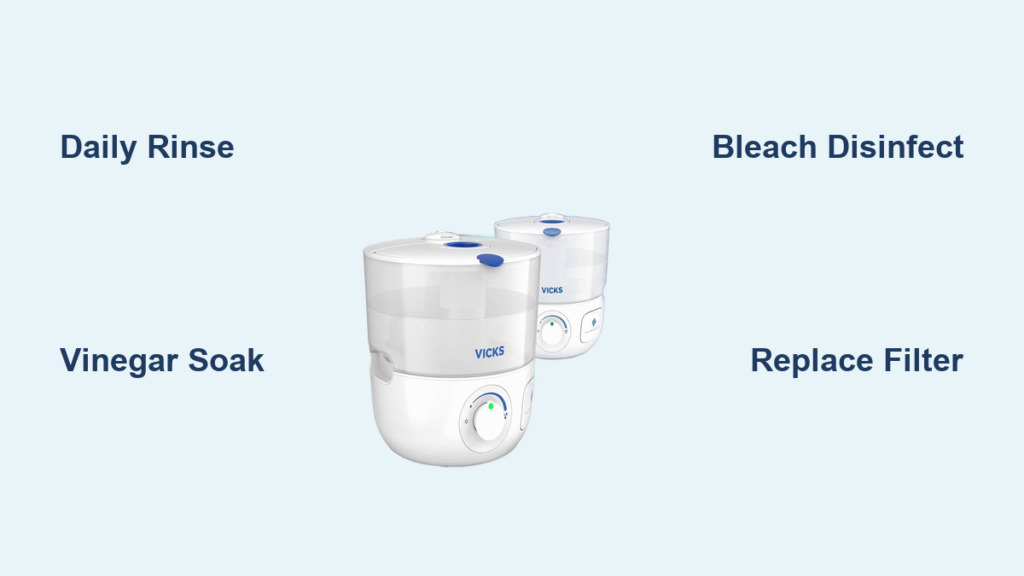
Daily Filter Rinse Protocol
Time Required: 5 minutes | Difficulty: Easy
Daily maintenance prevents major buildup and extends filter life significantly. This quick routine takes just five minutes but saves hours of intensive cleaning later. Skipping this simple step allows mineral deposits to harden, making weekly cleaning much more difficult.
Power Down and Remove Components Safely
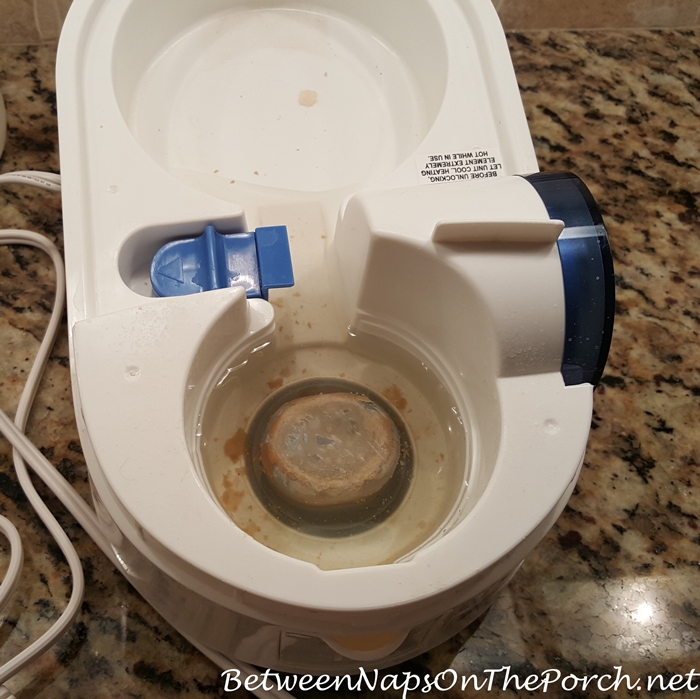
Always begin by completely powering down your humidifier. Unplug the unit from the electrical outlet before handling any components—this prevents electrical hazards and protects your safety. Next, carefully remove the water tank by lifting straight up; never pull at an angle as this can damage the filter housing. Empty all water from both the tank and base tray into the sink.
Critical Safety Note: Never leave standing water in components between uses. This creates electrical hazards and promotes bacterial growth that can damage your filter permanently. Always dry exterior surfaces with a clean cloth or paper towels after emptying.
Proper Flushing Technique
Run warm (not hot) water through the filter housing for 30-60 seconds, holding it at a slight angle to ensure complete internal coverage. Hot water can warp plastic components over time. Shake the filter housing vigorously for 10-15 seconds to dislodge trapped mineral particles and dust. This simple action removes up to 70% of daily buildup before it hardens.
For best results, place the filter housing over the sink and pour warm water through it multiple times, rotating the unit to reach all interior surfaces. Finish by wiping all exterior surfaces with a dry cloth to prevent water spots and mineral residue.
Weekly Deep Clean With Vinegar
Time Required: 30 minutes | Difficulty: Moderate
Mineral deposits build quickly, especially with hard water. Weekly vinegar treatment dissolves scale before it becomes permanent damage. Distilled white vinegar is ideal because its 5% acetic acid concentration effectively breaks down lime scale without damaging plastic components.
Identify Your Filter Type Before Proceeding
Before cleaning, determine your filter type—this is critical for proper maintenance:
- Wick filters: White, fibrous material that can be cleaned and reused
- Cartridge filters: Plastic housing with sealed filter media—these must be replaced, never cleaned
Attempting to clean cartridge filters can damage the internal structure and void your warranty. If you’re unsure, check your model number against Vicks’ official documentation or contact customer support.
Step-by-Step Vinegar Soak Method
Materials needed:
– 1 cup distilled white vinegar
– Warm water for rinsing
– Clean sponge with abrasive surface
– Dry cloth or paper towels
- Remove filter carefully – Lift straight up when completely dry to avoid tearing
- Soak tray – Pour vinegar directly into water tray, ensuring full coverage of mineral deposits
- Wait 30 minutes – Allow mineral deposits to loosen (set a timer to avoid over-soaking)
- Scrub gently – Use abrasive sponge on stubborn areas, focusing on pickup tube openings
- Rinse thoroughly – Flush with warm water until vinegar smell disappears completely
- Dry completely – Prevent mold growth before reassembly
Pro Tip: For severe scaling, leave components soaking overnight in vinegar solution for complete deposit removal. Check periodically to ensure vinegar hasn’t evaporated.
Monthly Disinfection Cycle
Time Required: 45 minutes | Difficulty: Moderate
Bacteria and mold thrive in humid environments. Monthly disinfection eliminates these harmful organisms and prevents filter contamination that can spread through your home’s air.
Precise Bleach Solution Mixing
Exact measurements matter for safety:
– 1 teaspoon regular bleach (4.9-5 mL)
– 1 gallon warm water (3.8 L)
For smaller units: Maintain 1:768 bleach-to-water ratio—too much bleach can damage components and create harmful vapors when operating.
Complete Disinfection Process
- Prepare solution – Mix bleach and water in well-ventilated area away from children and pets
- Fill tank – Pour solution into water reservoir, ensuring contact with all interior surfaces
- Soak 20 minutes – Rotate tank periodically for complete coverage of problem areas
- Empty carefully – Pour into sink, avoiding splashes on other surfaces or skin
- Rinse extensively – Continue flushing with warm water until bleach odor vanishes completely
- Air dry – Allow 3-4 hours for complete moisture evaporation before reassembly
Safety Protocol: Never operate unit with bleach solution. Work in ventilated spaces, wear gloves, and avoid inhaling fumes. If you detect any bleach odor after rinsing, continue flushing until completely eliminated.
Filter-Specific Cleaning Guide
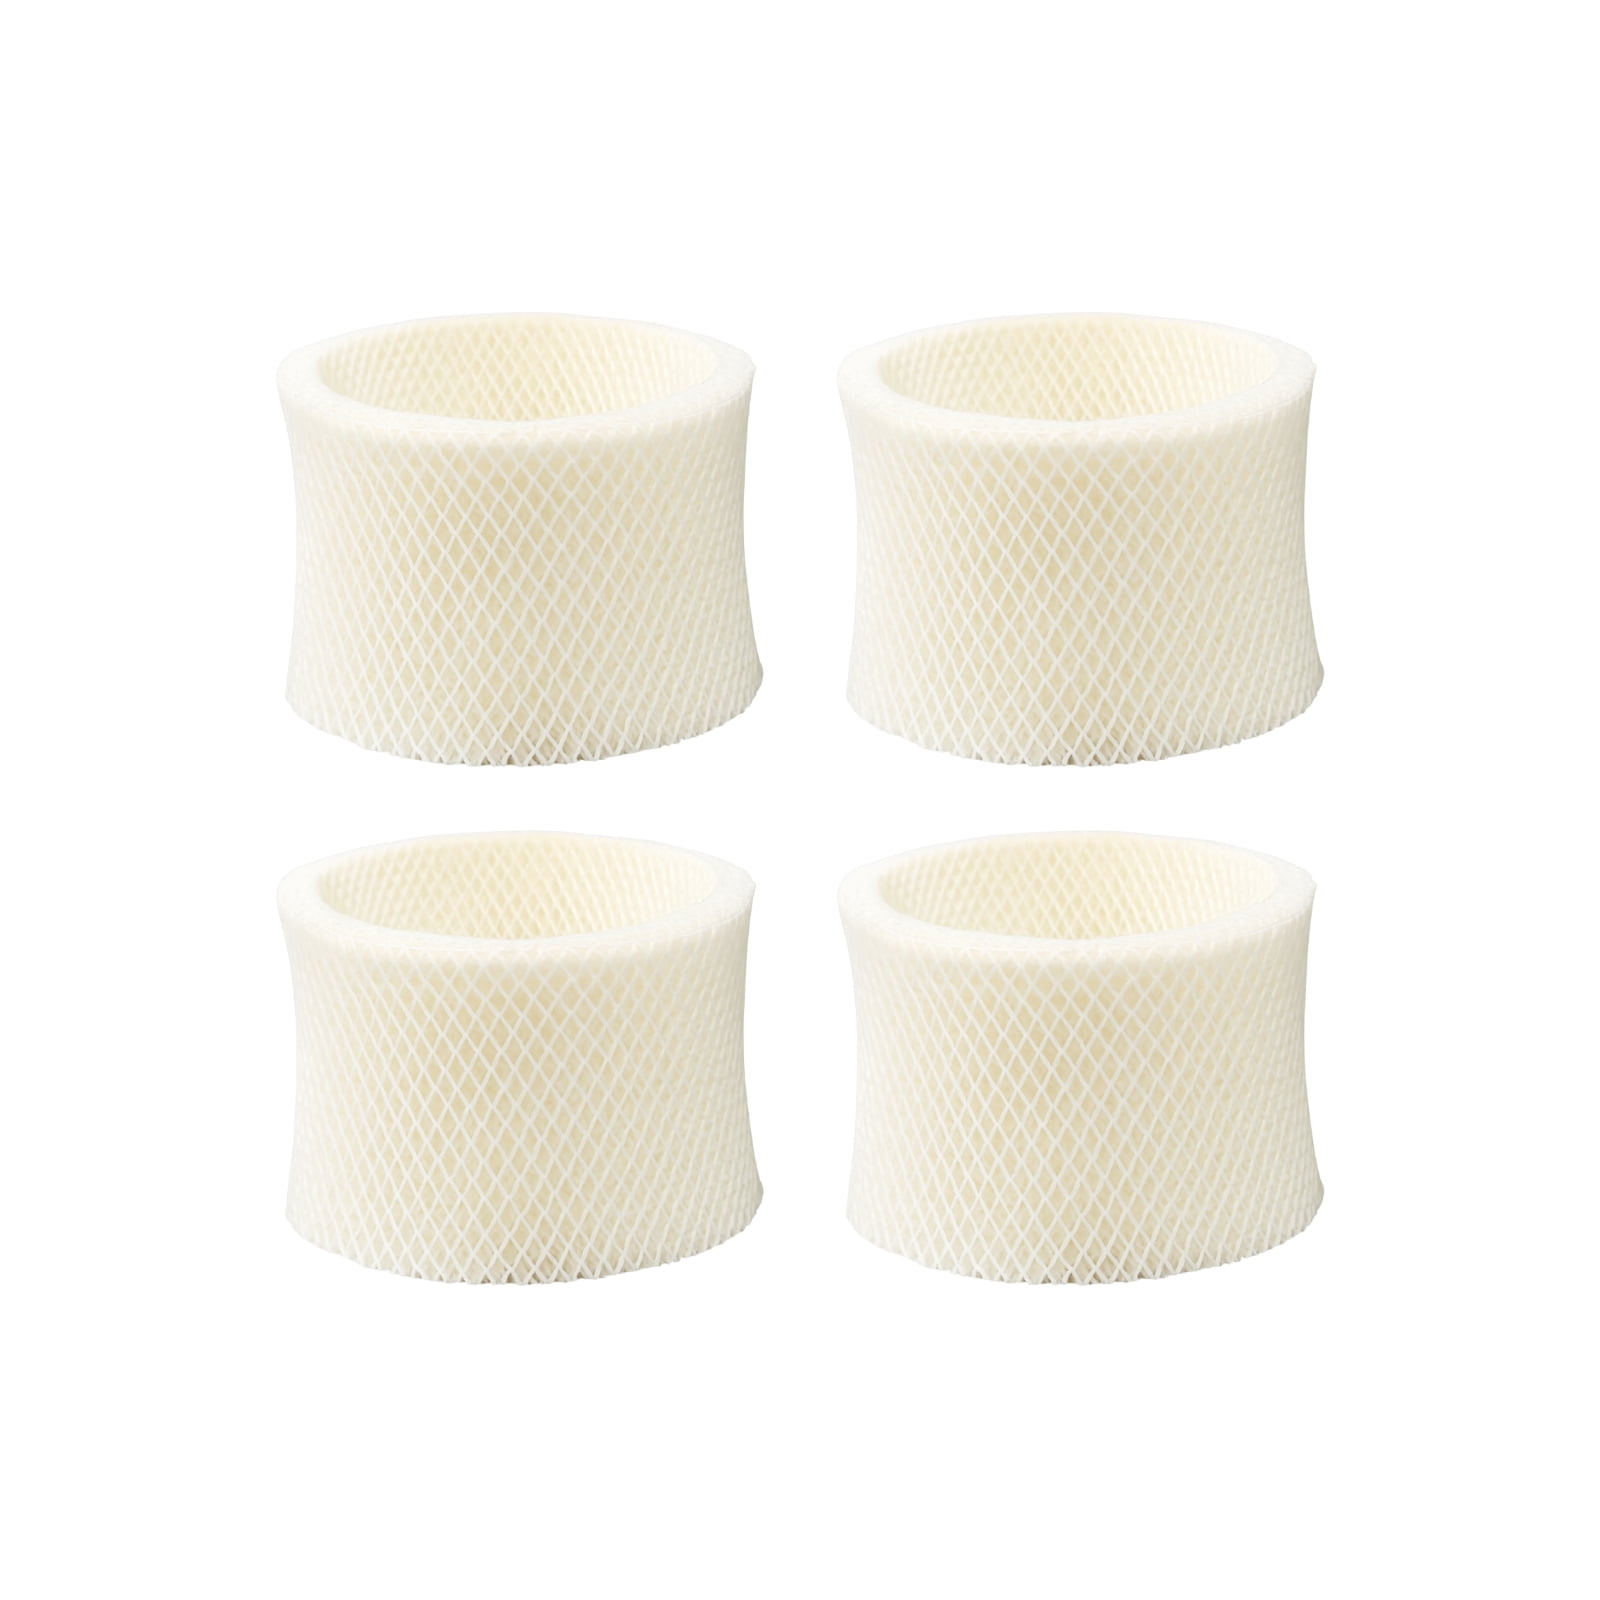
Wick Filter Care That Preserves Performance
Wick filters require special handling to maintain their effectiveness. Never wring or twist these delicate filters—this action permanently damages the fiber structure that traps contaminants. Instead, gently shake excess water and place the filter upright in a well-ventilated area to air dry completely. Reinstall only when 100% dry to prevent mold growth inside the housing.
Replace your Vicks humidifier filter when you notice visible tears, persistent odors even after cleaning, or reduced mist output despite proper maintenance. Most wick filters last 1-3 months depending on usage frequency and water quality.
Cartridge Filter Replacement Protocol
Cartridge filters cannot be cleaned effectively—attempting to do so compromises their filtration capability. Monitor usage carefully and replace every 1-3 months depending on water hardness and usage frequency. Mark your calendar with the installation date to track replacement schedules.
Replace cartridge filters immediately if you notice contamination, reduced performance, or unusual odors. Keeping spare filters on hand ensures uninterrupted operation when replacement becomes necessary.
Prevent Future Buildup
Water Quality Impact on Filter Longevity
Switching to distilled or demineralized water dramatically reduces mineral deposits compared to tap water. This simple change can extend filter life by 50% or more and reduce cleaning frequency. While more expensive upfront, the long-term savings on filter replacements and cleaning time make this investment worthwhile for most households.
Proper Storage Method for Off-Season
When storing your humidifier between seasons:
1. Empty completely – Remove all water from every component
2. Clean thoroughly – Follow weekly cleaning protocol before storage
3. Dry everything – Use cloth and air-drying for complete moisture removal
4. Store filter separately – Keep in dry location away from unit
5. Cover unit – Prevent dust accumulation during storage
Performance Troubleshooting
Warning Signs That Demand Immediate Attention
Reduced mist output often indicates mineral-clogged filters requiring immediate cleaning. White dust around the unit signals hard water deposits circulating through your space. Musty odors suggest bacterial growth requiring thorough disinfection.
Quick Diagnostic Tests to Save Time
- Visual inspection – Look for discoloration, mineral buildup, or physical damage
- Performance test – Monitor humidity output over 24 hours with a hygrometer
- Smell test – Any unusual odors indicate cleaning needed before continued use
Clear Replacement Indicators
Replace your Vicks humidifier filter immediately when you notice:
– Tears or physical damage in wick material that compromises structure
– Persistent odors even after thorough cleaning and disinfection
– Discoloration that won’t wash out with vinegar treatment
– 50% reduction in mist output despite clean system components
Maintenance Schedule Summary
Following this systematic approach keeps your Vicks humidifier filter clean and your air healthy. Clean filters mean better performance, longer equipment life, and healthier air quality for your entire family.
Daily (5 minutes): Rinse tank and wipe surfaces to prevent initial buildup
Weekly (30 minutes): Deep clean with vinegar treatment to remove mineral deposits
Monthly (45 minutes): Complete disinfection cycle to eliminate bacteria and mold
As needed: Filter replacement based on type, usage, and performance indicators
Consistent maintenance prevents the most common problems that lead to premature humidifier failure. By dedicating just 15-20 minutes per week to proper filter care, you’ll extend your Vicks humidifier’s lifespan significantly while ensuring it delivers clean, healthy moisture to your home throughout the dry season. Remember that clean filters aren’t just about equipment performance—they’re essential for maintaining healthy indoor air quality for you and your family.


