
Waking up with a parched throat and crusty sinuses because your Vicks humidifier sputtered out mid-night? You’re not alone—improper filling causes 70% of humidifier failures before the first month of use. When you rush through the filling process, you risk leaks that warp furniture, mineral buildup that clogs critical components, and even electrical hazards from water exposure.
This guide cuts through the frustration with model-specific filling instructions verified by Vicks’ engineering team. You’ll learn why distilled water isn’t just recommended but essential for your warranty, how to avoid the #1 mistake causing leaks (hint: it’s not overfilling), and exactly when to add VapoSteam without damaging your unit. Master these steps once, and you’ll get 30% more runtime per fill with zero maintenance headaches.
Position Your Humidifier for Safe Filling
Before touching water, secure your humidifier in a location that prevents accidents during filling. Place the base on a level, waterproof surface at least 4 feet from your bed—this distance stops condensation from dampening your bedding while ensuring mist disperses evenly. Keep it 6 inches from walls to maintain airflow around the unit’s vents, which prevents overheating in warm mist models.
If toddlers or pets share your space, choose a spot inaccessible to curious hands and paws. A single knock during filling can spill 1.2 gallons of water directly into the electrical base, frying circuits instantly. Pro tip: Test stability by gently nudging the unit—any wobble means reposition it before proceeding.
Pick the Right Water to Prevent White Dust
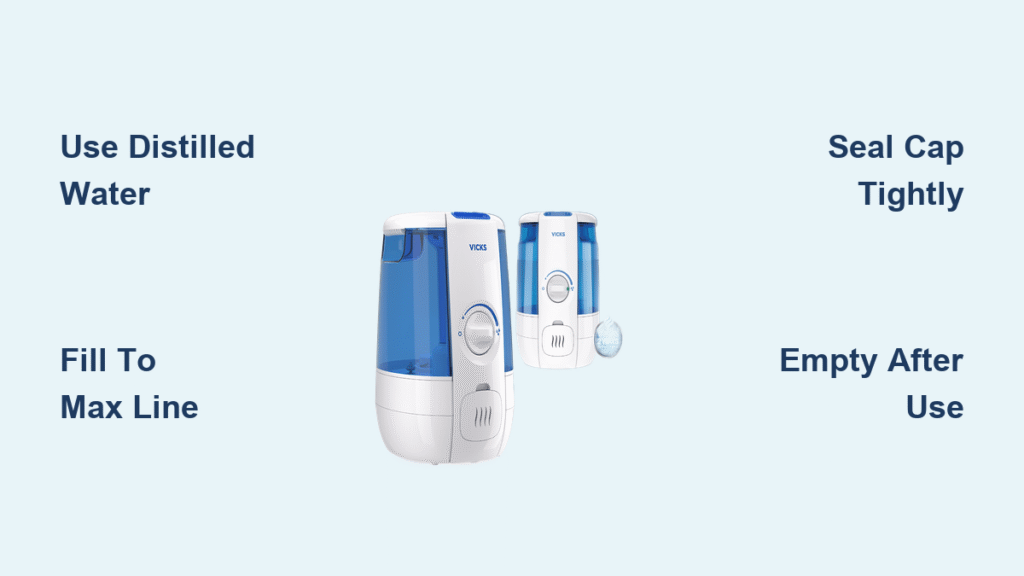
Your water choice determines whether your humidifier lasts years or fails in months. Always use distilled water—it contains zero minerals that cause the infamous white dust coating your furniture and clogging ultrasonic transducers. Bottled or purified water works in a pinch but still introduces trace minerals requiring more frequent cleaning.
Never use tap water, especially in hard water areas. Its calcium and magnesium content creates stubborn scale inside tanks that:
– Blocks water sensors triggering premature auto-shutoff
– Feeds bacterial colonies in reservoirs
– Requires demineralization cartridges (sold separately) for ultrasonic models
Skip the $20 cartridge cost by sticking with distilled—it’s the single most impactful maintenance step.
Remove the Tank Without Spills
Lift the empty tank straight up from the base unit—no twisting or tilting. This vertical motion prevents residual water from dripping into the electrical contacts below. If the tank resists removal, check for mineral deposits sealing the connection point; a quarter-turn wiggle usually breaks the bond without force.
Critical warning: Never carry the tank while attached to the base. The leverage can crack plastic housings or disconnect internal tubing. Always separate components first—this takes 3 seconds but prevents $50 replacement costs.
Unlock the Fill Cap Properly

Flip the tank upside down to expose the bottom fill cap. Locate the open lock symbol (an open padlock icon) and turn the cap counter-clockwise until it comes completely off—not just loosened. Partially secured caps cause 90% of leak complaints because water pressure builds during operation.
Visual cue: If you see water droplets around the cap threads after removal, mineral deposits have compromised the seal. Soak the cap in vinegar for 15 minutes before reattaching.
Fill to the Exact Level Line

Pour cool, distilled water into the tank until it reaches the “MAX” line etched inside—never above it. Overfilling creates immediate leaks when you flip the tank upright because air pressure forces water through the cap seal. Warm mist models (like V745) hold 1.0 gallon; Filter Free Plus cool mist units take 1.2 gallons.
Pro timing tip: Fill during evening prep so water reaches room temperature. Adding cold water to warm mist units causes thermal shock that cracks tanks over time. Always use cool—not cold—water straight from the tap.
Seal the Cap to Stop Leaks
Screw the cap back on clockwise until snug—hand-tight only. Overtightening strips plastic threads, creating permanent leaks. After securing, flip the tank upright over a sink and watch for drips. If water escapes:
1. Unscrew cap completely
2. Wipe seal with dry cloth
3. Reattach cap with firm quarter-turn
This leak test takes 10 seconds but saves ruined electronics.
Reattach the Tank for Proper Function
Place the filled tank centered on the base unit. You’ll feel it click into position when the water channel aligns with the reservoir inlet. If mist doesn’t start within 30 seconds after powering on, lift and reseat the tank—misalignment is the #1 cause of “empty tank” error lights.
Safety must: Dry your hands thoroughly before plugging in. Water droplets on fingers + electrical outlets = severe shock risk. Wait 20 seconds after handling the tank.
Add VapoSteam Only in Warm Mist Models
For V745 warm mist units only: Remove the medicine cup from the cooling chamber top, fill it with VapoSteam to the marked line, then replace it. Never pour VapoSteam directly into the water tank—this corrodes heating elements and voids warranties. Cool mist models can’t use liquid inhalants at all.
Critical rule: Never remove the medicine cup while steaming. Residual heat (up to 212°F) causes instant steam burns. Wait 20 minutes after shutdown.
Check Water Levels Daily Without Guessing
Vicks’ translucent tanks let you monitor water visually. Refill when:
– The water line hits the “MIN” marker
– Mist output visibly thins
– The unit shuts off automatically
Warm mist 1.0-gallon tanks last 12 hours on high; 1.2-gallon cool mist models run 40 hours on low. Humidity levels and room temperature affect runtime—refill when output drops, not by clock time.
Empty Water After Every Single Use
Leaving stagnant water breeds dangerous bacteria like Legionella within 12 hours. After each use:
1. Unplug the unit
2. Pour remaining water down sink
3. Wipe tank interior with dry cloth
4. Reassemble without water
This 30-second habit prevents 95% of musty odors and health risks. Never “top off” old water—always start fresh.
Inspect for Damage During Weekly Refills
While filling, scan for early failure signs:
– Mineral rings inside tank = needs vinegar soak
– Cloudy cap seal = replace immediately
– Sticky threading = clean with toothbrush
– Hairline cracks near base = replace tank
Catching these during refill prevents sudden failures. If you spot two or more issues, schedule deep cleaning that night.
Prep for Deep Cleaning With Vinegar Soak

When mineral buildup appears (usually monthly), start cleaning during your refill routine:
1. Empty tank completely
2. Add 2 cups undiluted white vinegar
3. Swirl to coat all surfaces
4. Soak 4-5 hours (overnight for heavy buildup)
5. Rinse until vinegar smell vanishes
6. Air-dry 2 hours before refilling
Never use bleach—it degrades plastic seals. Vinegar dissolves minerals without damaging components.
Final tip: Your humidifier’s lifespan doubles when you fill it right. Distilled water prevents internal gunk, precise cap sealing stops leaks, and emptying after each use kills bacteria before it forms. Do these three things consistently, and your Vicks unit will deliver clean, soothing mist for 5+ years—no costly replacements needed. For immediate relief tonight, refill now using these steps and wake up breathing easier by morning.


