
Are you struggling with indoor air quality and considering an in-duct air purifier? It can be frustrating to deal with allergens, dust, and odors, especially when traditional filters aren’t enough. A quick fix is ensuring your HVAC system’s filter is new and the correct MERV rating, but for a more comprehensive solution, installing an in-duct air purifier can dramatically improve your home’s air quality.
This comprehensive guide will walk you through the entire process of installing an in-duct air purifier, from assessing your system and choosing the right unit to the step-by-step installation and post-installation testing. We’ll cover everything you need to know to successfully install your purifier and breathe easier, ensuring a healthier home environment.
What You’ll Need for In Duct Air Purifier Installation
| Item | Quantity | Specifications |
|---|---|---|
| In-Duct Air Purifier | 1 | Choose based on HVAC system size (CFM) |
| Screwdriver Set | 1 | Phillips head, flathead, various sizes |
| Wire Strippers/Cutters | 1 | For electrical connections (if required) |
| Electrical Tape | 1 roll | For securing electrical connections |
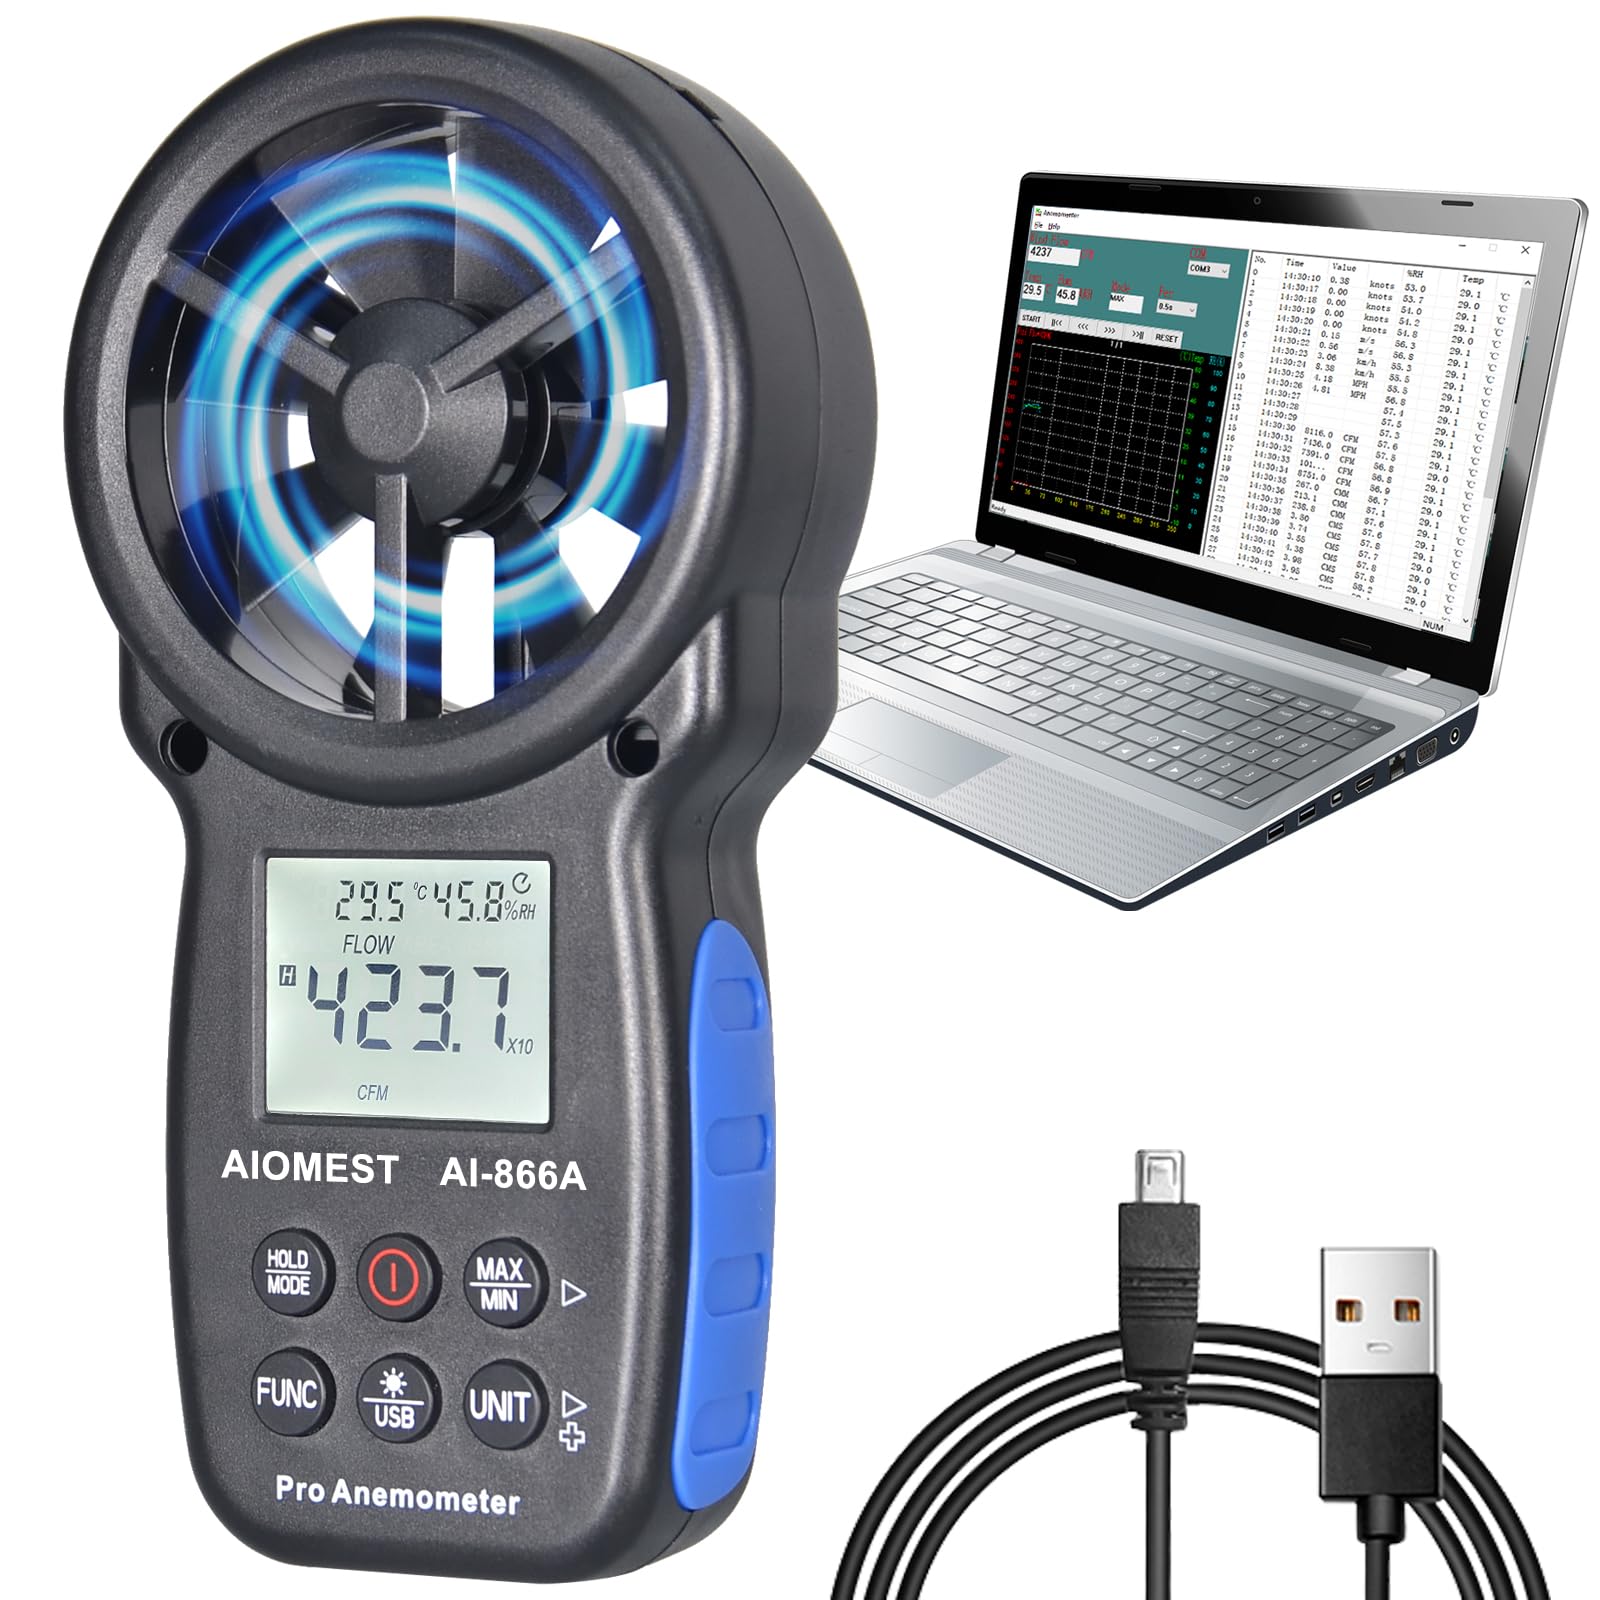
| Voltage Tester | 1 | To verify power is off |
| Measuring Tape | 1 | To measure ductwork and purifier dimensions |
| Drill with Drill Bits | 1 | For mounting brackets (if required) |
| Safety Glasses | 1 | For eye protection |
| Work Gloves | 1 pair | For hand protection |
| HVAC System Manual | 1 | For reference and specifications |
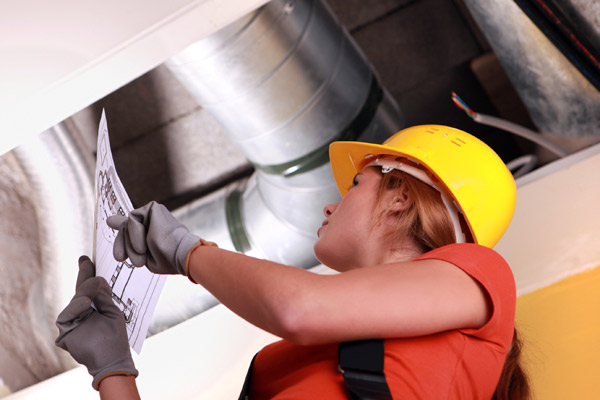
Preparing Your HVAC System for Installation

Before starting, safety is paramount. Important: Always disconnect power to your HVAC system at the breaker box before beginning any work. Verify the power is off using a voltage tester.
Next, assess your HVAC system:
- Ductwork Type: Determine if you have metal or fiberglass ductwork. This influences mounting options.
- Available Space: Measure the available space in your return ductwork. Ensure the purifier will fit without obstructing airflow. A minimum of 18-24 inches of straight duct run is generally recommended before and after the purifier.
- HVAC System Size (CFM): Calculate your HVAC system’s Cubic Feet per Minute (CFM). This is crucial for selecting a purifier with the appropriate airflow capacity. You can find this information on the unit’s nameplate or in the HVAC system manual. Incorrect sizing will reduce effectiveness.
- Return Air Duct Location: Identify a suitable location for the purifier on the return air duct. Ideally, choose a location that’s easily accessible for maintenance.
Step-by-Step Installation Process
Phase 1: Purifier Preparation
- Unboxing & Inspection: Carefully unpack the air purifier and inspect it for any damage. Verify all components are present.
- Read the Manual: Thoroughly read the manufacturer’s installation manual. Each purifier model may have specific instructions.
- Mounting Bracket Installation (if required): Some purifiers require a mounting bracket. Attach the bracket to the ductwork using self-tapping screws. Ensure the bracket is securely fastened.
Phase 2: Installation & Wiring
- Positioning the Purifier: Carefully position the purifier within the return air duct, aligning it with the mounting bracket (if applicable). Ensure the airflow direction matches the manufacturer’s instructions – typically indicated by arrows on the unit.
- Securing the Purifier: Secure the purifier to the mounting bracket (or directly to the ductwork) using screws or straps. Ensure it’s firmly in place and won’t vibrate loose during operation.
- Electrical Connections (if required): Many purifiers simply operate off the blower motor’s power. If your purifier requires a separate electrical connection:
- Locate the appropriate wiring points on the purifier and the HVAC system.
- Using wire strippers, carefully strip the insulation from the wires.
- Connect the wires, matching colors (black to black, white to white, ground to ground).
- Secure the connections with electrical tape. Double-check all connections for tightness and proper insulation.
Phase 3: Final Checks & System Restoration
- Airflow Verification: Ensure the purifier doesn’t obstruct airflow. Visually inspect the ductwork around the purifier to confirm unrestricted air passage.
- Wiring Inspection: Double-check all electrical connections (if applicable) for tightness and proper insulation.
- System Restoration: Restore power to your HVAC system at the breaker box.
- Initial Operation: Turn on your HVAC system and monitor the purifier’s operation. Listen for any unusual noises or vibrations.
Post-Completion Testing and Troubleshooting
- Airflow Test: Check airflow at vents throughout your home. There should be no noticeable reduction in airflow.
- Purifier Indicator Lights: Verify the purifier’s indicator lights are functioning correctly, indicating it’s powered on and operating.
- Odor/Allergen Test: After running the system for a few hours, assess whether there’s a noticeable improvement in air quality – reduced odors, fewer allergens, etc.
- Troubleshooting:
- No Power: Check the breaker, wiring connections, and the purifier’s power switch.
- Reduced Airflow: Verify the purifier isn’t obstructing airflow. Ensure the unit is correctly sized for your HVAC system.
- Unusual Noises: Tighten mounting screws and check for loose components.
Pro Tips
- Filter Replacement: Set a reminder to replace the purifier’s filter according to the manufacturer’s recommendations. A clogged filter reduces effectiveness.
- Regular Inspections: Periodically inspect the purifier for dust buildup and ensure all connections remain secure.
- Professional Duct Cleaning: Consider having your ductwork professionally cleaned before installing the purifier to remove accumulated dust and debris.
- Smart Purifiers: Some purifiers offer smart features like remote control and filter life monitoring.
- UV-C Additions: Consider a purifier with UV-C light for enhanced germicidal properties.
- Airflow Direction: Pay close attention to the airflow direction indicated on the purifier. Incorrect installation can reduce efficiency.
- Pre-Filter: Adding a pre-filter to the purifier can extend the life of the main filter.
Professional Help
If you are uncomfortable working with electrical wiring or have concerns about your HVAC system, it’s best to hire a qualified HVAC technician.
Signs you need professional help:
- Complex ductwork configuration
- Electrical wiring issues
- Uncertainty about HVAC system specifications
- Concerns about voiding your HVAC system’s warranty
Typical Cost Ranges:
- Professional installation: $150 – $400 (depending on complexity)
- HVAC system inspection: $75 – $200
FAQ
Q: How often should I replace the filter?
A: Filter replacement frequency varies depending on the purifier model and air quality. Check the manufacturer’s recommendations, but generally, filters should be replaced every 6-12 months.
Q: Will an in-duct air purifier increase my energy bill?
A: A properly sized and installed purifier should have minimal impact on your energy bill. However, a clogged filter can restrict airflow and increase energy consumption.
Q: Can I install an in-duct air purifier myself?
A: Yes, if you are comfortable working with basic tools and electrical wiring (if applicable). However, if you are unsure, it’s best to hire a professional.
Q: What MERV rating filter should I use?
A: The recommended MERV rating depends on your specific needs. MERV 11-13 is generally a good balance between filtration efficiency and airflow. Check your purifier’s manual for recommendations.
Q: Will this purifier eliminate all allergens and pollutants?
A: While an in-duct air purifier significantly improves air quality, it won’t eliminate all allergens and pollutants. It’s one component of a comprehensive indoor air quality strategy.
Get Your In Duct Air Purifier Working Again
You’ve now learned how to install an in-duct air purifier and improve the air quality in your home. Remember these key steps:
- Proper preparation and safety precautions
- Correct sizing for your HVAC system
- Secure installation and wiring
- Post-installation testing and troubleshooting
Don’t wait any longer to breathe easier!
Have you successfully installed your in-duct air purifier? Share your experience and any helpful tips in the comments below!


