
Are you struggling to get your new Winix air purifier up and running? It can be frustrating to unbox a device promising cleaner air only to find the installation process confusing. The good news is, Winix air purifiers are designed for relatively simple setup, and often, a quick filter installation and power connection are all you need to start enjoying fresher air.
This comprehensive guide will walk you through every step of installing your Winix air purifier, from unboxing and filter insertion to setting up smart features and performing initial testing. We’ll cover different models, common issues, and preventative maintenance to ensure your air purifier runs efficiently for years to come. By the end of this guide, you’ll be breathing easier knowing your Winix is properly installed and working at its best.
What You’ll Need for Winix Air Purifier Installation
| Item | Quantity | Specifications |
|---|---|---|
| Winix Air Purifier Unit | 1 | Specific model (e.g., 5500-2, C545) |
| Power Cord | 1 | Included with unit |
| Filter(s) | As needed | Typically a combination of Pre-Filter, True HEPA Filter, and Carbon Filter (check model specifications) |
| Screwdriver (Phillips Head) | 1 | For accessing filter compartment (some models) |
| User Manual | 1 | Included with unit |
| Wi-Fi Network (for smart models) | 1 | 2.4 GHz network recommended |
Unboxing and Initial Inspection
- Carefully unpack your Winix air purifier. Retain the box and packing materials for potential warranty claims or returns.
- Inspect the unit for any visible damage incurred during shipping. If you notice any damage, contact the retailer or Winix customer support immediately.
- Locate all included components: the air purifier unit itself, the power cord, and any included filters (some models come with pre-installed filters).
- Review the user manual: Familiarize yourself with the specific features and instructions for your model. Each Winix model has slightly different features and filter access.
Filter Installation Process

This section details filter installation. Note that access methods vary by model.
Step 1: Accessing the Filter Compartment
- Most Models: Locate the filter access panel on the back or side of the unit. This is typically secured by latches or screws.
- 5500-2 & Similar: Remove the back panel by releasing the latches at the top and bottom.
- C545 & Similar: Press the release button on the front of the unit and gently pull the front panel forward to reveal the filter compartment.
Step 2: Removing Existing Filters (If Applicable)
- If your unit has pre-installed filters, carefully remove them by following the instructions in the user manual. Note the orientation of each filter for proper re-installation.
- Some filters may be taped or secured with plastic wrap – remove all packaging materials.
Step 3: Installing New Filters
- Pre-Filter: This is usually a washable foam or mesh filter. Place it in the designated slot first. This filter captures large particles like dust and pet hair.
- True HEPA Filter: This filter traps smaller particles like pollen, mold spores, and bacteria. Insert it into the designated slot, ensuring it fits snugly.
- Carbon Filter: This filter removes odors and volatile organic compounds (VOCs). Place it in the final slot. Some carbon filters are integrated with the HEPA filter as a combined unit.
- Important: Ensure filters are properly seated and aligned to maximize airflow and filtration efficiency.
Step 4: Closing the Filter Compartment
- Reattach the filter access panel, securing it with latches or screws. Ensure it is firmly closed to prevent unfiltered air from bypassing the filters.
Positioning and Powering On Your Winix Air Purifier
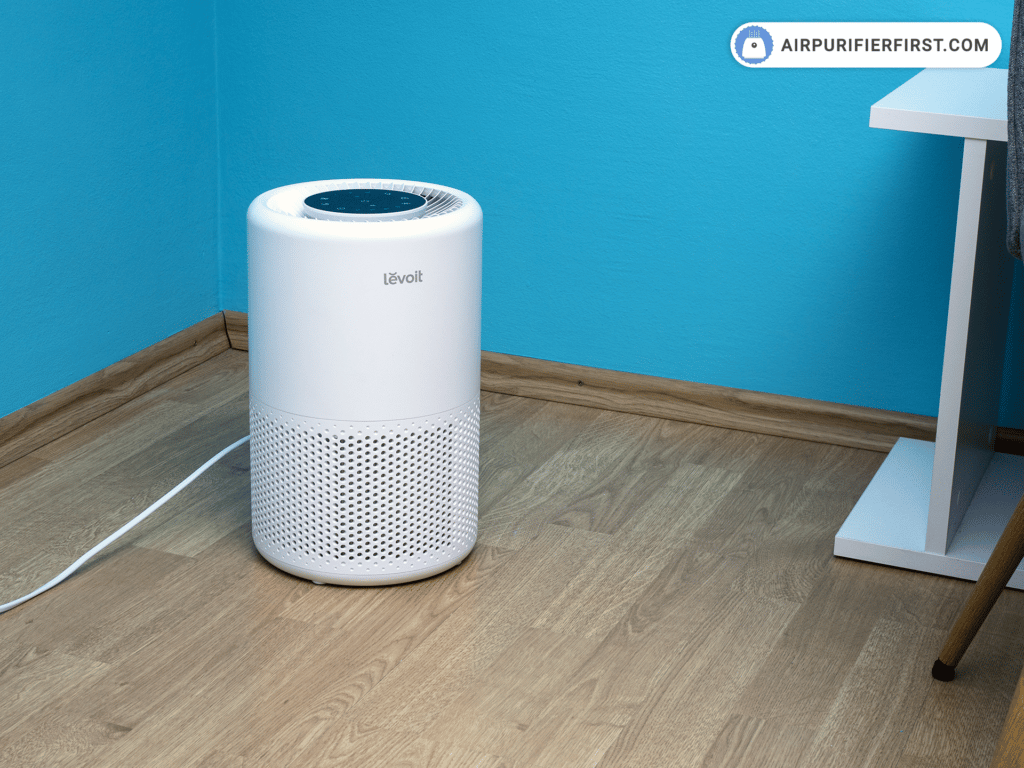
Choosing the Right Location
- Place the purifier on a flat, stable surface. Avoid placing it directly against walls or furniture, as this can restrict airflow.
- Ensure adequate space around the unit: At least 1 foot of clearance on all sides is recommended.
- Avoid placing the purifier in direct sunlight or near heat sources.
- For optimal performance, place the purifier in the room where you spend the most time.
Powering On and Initial Testing
- Plug the power cord into a grounded electrical outlet.
- Turn on the power switch (usually located on the back or side of the unit).
- Select your desired fan speed using the control panel. Start with the lowest setting and gradually increase it as needed.
- Observe the air quality indicator light. This light will change color to reflect the current air quality. Allow the purifier to run for a few hours to assess its performance.
Connecting to Wi-Fi (Smart Models)
- Download the Winix Smart App from the App Store (iOS) or Google Play Store (Android).
- Create an account or log in if you already have one.
- Follow the in-app instructions to connect your air purifier to your Wi-Fi network. This typically involves entering your Wi-Fi password and pressing a button on the air purifier.
- Verify the connection by controlling the purifier’s settings through the app.
Pro Tips for Optimal Performance

- Wash the pre-filter every 2-4 weeks to remove accumulated dust and debris.
- Replace the HEPA and carbon filters every 6-12 months, depending on usage and air quality. The app will often remind you when replacement is needed.
- Use Auto Mode: This mode automatically adjusts the fan speed based on the detected air quality, saving energy and maximizing filtration.
- Utilize Sleep Mode: This mode operates at a low fan speed and dims the display lights for quiet operation during sleep.
- Regularly clean the exterior of the unit with a soft, damp cloth.
- Consider using a smart plug for remote control and energy monitoring.
When to Seek Professional Help
- The air purifier is making unusual noises.
- The air quality indicator light is constantly red, even after filter replacement.
- The unit is not powering on.
- You suspect a mechanical failure.
FAQ
Q: How often should I replace the filters?
A: Winix recommends replacing the True HEPA and Carbon filters every 6-12 months, and washing the pre-filter every 2-4 weeks. Usage and air quality conditions will affect these intervals.
Q: Can I wash the HEPA filter?
A: No, the HEPA filter should not be washed. Washing will damage the filter material and reduce its effectiveness.
Q: What does the air quality indicator light mean?
A: The color of the light indicates the current air quality: Blue = Good, Green = Moderate, Yellow = Poor, Red = Very Poor.
Q: Can I use a different brand of filters?
A: While aftermarket filters are available, Winix recommends using genuine Winix filters to ensure optimal performance and maintain your warranty.
Enjoy Your Clean Air!
Now that your Winix air purifier is installed and running, you can breathe easier knowing you’re enjoying cleaner, healthier air. Remember to follow the maintenance tips outlined in this guide to keep your purifier operating at its best.
Have you successfully installed your Winix air purifier? Share your experience and any helpful tips in the comments below!


