
If you’ve noticed your Dyson air purifier isn’t pulling in as much air as it used to, or you’re seeing reduced performance on the display, it might be time to replace the Dyson air purifier filter. Many owners face this frustration when filters get clogged with dust, pet dander, or allergens, leading to poorer air quality and higher energy use. The good news is there’s a quick way to check: most Dyson models have built-in indicators like a flashing light or app alert that signal when replacement is due, giving you immediate relief without guesswork.
In this comprehensive guide, we’ll go beyond the basics to help you fully understand when and how to replace your Dyson air purifier filter. You’ll learn about common signs of a worn-out filter, recommended replacement schedules tailored to your environment, step-by-step instructions for checking and swapping it out, and prevention tips to extend filter life. By the end, you’ll have the confidence to maintain peak performance and enjoy cleaner air in your home year-round.
Why Regular Filter Replacement is Essential for Your Dyson Air Purifier
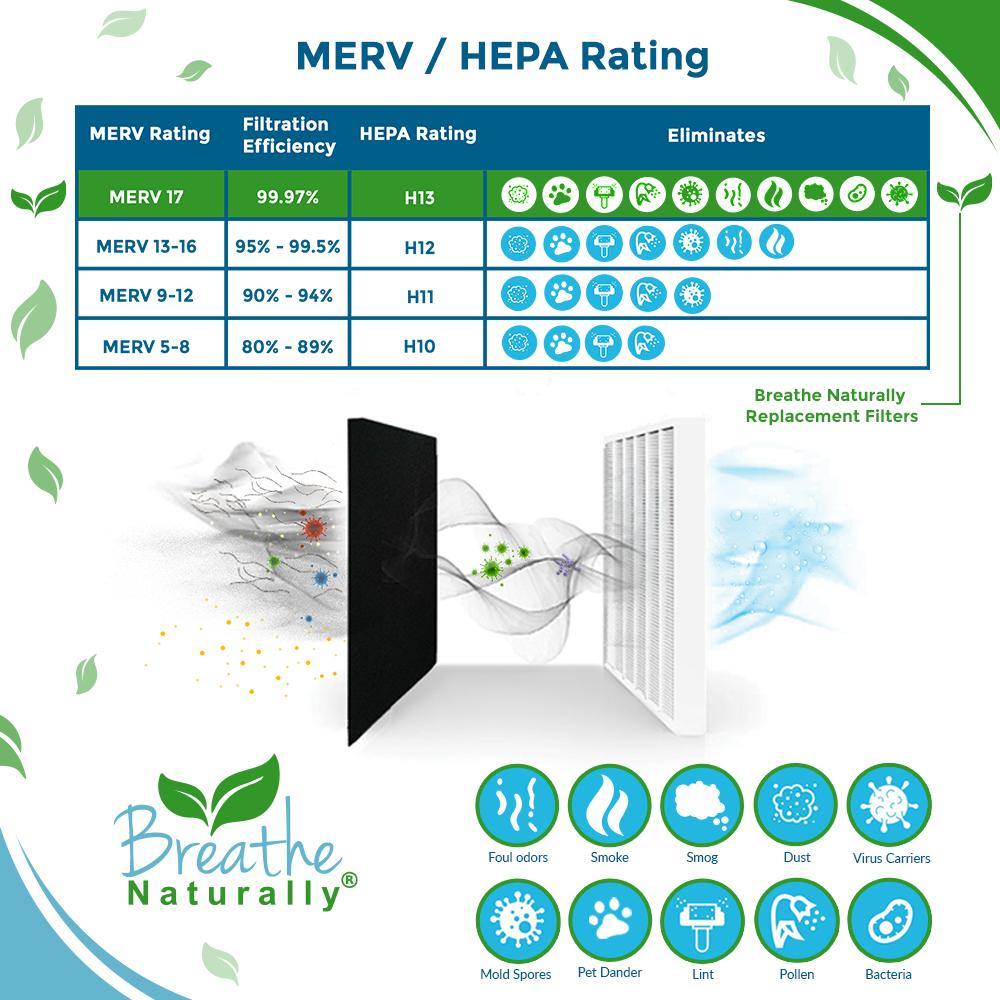
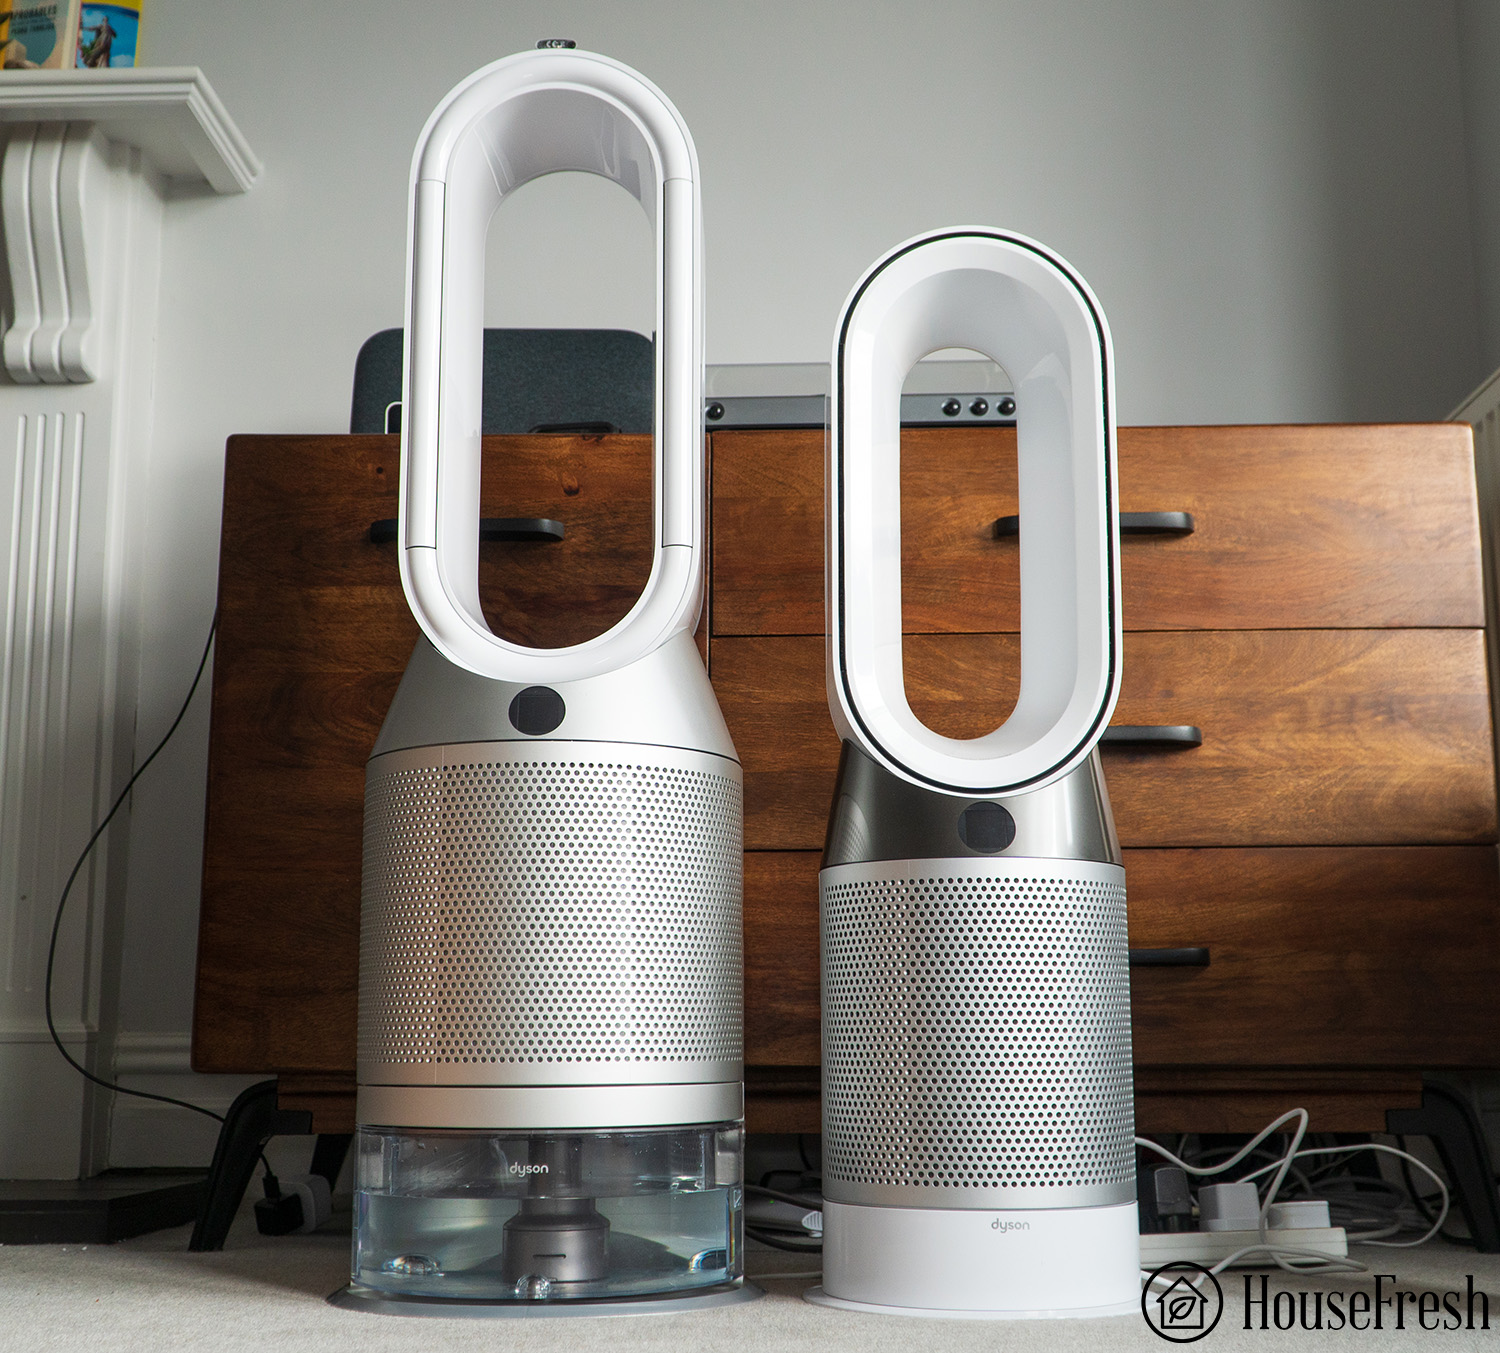
Your Dyson air purifier relies on high-quality filters to capture microscopic particles, allergens, and pollutants, ensuring the air you breathe is clean and fresh. HEPA filters in models like the Dyson Pure Cool or Hot+Cool trap up to 99.97% of particles as small as 0.3 microns, but over time, they become saturated and lose efficiency. Neglecting replacement can lead to several issues: diminished air purification, increased noise levels as the fan works harder, and even potential damage to the unit’s motor from restricted airflow.
Regular replacement not only restores optimal performance but also extends the lifespan of your device. According to Dyson’s official guidelines, filters are designed for longevity, but real-world factors like high pollen seasons or pet-heavy homes accelerate wear. By staying on top of this maintenance, you avoid costly repairs and ensure your investment in clean air pays off. Plus, it’s an eco-friendly practice—Dyson emphasizes recyclable filters to minimize waste. In short, knowing when to replace your Dyson air purifier filter keeps your home healthier and your purifier running efficiently.
Recommended Frequency for Replacing Dyson Air Purifier Filters
Dyson recommends replacing filters every 12 months under normal conditions, but this can vary based on usage, room size, and environmental factors. For instance, in dusty urban areas or homes with smokers/pets, you might need to swap them out every 6-8 months. Always check your model’s manual—filters in the Dyson Purifier Cool Formaldehyde (TP09) differ from those in the Pure Hot+Cool (HP07).
To make it easy, here’s a maintenance schedule table based on Dyson’s advice and user experiences from sources like the EPA’s indoor air quality guidelines. Adjust based on your specific setup:
| Frequency | Task | Duration | Notes |
|---|---|---|---|
| Every 6 months | Inspect filter via app or display | 5-10 minutes | For high-pollution areas (e.g., near traffic or construction); check for visible dirt buildup. |
| Every 12 months | Full filter replacement | 15-20 minutes | Standard for most homes; reset the filter life indicator after installation. |
| Quarterly (if heavy use) | Preemptive cleaning of pre-filter | 10 minutes | Vacuum the outer mesh to extend HEPA filter life; not a full replacement. |
| As indicated by alerts | Immediate replacement | 15 minutes | If the purifier shows a solid red light or “Replace Filter” message—don’t delay! |
Important: These timelines are estimates. Over-relying on a clogged filter can reduce efficiency by up to 50%, per Dyson’s testing data. Track usage through the MyDyson app for personalized reminders, which factors in runtime hours.
Signs That It’s Time to Replace Your Dyson Air Purifier Filter
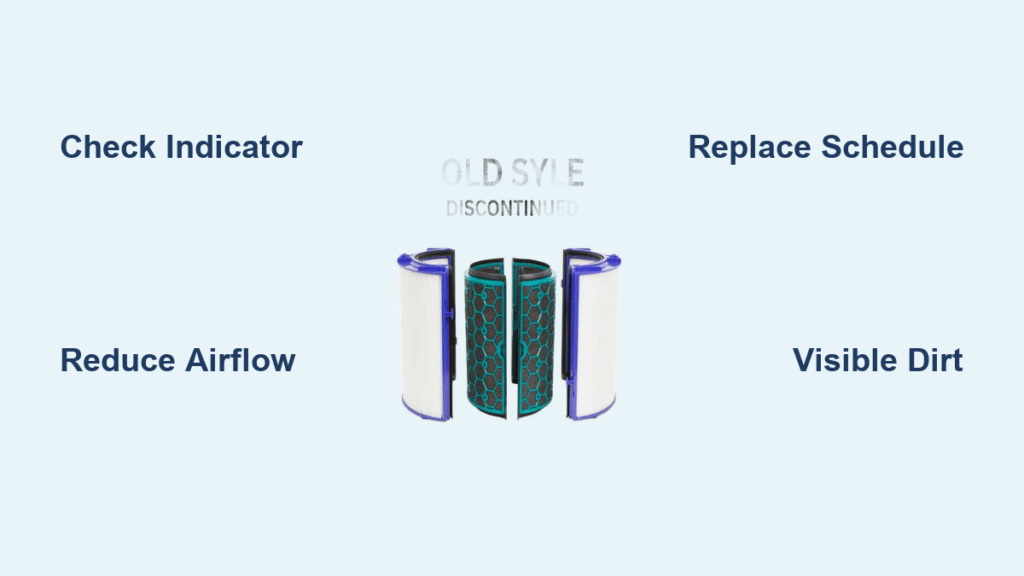
Spotting the right moment to replace your Dyson air purifier filter prevents performance dips and ensures consistent air quality. Dyson models are smart about this, often providing visual or audible cues, but you should also watch for subtle changes. Here are the most common indicators, explained in detail:
Reduced Airflow or Purification Efficiency
If your purifier seems to be struggling—perhaps the fan sounds louder or the airflow feels weaker—it’s a classic sign the filter is clogged. Dyson’s sensors detect this drop and may display a filter life percentage below 10% on the LCD screen or app. In real terms, this means it’s capturing fewer pollutants, allowing allergens to circulate. Test it by placing a tissue near the outlet; if it doesn’t flutter as strongly as when new, replacement is likely needed.
Indicator Lights or App Notifications
Most Dyson air purifiers, like the TP07 or HP10, feature a built-in filter life tracker. A blinking amber light or a “Filter Needs Replacing” alert in the MyDyson app is your clearest signal. These systems calculate based on actual runtime—typically 4,000 hours for a standard filter. If ignored, the light may turn solid red, and the unit could shut down to prevent damage. Warning: Never bypass these alerts; doing so voids warranty coverage.
Unusual Odors or Increased Allergens
A saturated filter can start emitting musty smells as trapped particles break down, or you might notice more sneezing/dust in the room despite the purifier running. This is especially common in humid climates where mold can form inside the filter. If air quality readings (via the app’s PM2.5 sensor) spike unexpectedly, it’s time to act. Users report this sign appearing 1-2 months before the official 12-month mark in pet-friendly homes.
Visible Dirt or Debris Buildup
For transparent or accessible models, inspect the filter chamber. If you see heavy graying, caking, or debris visible through the grille, replacement is overdue. While you can’t always see inside sealed HEPA units, a quick external check (with the unit off) can reveal issues. Pro Tip: If your model has a washable pre-filter (like in the Dyson Purifier Big+Quiet), clean it first—but if the main HEPA is dirty, full replacement is required.
Error Codes or Noisy Operation
Some advanced models display error codes like “FF” for filter failure. Increased rattling or whining noises indicate the motor is overcompensating for blockage. According to Dyson’s support forums, this affects about 20% of users who delay maintenance. If these persist after a reset, it’s not just the filter— but start there.
By monitoring these signs, you’ll know precisely when to replace your Dyson air purifier filter, avoiding unnecessary filter waste or health risks from poor air.
How to Check and Replace Your Dyson Air Purifier Filter
Replacing your Dyson air purifier filter is straightforward and takes about 15 minutes, but first, confirm it’s necessary with a quick check. This process applies to popular models like the Pure Cool TP04 or Humidify+Cool PH04; always refer to your user manual for model-specific tweaks. Tools needed: none beyond your hands, though gloves are optional for hygiene.
Step 1: Diagnose the Filter Condition
- Turn off and unplug the purifier to ensure safety.
- Download or open the MyDyson app (if not already) and connect your device—it shows exact filter life remaining as a percentage.
- Visually inspect: Remove the filter cover (usually by twisting or pressing tabs) and look for discoloration or debris. If the filter feels heavy or resists removal slightly, it’s clogged.
- Run a test cycle: Power on for 10 minutes and monitor airflow/output. Compare to Dyson’s baseline specs (e.g., 290 liters/second for TP07).
If diagnostics confirm replacement (under 10% life or visible issues), proceed. Time estimate: 5 minutes.
Step 2: Gather Materials and Prepare
You’ll need a genuine Dyson replacement filter (e.g., part #970341-01 for TP07, costing $50-80). Buy from Dyson’s site or authorized retailers to avoid counterfeits, which can damage the unit. Work in a well-lit area, and have a trash bag ready for the old filter—Dyson filters are recyclable via their take-back program.
Safety Precautions: Unplug the unit. Avoid using near water if your model has a humidifier function. If you’re sensitive to dust, wear a mask during handling.
Step 3: Remove the Old Filter
- Place the purifier on a flat surface and locate the filter access panel (bottom or side, depending on model).
- Gently twist or unlatch the cover—most models use a quarter-turn mechanism.
- Pull out the old filter straight down or as indicated by arrows. If it’s a combined HEPA/carbon filter, it comes as one unit.
- Dispose of it responsibly; do not attempt to clean or reuse HEPA filters, as this reduces effectiveness by 30-50% per EPA studies.
Warning: If the filter is stuck due to extreme buildup, don’t force it—contact support to avoid breaking clips.
Step 4: Install the New Filter
- Unpack the new filter and remove any plastic wrapping. Let it sit for 30 minutes to off-gas any manufacturing odors.
- Align the new filter with the slots in the purifier base—ensure arrows match for proper sealing.
- Push firmly until it clicks into place, then reattach the cover.
- Plug in and power on; the unit will auto-detect the new filter and reset the counter (or do so manually via app/button).
Step 5: Test and Reset
- Run the purifier on auto mode for 10-15 minutes and check the app/display for 100% filter life.
- Monitor for error-free operation and restored airflow. If issues persist (e.g., no reset), hold the power button for 10 seconds to force a reboot.
- Clean the exterior and pre-filter (if applicable) with a soft brush to complement the replacement.
Troubleshooting if It Doesn’t Work: If the indicator doesn’t reset, ensure the filter is genuine and seated correctly. For persistent errors, update the firmware via the app. This full process ensures your Dyson air purifier filter replacement is seamless and effective. Time estimate: 10-15 minutes total.
Pro Tips for Managing Your Dyson Air Purifier Filter
To get the most out of your Dyson air purifier, go beyond the basics with these expert tips:
– Track Usage Proactively: Use the MyDyson app’s runtime logs to predict replacement dates—set calendar reminders for 80% filter life to avoid surprises.
– Optimize Placement: Position the unit away from walls or curtains to prevent premature clogging; in bedrooms, elevate it slightly for better circulation.
– Combine with Pre-Filter Maintenance: Vacuum the washable pre-motor filter monthly to extend HEPA life by up to 20%, but never submerge non-washable parts.
– Seasonal Adjustments: In allergy season, increase fan speed and check filters bi-monthly; for winter, watch for dry air exacerbating buildup.
– Avoid Common Mistakes: Don’t buy third-party filters—they often lack Dyson’s activated carbon layer, leading to odors. Also, never run the unit without a filter installed, as it can void the warranty.
– Eco-Friendly Disposal: Recycle old filters at Dyson stores or via mail-back programs; this reduces landfill waste by 70% compared to improper tossing.
– Monitor Air Quality Trends: If filter life drops faster than expected, test your home’s humidity (ideal 40-60%) with a separate hygrometer to address root causes like excess moisture.
These strategies can save you money and keep air quality at its best.
When to Call in Professional Help
While DIY replacement is simple for most, seek professional service if:
– The filter won’t budge or you suspect internal damage (e.g., from a power surge).
– Error codes persist post-replacement, indicating sensor or motor issues.
– Your model is under warranty (typically 2-5 years) and you’ve modified the unit.
Look for Dyson-authorized technicians via their website—verify certifications and read reviews on sites like Trustpilot. Expect costs of $100-200 for a service visit, plus parts. Always check warranty terms; improper handling can void coverage. If your purifier is older than 5 years, a pro assessment might reveal if upgrading to a newer model (like the BP04) is more cost-effective.
FAQ
Q: How do I know if my Dyson air purifier filter is genuine?
A: Genuine filters have Dyson’s hologram sticker and match the model number (e.g., 366424-01 for HP07). Purchase from official sources; counterfeits often cause error codes and poor performance. Check the packaging for recycling instructions too.
Q: Can I clean a Dyson air purifier filter instead of replacing it?
A: No, HEPA and carbon filters aren’t washable—cleaning damages the fibers and releases trapped particles. Only pre-filters on select models (like the Big+Quiet) can be vacuumed or rinsed. Stick to replacement for safety and efficacy.
Q: What happens if I don’t replace the filter on time?
A: The purifier may reduce speed, increase energy use by 20-30%, or shut down. Worse, it circulates dirty air, worsening allergies. Dyson’s auto-shutoff prevents motor damage, but prolonged neglect shortens overall lifespan.
Q: Does filter life vary by Dyson model?
A: Yes—formaldehyde-capturing filters in TP09 last 6-12 months, while standard HEPA in TP04 goes up to 12 months. Check your manual or app for model-specific estimates based on 12-hour daily use.
Q: How much does a replacement Dyson air purifier filter cost?
A: Prices range from $40-80, depending on the model (e.g., $49.99 for TP07). Subscribe to Dyson’s auto-delivery for 10-15% discounts and free shipping. Bulk packs save more for multi-unit homes.
Q: Is there a way to extend filter life without compromising air quality?
A: Yes, run in eco mode, clean the exterior weekly, and use in well-sealed rooms. Adding houseplants or an HVAC filter can reduce load by 15-20%, per indoor air studies.
Q: What if my app doesn’t show filter life?
A: Ensure Bluetooth is enabled and the app is updated. For older models without app support, rely on the display light—amber for low, red for replace. Contact Dyson support for firmware help.
Alternative Solutions for Dyson Air Purifier Filter Management

If Dyson’s filters are too pricey or unavailable, consider these alternatives, though genuine parts are always best for compatibility:
| Solution | Pros | Cons | Best For |
|---|---|---|---|
| Third-Party Compatible Filters (e.g., from Amazon) | Cheaper ($20-40); easy to find | May not fit perfectly or capture as effectively (80-90% vs. Dyson’s 99.97%); potential warranty void | Budget-conscious users in low-pollution areas |
| Filter Subscription Services (e.g., FilterEasy) | Automatic delivery; reminders | Limited Dyson-specific options; higher long-term cost | Forgetful owners wanting convenience |
| Upgrading to Filterless Models (e.g., Dyson Purifier with UV tech) | No replacements needed; advanced purification | Much more expensive ($500+ upgrade) | High-maintenance households avoiding upkeep |
| DIY Monitoring Tools (e.g., air quality sensors like Awair) | Affordable add-on ($100); tracks pollution independently | Doesn’t replace the filter; requires manual checks | Tech-savvy users supplementing Dyson app |
Weigh pros/cons carefully—stick to originals for optimal results.
Keep Your Dyson Air Purifier Running Smoothly
With this guide, you’re equipped to handle when to replace your Dyson air purifier filter like a pro:
– Recognize key signs like alerts and reduced airflow
– Follow tailored schedules and step-by-step replacement
– Apply pro tips and know when to seek help
Maintaining your filter ensures cleaner air, better efficiency, and longer device life—don’t let a clogged one compromise your home’s health. Follow these steps today, and breathe easier knowing your Dyson is at peak performance.
Have you recently replaced your Dyson air purifier filter? Share your tips or experiences in the comments below to help fellow readers!


