Are you concerned about indoor air quality but don’t want to spend a fortune on an air purifier? You’re not alone! Many people struggle with allergies, asthma, or simply want cleaner air in their homes. A DIY carbon filter air purifier is a surprisingly effective and affordable solution. This guide will walk you through building one yourself, offering a quick fix for immediate improvement and a comprehensive approach to long-term air purification.
This comprehensive guide will go beyond just assembling the purifier. We’ll cover everything from choosing the right materials and fan, to optimizing your filter for specific pollutants, and even tips for maintaining your DIY creation for years to come. By the end of this article, you’ll have the knowledge and confidence to build a powerful air purifier tailored to your needs.
Materials and Tools Needed
| Item | Quantity | Specifications |
|---|---|---|
| Box Fan | 1 | 20″ box fan is common, but size can vary |
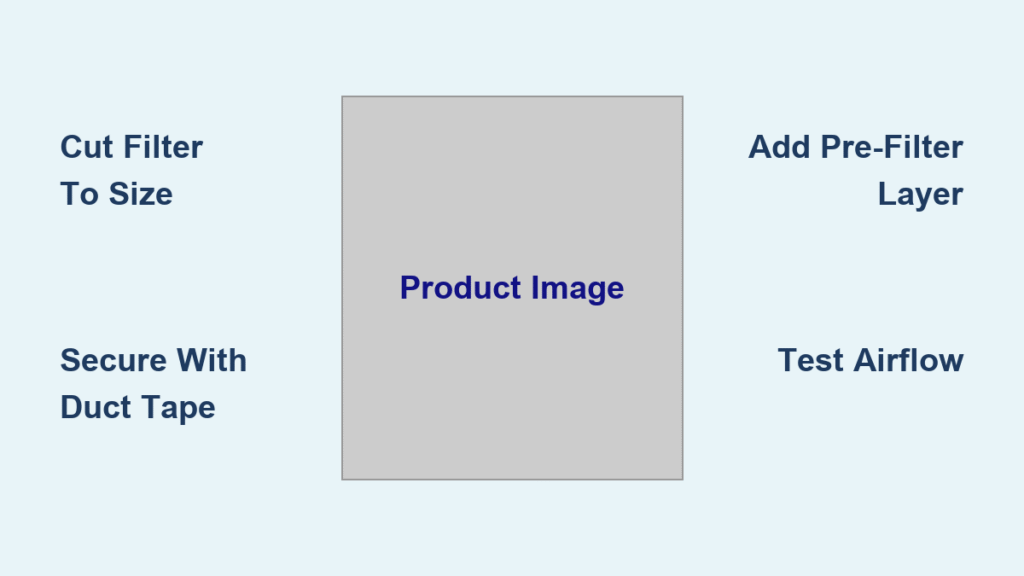
| Activated Carbon Filter | 1 | Cut to fan size (see instructions below) – granular or mat form |
| Pre-Filter (Optional) | 1 | Furnace filter, HEPA filter material, or washable fabric |
| Cardboard/Foam Board | As needed | For creating a secure filter frame |
| Duct Tape | 1 roll | Strong, wide duct tape |
| Scissors/Utility Knife | 1 | For cutting filter material & cardboard |
| Measuring Tape | 1 | For accurate filter sizing |
| Safety Glasses | 1 | To protect eyes during cutting |
| Gloves (Optional) | 1 pair | To prevent carbon dust exposure |
Preparing the Carbon Filter
Understanding Activated Carbon
Activated carbon is the key to removing odors, gases, and VOCs (volatile organic compounds) from the air. It works by adsorption – pollutants stick to the surface of the carbon. The more surface area, the better the filtration. You can purchase activated carbon in granular form (loose) or as a pre-made carbon filter mat.
Cutting the Filter to Size
- Measure the Fan: Carefully measure the front of your box fan. You’ll need the width and height.
- Cut the Carbon Filter: If using a carbon filter mat, simply cut it to the same dimensions as the fan opening. If using granular carbon, you’ll need a mesh bag or frame to contain it. Cut cardboard or foam board to create a frame slightly larger than the fan opening. Secure the mesh bag filled with granular carbon inside the frame.
- Consider Depth: A thicker carbon filter will generally provide better filtration, but may restrict airflow. A depth of 1-2 inches is a good starting point.
Assembling the DIY Air Purifier
Phase 1: Pre-Filter Attachment (Optional)
- Purpose: A pre-filter captures larger particles like dust and pet dander, extending the life of your carbon filter.
- Attachment: Secure the pre-filter to the intake side of the box fan (the side that pulls air in) using duct tape. Ensure it covers the entire opening without blocking the fan blades.
Phase 2: Carbon Filter Attachment
- Positioning: Place the carbon filter (either mat or framed granular carbon) directly onto the intake side of the fan, over the pre-filter if you’re using one.
- Securing: This is the most important step! Use generous amounts of duct tape to securely attach the carbon filter to the fan. Ensure there are no gaps around the edges where air could bypass the filter. Pay special attention to the corners.
- Reinforcement: Add a second layer of duct tape around the edges for extra security.
Phase 3: Testing and Sealing
- Visual Inspection: Double-check for any gaps or loose areas around the filter.
- Initial Test: Turn on the fan at its lowest setting. Listen for any unusual noises indicating the filter is obstructing the blades.
- Sealing: If you find any gaps, seal them with more duct tape.
Optimizing Your Air Purifier

Carbon Type Selection
- Granular Activated Carbon (GAC): Cost-effective, good for general filtration.
- Activated Carbon Cloth: Offers a larger surface area and better adsorption capacity.
- Impregnated Carbon: Treated with specific chemicals to target certain pollutants (e.g., formaldehyde).
Fan Speed and Airflow
- Low Speed: Quieter operation, but lower filtration rate. Ideal for bedrooms or nighttime use.
- Medium Speed: A good balance between filtration and noise.
- High Speed: Maximum filtration, but can be noisy. Best for quickly cleaning the air in a larger space.
Filter Placement
- Central Location: Place the air purifier in a central location in the room for optimal air circulation.
- Near Source of Pollution: If you’re targeting a specific source of pollutants (e.g., a smoker, a kitchen), place the purifier nearby.
Pro Tips
- Layering Filters: Combining a HEPA pre-filter with an activated carbon filter provides the most comprehensive air purification.
- Airflow Direction: Ensure the air is flowing through the filter, not around it.
- Filter Replacement: Replace the carbon filter every 3-6 months, depending on usage and air quality. Pre-filters can be cleaned or replaced more frequently.
- Carbon Dust: Wear gloves and a mask when handling granular activated carbon to avoid inhaling dust.
- Fan Maintenance: Regularly clean the fan blades to maintain optimal airflow.
- Activated Carbon Recycling: Check local regulations regarding the disposal or recycling of used activated carbon.
When to Seek Professional Help
- Persistent Allergies/Asthma: If your symptoms don’t improve with the DIY air purifier, consult a doctor.
- Mold Growth: A DIY air purifier won’t address mold problems. Professional mold remediation is necessary.
- Severe Air Pollution: In areas with high levels of air pollution, a professional-grade air purifier may be required.
FAQ
Q: How does this compare to a commercial air purifier?
A: Commercial air purifiers often have more advanced features and higher filtration rates. However, a well-built DIY purifier can be surprisingly effective, especially for removing odors and gases.
Q: Can I use any type of carbon?
A: No. You must use activated carbon. Regular charcoal doesn’t have the necessary surface area for effective filtration.
Q: How do I know when to replace the filter?
A: If you notice a decrease in airflow or a return of odors, it’s time to replace the carbon filter.
Q: Is this safe to use around pets and children?
A: Yes, as long as the filter is securely attached to the fan and the fan is out of reach.
Q: Can I use a different type of fan?
A: While a box fan is easiest, you can adapt this to other fans, but ensure a secure and airtight seal.
Alternative Solutions

| Solution | Pros | Cons | Best For |
|---|---|---|---|
| Commercial HEPA Air Purifier | Highly effective, quiet operation | Expensive | Severe allergies, asthma |
| Coway Airmega 200M | Excellent filtration, smart features | Moderate price | Medium to large rooms |
| Levoit Core 300S | Affordable, compact | Smaller coverage area | Bedrooms, offices |
Keep Your Air Clean and Fresh
You now have the knowledge to create your own effective and affordable air purifier. By following these steps and regularly maintaining your creation, you can breathe easier and enjoy cleaner air in your home.
Ready to start building? Share your DIY air purifier projects in the comments below! We’d love to see your creations and hear about your experiences.