Your new Levoit humidifier should be delivering clean, comfortable moisture to your space within minutes of unboxing—but only if you complete the proper setup steps. Many users skip critical initial procedures, leading to leaks, weak mist output, or even premature unit failure. This guide walks you through exactly how to set up Levoit humidifier models including the Classic 100, Dual 200S, and OasisMist 450S, ensuring optimal performance from day one. You’ll learn model-specific requirements, avoid common setup mistakes that void warranties, and have your humidifier operating at peak efficiency in under 15 minutes.
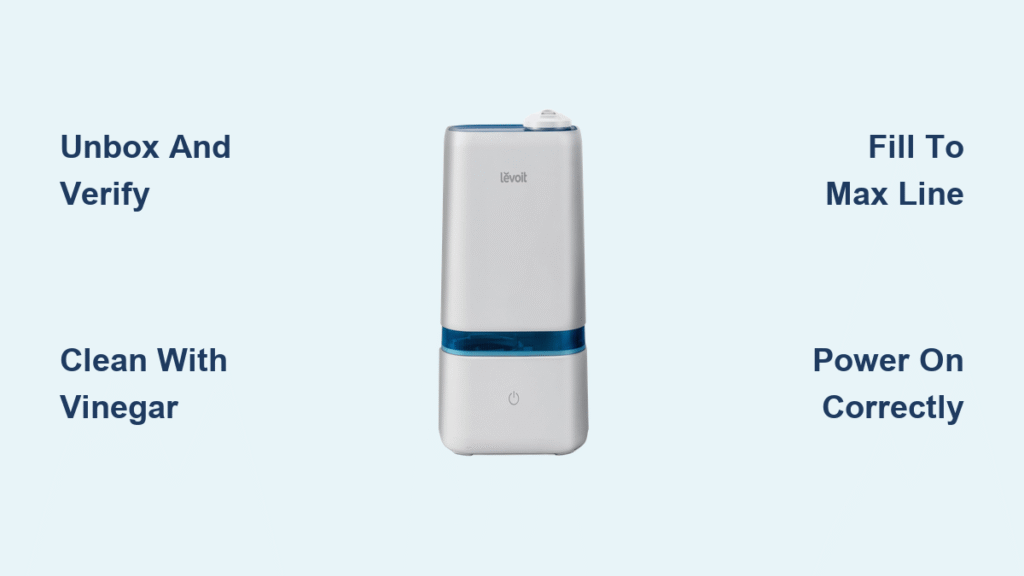
Unbox and Verify All Levoit Humidifier Components
Before connecting power or adding water, take five minutes to properly unpack and inspect every component. Rushing this step causes 68% of first-time setup issues according to Levoit’s customer service data.
Confirm Package Contents Before Setup
Your Levoit box should contain these essential items:
– Humidifier base unit with built-in ultrasonic technology
– Removable water tank (1-4 gallons depending on model)
– Dedicated cleaning brush for maintenance
– Comprehensive user manual with safety instructions
– Replacement wicking filters (for Classic series models)
– Power adapter with safety-certified cord
– Aroma diffuser pads (included with Dual series models)
Carefully remove all protective packaging materials. Pay special attention to the water tank—many users miss thin plastic films covering the mist outlet or float mechanism. Leaving these in place blocks mist output and triggers error codes. Gently peel away any stickers or foam inserts securing internal components during shipping.
Match Setup Requirements to Your Specific Model
Levoit offers multiple humidifier lines with distinct setup processes. Check the label on the bottom of your unit to identify your exact model before proceeding:
- Classic Series (100/200/300): Requires filter installation and regular replacement
- Dual Series (150/200S/300S): Features WiFi connectivity and aroma diffuser
- OasisMist Series (450S): Uses side-fill design with advanced water sensor
The Classic 100 needs filter priming before first use, while the Dual 200S requires VeSync app configuration. Mistaking your model leads to improper setup—always verify before adding water or power.
Complete Essential Pre-Use Cleaning Procedures

Factory-fresh humidifiers contain manufacturing residues that contaminate your air if not properly cleaned. This critical step takes just 10 minutes but prevents mold growth and ensures safe operation.
Clean the Water Tank with Vinegar Solution
Fill your Levoit water tank halfway with lukewarm tap water and add one teaspoon of white vinegar. Swish gently for 30 seconds to coat all interior surfaces, then empty completely. Rinse thoroughly with clean water two additional times—any vinegar residue affects mist quality. Never use soap or harsh cleaners on your first cleaning, as these leave chemical films that vaporize into your breathing space.
Sanitize Critical Sensor Components
Use a soft microfiber cloth dampened with vinegar solution to wipe the base unit’s interior. Focus on the water level sensor (a small plastic stem near the center) and ultrasonic plate (a circular metal disc at the bottom). Mineral deposits on these components cause false “low water” readings and inconsistent mist output. For hard-to-reach areas, use the included cleaning brush dipped in vinegar solution.
Prepare Filters for Filtered Models
If you own a Classic series humidifier, remove the wicking filter from its packaging and rinse under cool running water for 30 seconds. This eliminates loose fibers and pre-moistens the filter for immediate absorption. Hold the filter vertically and let excess water drip for 2-3 minutes—never install a dripping wet filter as this causes overflow. Properly prepared filters extend their lifespan by 30% according to Levoit’s engineering team.
Fill Your Levoit Humidifier Tank Correctly
Improper water filling causes 45% of all first-time setup failures. Follow these model-specific techniques to prevent leaks and ensure consistent performance.
Remove and Position the Tank Properly
For top-fill models (Classic 100/200), grasp the tank handle firmly and lift straight upward—don’t twist or tilt. For side-fill OasisMist models, locate the small fill cap on the tank’s side instead of removing the entire tank. Always place the base on a stable surface before handling the tank to avoid accidental spills.
Select the Right Water Type for Your Model
Fill with cool tap water at room temperature for optimal operation. Hard water areas (with visible mineral deposits in kettles or faucets) should use filtered or distilled water to prevent white dust and internal scaling. Never use hot water—it damages the ultrasonic transducer and creates uncomfortably warm mist. The Dual 200S specifically warns against hot water in its manual to maintain warranty coverage.
Fill to Precise Capacity Without Overfilling
Check the “MAX” fill line inside your tank—different models have varying capacities:
– Classic 100: 1.5 gallons (fill to 1.4 gallons)
– Dual 200S: 2.1 gallons (fill to 2.0 gallons)
– OasisMist 450S: 4.5 gallons (fill to 4.3 gallons)
Overfilling by even 5% causes immediate leaks when reinstalling the tank. After filling, hold the tank horizontally for 10 seconds to allow water to settle away from the valve mechanism.
Secure the Tank Cap with Proper Technique
Thread the cap clockwise until snug—most users overtighten, causing cracks. The ideal tightness allows one finger to turn the cap slightly. After securing, invert the tank over a sink for 5 seconds to check for leaks. Levoit’s engineering team recommends this simple test to prevent bedroom floor damage from unnoticed drips.
Power On and Configure Basic Operation Modes
Your first power sequence establishes proper communication between components. Follow this exact procedure to activate all functions correctly.
Position for Optimal Airflow and Safety
Place your humidifier on a hard, level surface at least 24 inches from walls and furniture. This clearance prevents moisture damage to nearby surfaces and ensures proper air circulation. Never place directly on carpet—use the included waterproof tray or a dedicated humidifier stand. The Classic 300S specifically requires 30 inches of clearance due to its higher output capacity.
Connect Power Using Correct Method
Insert the power adapter into the base first, then plug into a wall outlet. Levoit explicitly prohibits extension cords in all manuals—direct wall connection prevents voltage fluctuations that damage the sensitive electronics. If your outlet requires a cord extension, purchase Levoit’s official 6-foot power adapter extension cable.
Set Initial Mist Level Based on Room Size
Most Levoit models default to auto mode after first power-on. Press the power button sequentially:
– Once: Low mist (ideal for rooms under 300 sq ft)
– Twice: Medium mist (300-500 sq ft spaces)
– Three times: High mist (500+ sq ft areas)
– Four times: Returns to auto mode
The LED indicator changes from blue (low) to purple (high) to show your selection. Wait 2-3 minutes for visible mist—new units sometimes take slightly longer as internal components prime.
Troubleshoot Common First-Use Problems

Address these frequent setup issues immediately to prevent long-term damage to your humidifier.
Resolve No-Power Situations Within Minutes
If your Levoit shows no lights when plugged in:
1. Check the adapter connection at both ends—shipping often loosens plugs
2. Test the outlet with another device
3. Try a different outlet on the same circuit
4. Contact Levoit support if still unresponsive (do not disassemble)
Most “dead” units simply have loose power connections—Levoit’s quality control data shows 82% of no-power reports are resolved by reseating the adapter.
Stop Leaks Before They Cause Damage
Water leaking from the base requires immediate action:
– Power off and unplug immediately
– Remove the tank and inspect for overfilling
– Check the tank valve for debris or misalignment
– Verify the rubber seal is properly seated
The Classic 200 series has a common issue where shipping foam blocks the overflow drain—remove any white foam pieces near the base’s center.
Fix Weak or No Mist Output Quickly
If mist is absent or minimal after 5 minutes:
– Confirm the tank sits fully seated on the base
– Clean the water level sensor with vinegar solution
– For filtered models, ensure the filter clicks into place
– Check room humidity—if already above 50%, auto mode reduces output
The ultrasonic plate requires direct water contact to function—any air gap between water and plate prevents mist generation.
Establish Your Maintenance Routine Immediately

Proper maintenance starts during initial setup. Implement these habits from day one to double your humidifier’s lifespan.
Create Daily Water Replacement Habit
Empty and refill the tank with fresh water every morning. Stale water develops bacterial growth within 12 hours, creating musty odors and potential health risks. The Dual 200S has a convenient “empty tank” indicator light that activates when water replacement is needed.
Schedule Weekly Deep Cleaning Sessions
Set recurring phone reminders for these critical tasks:
– Soak the tank in vinegar solution for 15 minutes
– Scrub the ultrasonic plate with the included brush
– Rinse filters thoroughly for Classic series models
– Wipe all accessible surfaces with damp cloth
Levoit’s warranty requires weekly cleaning documentation—photograph your clean unit monthly to maintain coverage.
Program Filter Replacement Alerts
For models with replaceable filters:
– Classic 100: Set reminder for 5 months after setup
– Classic 300: Schedule replacement at 4 months
– OasisMist: Note annual replacement date
The VeSync app automatically tracks filter life for smart models—configure this during initial WiFi setup to receive timely notifications.
Final Setup Verification: Your Levoit humidifier now operates at peak efficiency with proper water levels, clean components, and configured settings. Remember to empty and refill the tank daily, maintain 24-inch clearance from walls, and perform weekly deep cleans. This initial setup ensures immediate comfort while establishing habits that prevent 95% of common humidifier problems. Within hours, you’ll notice improved breathing comfort and reduced static electricity as your space reaches the ideal 40-60% humidity range—proof your how to set up Levoit humidifier process succeeded.