Your throat feels like sandpaper, static shocks greet you at every doorknob, and your skin cracks despite heavy moisturizing. These are unmistakable signs your indoor air has dropped below 30% humidity—the threshold where health problems begin. Before reaching for expensive remedies, activating your humidifier could deliver relief within minutes. Whether you’re unpacking a new nursery model or reviving last winter’s unit, how to turn on humidifier correctly separates effective moisture control from frustrating failures. This guide cuts through manufacturer confusion with model-specific activation steps, immediate troubleshooting, and the exact settings that transform dry, uncomfortable air into breathable comfort.
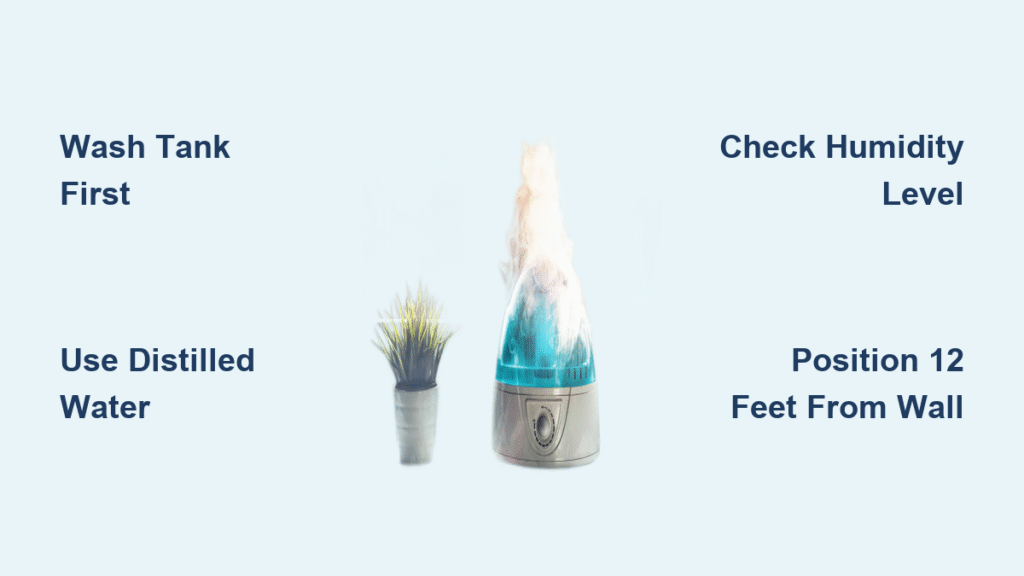
Wash Your Humidifier Tank to Remove Manufacturing Residues
Skipping this critical step guarantees white dust coating your furniture and bacterial growth in your mist. Before plugging in any unit, disassemble the water tank and scrub all surfaces with mild dish soap and warm water. Pay special attention to corners where mold hides—manufacturing oils and plastic residues lurk there. Rinse thoroughly until water runs clear, then fill only to the MAX line with distilled water. Tap water works in emergencies but accelerates mineral buildup that triggers premature shutdowns. Always change water daily—stagnant water becomes a microbial breeding ground within 24 hours.
Why Distilled Water Prevents Costly Repairs
Tap water contains minerals that crystallize on internal sensors. Within weeks, these deposits mimic “low water” conditions, causing your unit to shut off after 30 seconds of operation. Distilled water eliminates this $50 repair scenario. If you must use tap water, descale monthly by soaking parts in white vinegar for 30 minutes—never skip this maintenance.
Position Your Unit 12 Feet From Walls to Avoid Moisture Damage
Placing your humidifier too close to walls or furniture invites expensive consequences. Set units on a flat, waterproof surface at least 12 feet from drywall and 6 feet from beds. This distance prevents condensation buildup that causes peeling paint, warped wood, and hidden mold colonies behind baseboards. Elevate portable models on a plastic tray—never directly on wood surfaces—to catch accidental spills. For whole-house systems, ensure interior doors remain open during operation to prevent over-humidification in single rooms.
Critical Placement Mistakes That Cause Shutdowns
- Blocking airflow vents: Units shut down within minutes if intake/exhaust ports are obstructed
- Sitting on carpet: Absorbs mist, reducing effectiveness by 40% while creating damp spots
- Near heat sources: Radiators or vents cause uneven evaporation and erratic humidity readings
Check Room Humidity With a Hygrometer Before Powering On
Never activate your humidifier blindly—exceeding 50% relative humidity invites mold growth and dust mite explosions. Verify current levels with a $10 hygrometer before pressing any buttons. Only turn on your unit if readings fall below 30% RH. Target 30-50% RH for healthy breathing; hospitals maintain this range to reduce airborne virus transmission. During freezing weather, lower your target to 30-35% to prevent window condensation.
How to Read Your Hygrometer Correctly
Place the device at breathing height (4-5 feet off ground) away from direct sunlight. Wait 15 minutes for accurate stabilization. If your reading shows 28% RH, activate immediately—every 1% increase below 30% correlates with 10% higher respiratory infection risk according to EPA studies.
Activate Single-Button Canopy Humidifiers in Auto or Manual Mode
These popular nursery and bedroom units (like Crane or Honeywell models) hide complex functionality behind one top-mounted button. After filling and positioning:
- Plug directly into wall outlet—extension cords cause voltage drops that prevent startup
- Single press activates Auto Mode: Low mist during daylight, medium at night (detected by light sensor)
- Manual override: Tap repeatedly to cycle Low → Medium → High → Off
The unit automatically restarts after shutdown if water remains, only powering off completely when the tank empties. For nighttime use:
– Tap moon icon to cycle white → red → no night light
– Long-press sound icon for white noise without mist activation
– Reset filter indicator by holding power button 30 seconds after new filter installation
Power Up Cool-Mist, Warm-Mist, and Ultrasonic Portable Units
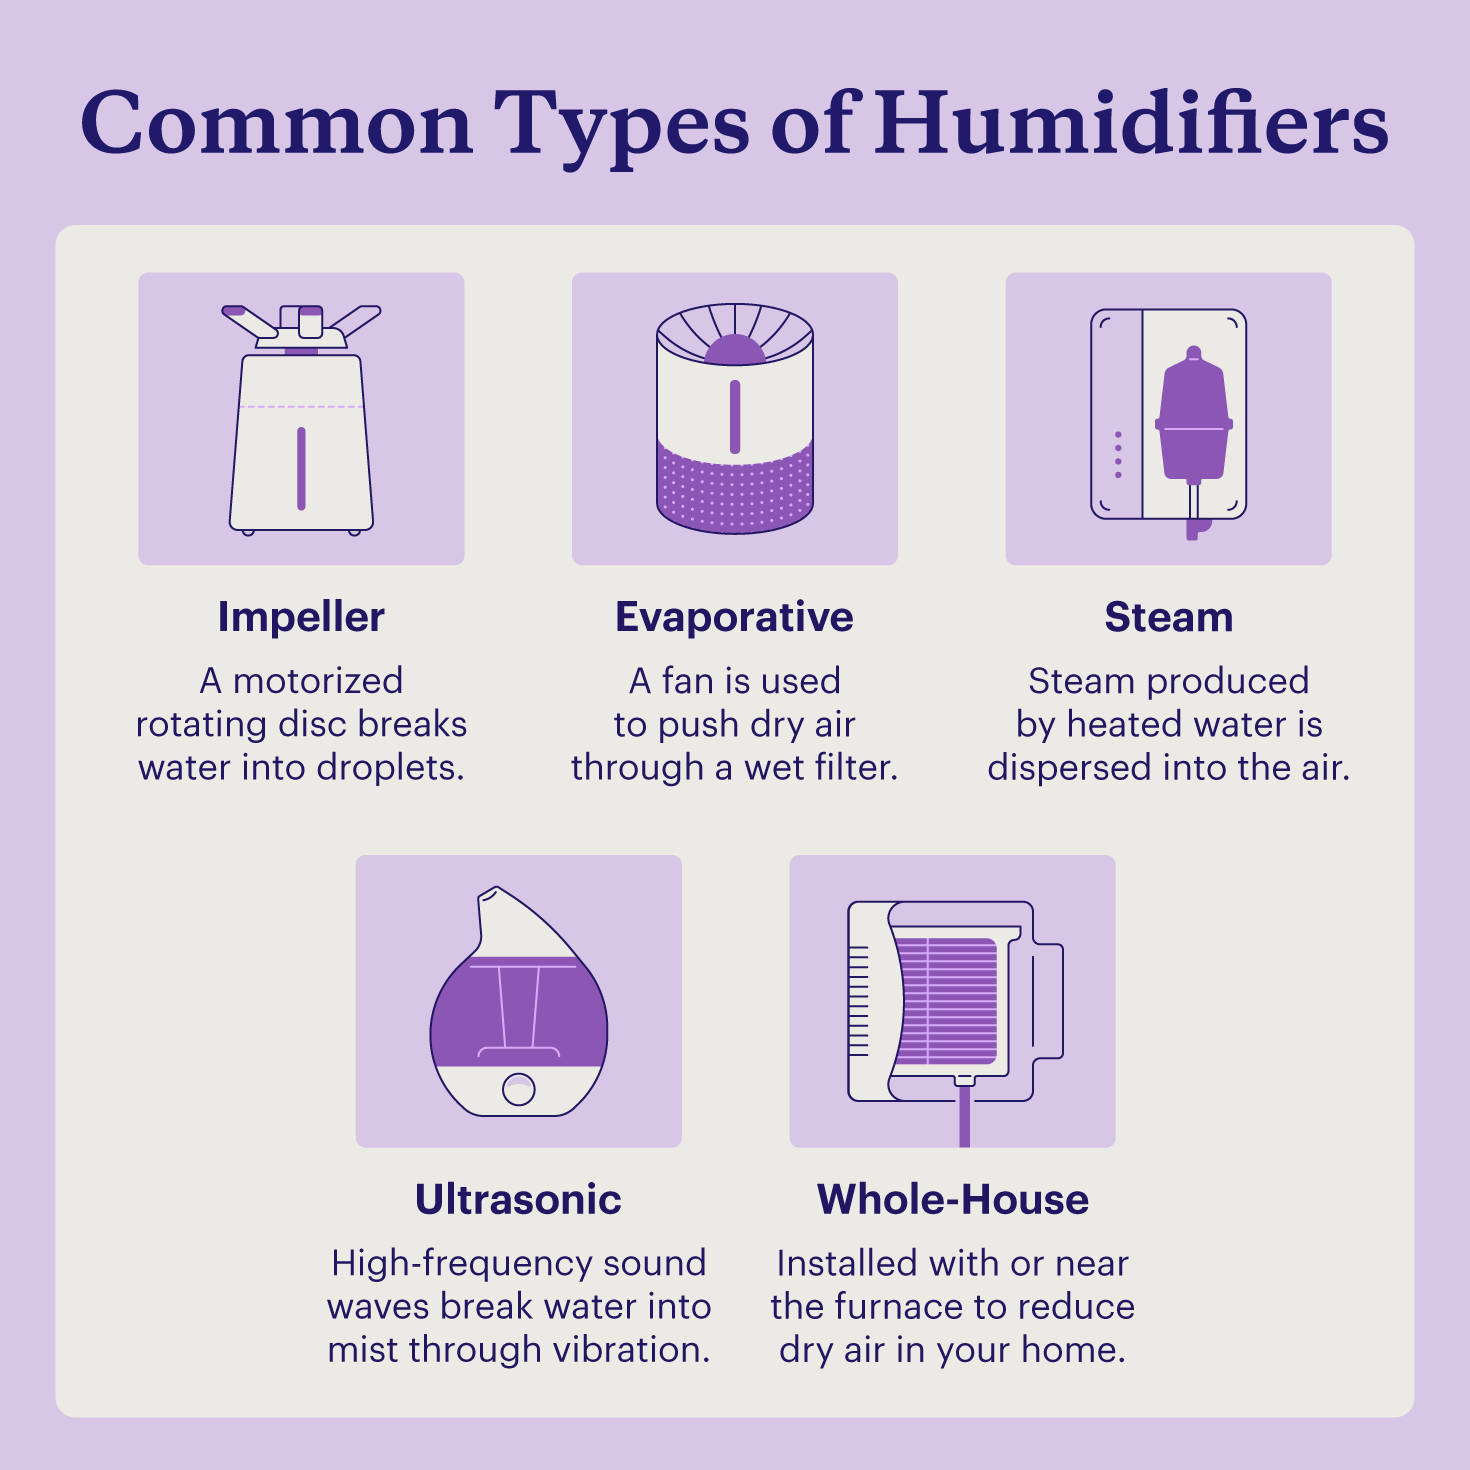
Locate your power switch—typically a side toggle, front button, or touch panel. Ultrasonic models (TaoTronics, Levoit) produce instant mist with a faint hum. Impeller types (Dyson) start fans immediately but require 2-3 minutes for visible mist. Warm-mist vaporizers (Vicks) demand extra caution:
- Confirm water covers heating element—running dry melts internal components
- Wait 30-60 seconds for steam emission before leaving the room
- Position 6+ feet from children—surface temperatures exceed 200°F
Never operate warm-mist units overnight unattended. If no mist appears after 2 minutes, check for mineral clogs in the nozzle using a toothpick.
Start Whole-House Furnace Humidifiers for Winter Comfort
Unlike portable units, furnace systems integrate with your HVAC. Before the first cold snap:
- Set thermostat to HEAT mode—units won’t activate in cooling mode
- Verify water supply valve is open (handle parallel to copper pipe)
- Move bypass damper to “WINTER” (handle parallel to duct for flow-through models)
Rotate the humidistat dial clockwise from “0” until you hear a distinct click—this indicates current room humidity. Set between 35-45% for most homes. During furnace operation, listen for a solenoid click signaling water flow and check for trickle drainage. If no moisture appears after 24 hours, clear clogged orifices with a paperclip.
Connect Smart and USB Mini Humidifiers in Minutes
Wi-Fi models (Germ Guardian, Honeywell Smart) require app activation:
– Open companion app → select device → slide power toggle
– Use voice commands: “Alexa, set bedroom humidity to 45%”
– Schedule pre-arrival activation for optimal comfort
USB mini units (perfect for offices or travel):
1. Plug into 5V port (laptop, power bank, or wall adapter)
2. Short press = continuous mist
3. Long press (2 seconds) = toggle LED night light
Never use car chargers—they deliver unstable voltage causing erratic operation.
Verify Operation and Fix Immediate Startup Problems
Within 60 seconds of activation, confirm:
– Visible mist from ultrasonic/warm-mist units
– Steady fan hum from evaporative models
– Zero water pooling around the base
If unit powers on but stops after 30 seconds:
– Refill tank to MAX line (low water triggers shutdown)
– Gently wiggle the float arm (stuck floats mimic empty-tank signals)
– Descale mineral sensors with vinegar if using tap water
For furnace systems with no water flow:
– Clear saddle valve clog by turning handle 10 times counter-clockwise
– Verify humidistat wiring isn’t disconnected at furnace control board
Maintain Your Humidifier for Reliable Daily Starts
| Task | Frequency | Critical Reason |
|---|---|---|
| Empty and rinse tank | Daily | Prevents biofilm that blocks sensors |
| Deep clean with vinegar | Weekly | Dissolves mineral scale in 30 minutes |
| Replace filters | Monthly (hard water) / Quarterly (distilled water) | Clogged filters reduce output by 70% |
Mark filter replacement dates on your calendar—ignoring this causes 80% of “won’t turn on” failures. During high-use periods (winter), replace filters monthly regardless of indicator lights.
Your humidifier should now deliver immediate relief from dry air discomfort. Monitor humidity daily with your hygrometer and adjust settings as outdoor temperatures drop—each 10°F decrease requires lowering your target setting by 5%. Remember: the goal is comfortable breathing at 30-50% humidity, not creating a tropical environment. If problems persist after following these steps, consult your model-specific manual for reset procedures or contact the manufacturer—many offer free troubleshooting videos for common activation issues.