Dry winter air transforms your home into an uncomfortable environment almost overnight. Your skin tightens, your throat feels perpetually scratchy, and every metal surface delivers an unexpected static shock. A Honeywell humidifier can restore comfortable moisture levels to your living space within hours—but only when you know exactly how to use it properly. This comprehensive guide delivers the precise steps needed for effective operation, from initial setup to daily maintenance, so you can enjoy consistent relief without common frustrations that leave most users puzzled.
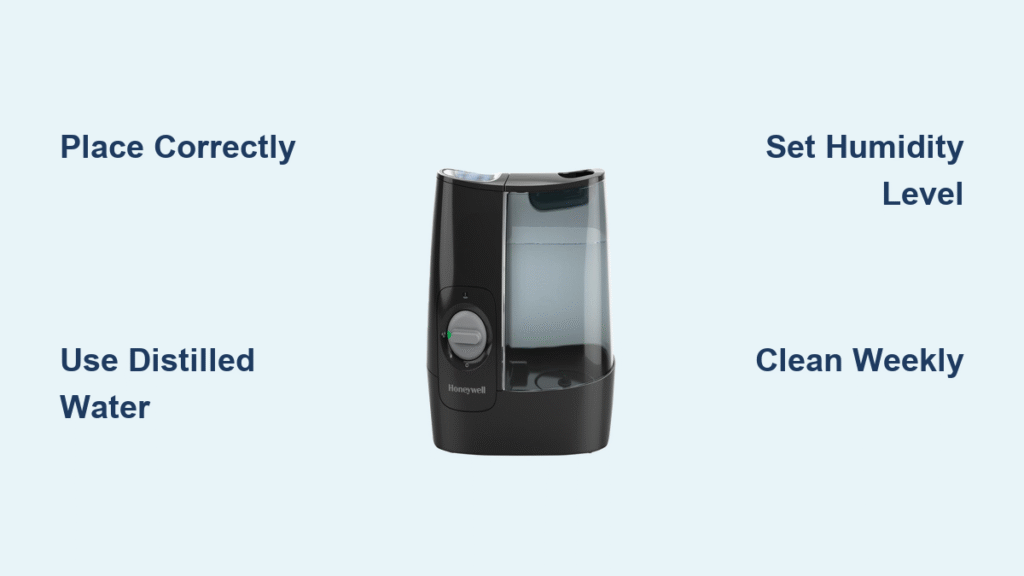
Position Your Honeywell Humidifier Correctly
Where you place your humidifier dramatically impacts its effectiveness and safety. Choose a location on a hard, flat surface at least 12 inches away from walls, furniture, and electronics. This spacing ensures proper air circulation while preventing moisture damage to surrounding surfaces. The ideal spot sits approximately 2 feet above floor level, either on a sturdy table or dedicated stand.
Avoid Common Placement Mistakes
Never position your humidifier directly on carpeting or wooden furniture without a protective barrier. Moisture accumulation can cause irreversible damage to these surfaces. Similarly, keep the unit away from direct sunlight and heat sources like radiators or heating vents, which can accelerate mineral buildup and reduce efficiency. For optimal results, place the humidifier in the room where you spend most of your time—typically the bedroom or living room.
Electrical Safety Considerations
Always plug your Honeywell humidifier directly into a grounded wall outlet. Avoid using extension cords or power strips, as humidifiers draw significant electrical current during operation that can overload these devices. If your outlet requires a three-prong to two-prong adapter, consult an electrician to install a proper grounded outlet before using your humidifier. This simple precaution prevents potential fire hazards and electrical malfunctions.
Fill and Install the Water Tank Properly

The water tank serves as your humidifier’s lifeblood, and improper filling causes most user frustrations. Remove the tank by lifting straight up or pressing any release mechanisms according to your model. Carry it to your sink and fill with cool tap water up to the indicated fill line—never exceeding this mark to prevent overflow during operation.
Water Quality Matters for Performance
Tap water contains minerals that create white dust when dispersed into the air. If you notice this chalky residue on surfaces near your humidifier, switch to distilled or demineralized water immediately. While tap water works in a pinch, distilled water significantly reduces internal mineral buildup, extending your unit’s lifespan and reducing cleaning frequency. This simple switch prevents the white film that many users mistakenly attribute to unit malfunction.
Secure Tank Installation Techniques
After filling, carefully reinstall the water tank by aligning it with the base unit and lowering it straight down. Most models require an audible “click” to confirm proper seating. If your unit leaks after installation, power it off immediately and reseat the tank—improper alignment causes 90% of leakage issues. Never force the tank into position, as this can crack internal seals and create persistent leaks.
Set the Perfect Humidity Level
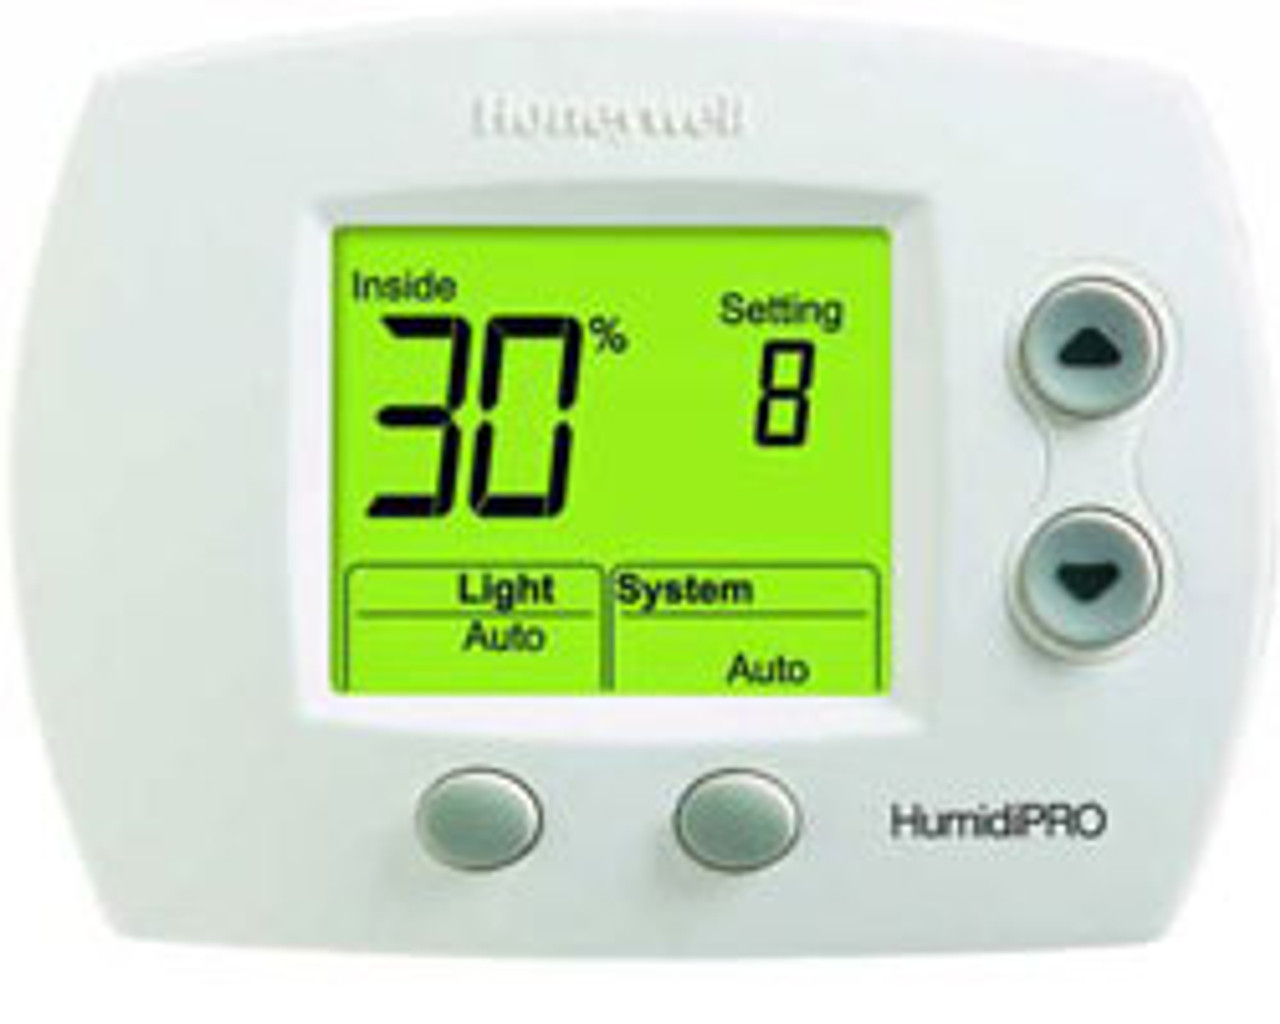
Honeywell humidifiers feature either digital displays or manual dials for humidity control, but both require the same strategic approach. Begin operation at the lowest setting regardless of your model type. Target 30-50% relative humidity for optimal comfort—below 30% causes dryness symptoms, while above 50% risks window condensation and potential mold growth.
Digital Control Operation
For models with digital displays, press the power button followed by the humidity adjustment buttons. Start at 35% and monitor your comfort for 24 hours before making incremental increases. The display typically shows both your target setting and current room humidity, though it may take several hours to accurately reflect changes in larger rooms. Remember that digital models automatically adjust output to maintain your selected level, requiring minimal daily intervention once properly calibrated.
Manual Dial Adjustment Strategy
Units with manual dials require more attentive operation. Begin with the dial set to the middle position (“medium” setting). Listen for subtle changes in fan speed as you adjust—the higher the setting, the more pronounced the sound. Avoid the maximum setting during initial use, as this often creates excessive moisture that leads to window condensation. Check room comfort every few hours and adjust downward if you notice moisture on cold surfaces.
Daily Operation Best Practices
Consistent daily operation delivers the most comfortable results. Run your humidifier continuously during dry winter months, refilling the tank as needed. Most households require 8-12 hours of daily operation when outdoor temperatures drop below 40°F, though this varies based on home size and insulation quality.
Water Level Monitoring Schedule
Check your water level indicator twice daily—once in the morning and again in the evening. Refill the tank when it reaches one-quarter capacity to maintain consistent humidity output. Running the unit with less than 25% water causes the internal pump to work harder, potentially shortening its lifespan. Never leave an empty tank installed, as this can damage the internal mechanisms.
Seasonal Setting Adjustments
As outdoor temperatures change, so should your humidity settings. For every 10-degree Fahrenheit drop in outdoor temperature, increase your setting by approximately 5%. During transitional seasons (spring and fall), reduce settings to prevent excessive moisture buildup. If you notice condensation on windows in the morning, lower your setting by 5-10% immediately—this prevents potential mold growth and structural damage.
Weekly Cleaning and Maintenance
Proper cleaning prevents bacterial growth and maintains optimal performance. Power off and unplug your humidifier before beginning any maintenance. Empty the water tank completely and rinse all components with cool water. For routine weekly cleaning, use a mild dish soap and soft cloth—never abrasive cleaners that scratch plastic surfaces.
Deep Cleaning Procedure
Monthly deep cleaning removes stubborn mineral deposits that reduce efficiency. Prepare a solution of one part white vinegar to two parts water in the tank. Let this sit for 30 minutes to dissolve buildup, then gently scrub interior surfaces with a soft-bristled brush. Pay special attention to corners and crevices where minerals accumulate. Rinse thoroughly until no vinegar odor remains—residual vinegar can affect mist quality.
Filter Replacement Guidelines
Honeywell filters typically require replacement every 1-2 months, though this varies based on water hardness and usage frequency. Check filters weekly for discoloration, reduced mist output, or musty odors—all signals that replacement is needed. In hard water areas, replace filters every 3-4 weeks to maintain performance. Always use genuine Honeywell replacement filters to ensure proper fit and function.
Troubleshoot Common Problems

No mist output usually indicates either an empty tank or clogged filter. First, verify adequate water levels, then inspect the filter for mineral buildup or discoloration. If the filter appears dirty, clean or replace it immediately. Persistent issues may require checking the internal fan—power off the unit and listen for unusual sounds during startup.
Eliminate White Dust Effectively
White dust on surfaces signals mineral dispersion from hard water. Switch to distilled water immediately and clean affected surfaces with a vinegar solution. Reposition your humidifier away from walls and furniture to reduce dust accumulation. If the problem persists, consider installing a demineralization cartridge designed for your specific Honeywell model.
Resolve Musty Odors Quickly
Unpleasant smells typically indicate mold or bacterial growth. Disassemble all components and soak them in a vinegar solution for 30 minutes. Replace the filter immediately, as odors often originate there. Ensure all parts dry completely before reassembly—moisture trapped in crevices breeds microbial growth. For persistent odors, run an empty cycle with vinegar solution through the unit before regular use.
Optimize Bedroom Humidity Overnight
Bedroom placement significantly impacts sleep quality and respiratory comfort. Position your humidifier 3-5 feet from your bed to avoid direct mist exposure while maintaining effective coverage. Point the mist outlet away from your pillow to prevent damp bedding, which can cause discomfort and promote mold growth in fabrics.
Nighttime Setting Recommendations
Use the lowest effective setting during sleep—typically 30-40% humidity. Higher levels can make bedding feel damp and uncomfortable. If you wake with dry nasal passages, increase the setting by 5% rather than jumping to maximum output. Consider using a hygrometer in your bedroom to monitor actual humidity levels rather than relying solely on the humidifier’s display.
Safety Precautions for Overnight Use
Never leave a humidifier running in an unoccupied room, especially while sleeping. Modern Honeywell units feature automatic shutoff when empty, but malfunctions can occur. Keep the unit away from bedding and curtains to prevent fire hazards. If you have children or pets, consider using a model with child-lock features to prevent accidental adjustments during the night.
Prevent Costly Mistakes
Adding essential oils or medications to your humidifier seems tempting for added benefits, but this practice damages internal components and voids your warranty. Honeywell explicitly prohibits these additives in their user manuals. Instead, use manufacturer-approved bacteriostatic treatments if you need to reduce microbial growth.
Child and Pet Safety Measures
Keep humidifiers out of reach of children and curious pets. Cool mist models attract animals seeking moisture, while hot steam units pose serious burn risks. Supervise children around operating humidifiers and consider models with safety locks for households with young children. Unplug the unit when not in use to prevent accidental activation.
Electrical Safety Maintenance
Inspect the power cord monthly for fraying, cracking, or damage. Never yank the cord to unplug—grasp the plug firmly instead. If water spills on the unit, power it off immediately and allow it to dry completely for at least 24 hours before reuse. Consider using a ground fault circuit interrupter (GFCI) outlet in bathrooms or other high-moisture areas for added protection.
Mastering your Honeywell humidifier transforms uncomfortable dry air into consistently pleasant indoor conditions. Follow these precise setup instructions, maintain regular cleaning habits, and adjust settings according to seasonal changes. Within days, you’ll notice improved skin hydration, easier breathing, and reduced static electricity throughout your home. Remember that proper humidifier operation isn’t complicated—it just requires attention to the right details at the right time. Your comfort during dry seasons depends on these simple but crucial practices that turn your Honeywell unit from an appliance into your home’s comfort ally.