
Your humidifier lights up but emits no comforting mist, leaving dry air to aggravate sinuses and scratchy throats. This frustrating “humidifier not steaming” scenario affects thousands daily—especially during winter months when indoor humidity plummets. When your unit runs but fails to produce visible vapor, it’s not necessarily broken; 80% of cases stem from preventable issues solvable in under 30 minutes with basic household items. Understanding why your humidifier stops steaming transforms panic into practical action, restoring moisture to your living space without costly replacements.
This silent failure typically indicates disruption in the vaporization cycle—whether mineral clogs, sensor errors, or simple maintenance oversights. By methodically diagnosing the root cause using this guide, you’ll bypass unnecessary service calls and extend your humidifier’s lifespan. You’ll learn exactly how to revive mist production, prevent future breakdowns, and optimize performance for healthier indoor air.
Quick Diagnostic Steps Before Deep Troubleshooting
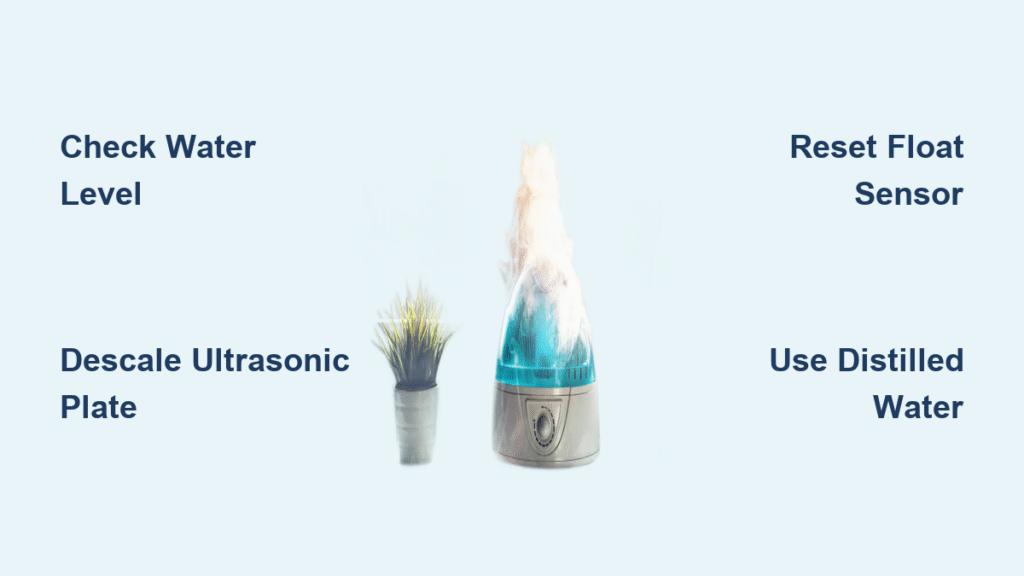
Don’t jump to complex repairs when simple checks often solve the problem. First, verify your water tank has adequate water—not just visible liquid but enough to reach the minimum fill line. Many units auto-shut off when levels dip below operational thresholds, even if the tank appears partially full. Next, test the electrical outlet with a lamp or phone charger; a tripped GFCI outlet is a common culprit in bathrooms. Finally, check for indicator lights showing your target humidity level has been reached—this isn’t a malfunction but intentional operation.
If these quick checks fail, focus on three critical failure points: mineral buildup obstructing vaporization components, float sensor malfunctions, or improper water quality. Each requires targeted action, but all are fixable without specialized tools. Critical warning: Never operate your unit dry for more than 15 minutes—this can permanently damage heating elements or ultrasonic plates.
Water Supply Issues Blocking Mist Production
Insufficient Water Level Triggers Auto-Shutoff
Your humidifier not steaming might simply mean the water level is below the operational minimum. Remove the tank completely and refill to the exact line specified in your manual—not the “max” mark but the true minimum operating level. Units as new as two weeks old will shut down if water sits just 1/4 inch below this threshold. Refill with room-temperature water (never hot) to prevent thermal shock to internal components.
Hard Water Mineral Buildup Clogs Key Components
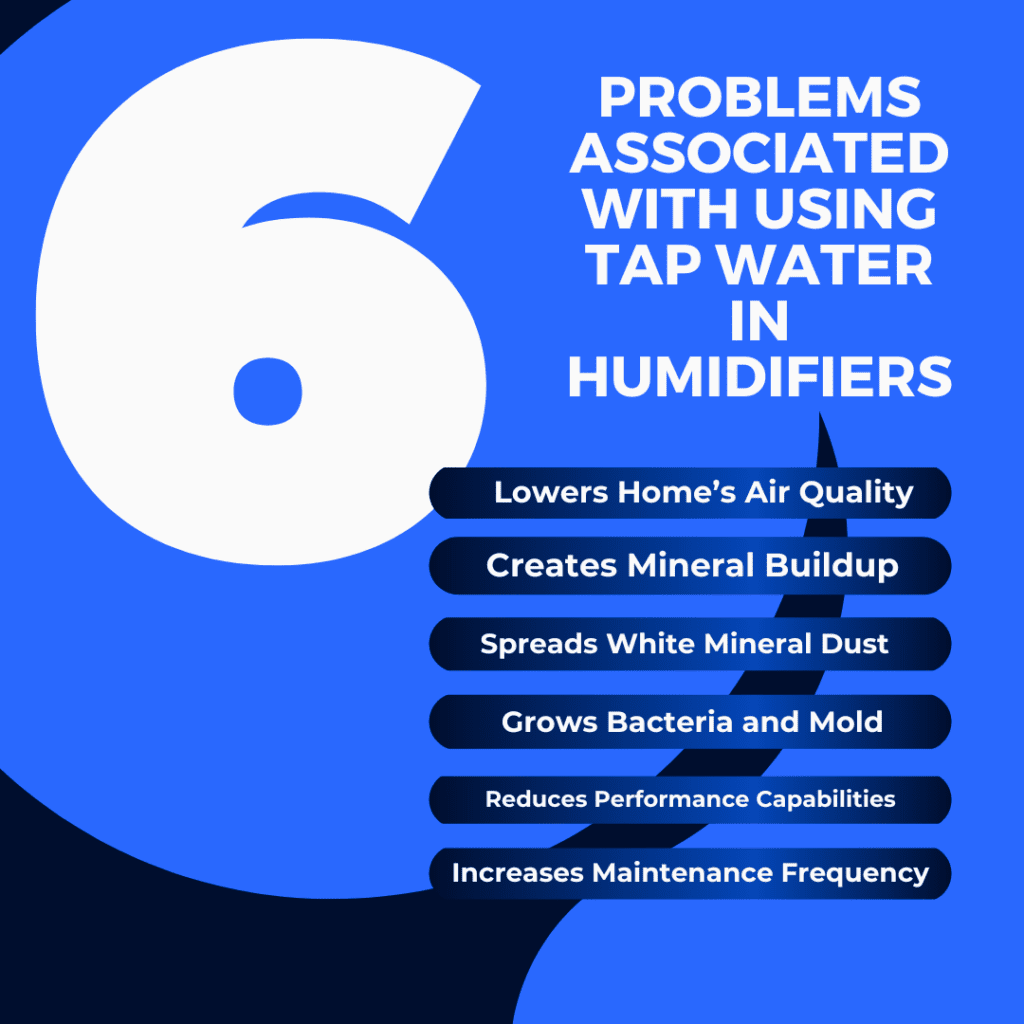
Tap water minerals rapidly coat vaporization surfaces, especially in hard water areas. Within weeks, calcium and magnesium deposits can completely block mist production on ultrasonic plates or heating elements. The EPA and manufacturers unanimously recommend distilled water to prevent this—using tap water forces weekly descaling instead of monthly maintenance. Pro tip: If you must use tap water, add one tablespoon of white vinegar per gallon to slow mineral accumulation.
Mechanical Obstructions Killing Mist Output
Ultrasonic Plate Scaling Stops Vibration
Mineral deposits on ultrasonic plates prevent the high-frequency vibration needed for mist creation. For immediate remediation:
1. Unplug the unit and empty all water
2. Mix equal parts white vinegar and water
3. Soak the ceramic/metal plate for 30 minutes
4. Gently scrub with a soft toothbrush (never metal)
5. Rinse thoroughly—any vinegar residue creates foul-smelling mist
6. Air-dry completely before reassembly
This process dissolves calcium deposits blocking mist production in ultrasonic models.
Float Sensor Malfunctions Indicate “Empty” Tank
A stuck float mechanism falsely signals low water, halting operation even with a full tank. Reset it by:
1. Emptying the base completely
2. Locating the float (usually a white plastic dome)
3. Pressing it firmly downward to reset position
4. Refilling slowly while observing float movement
Honeywell HWC778BC owners (Part A005188RO) should follow the exact float reset procedure in their manual—this model is particularly sensitive to improper positioning.
Humidity Control System False Alarms
Automatic Shut-off Mimics “Not Steaming” Failure
Your humidifier not steaming might mean it’s successfully maintaining your target humidity. Check for indicator lights showing “target reached” or “comfort zone.” This isn’t a malfunction—adjust the humidity setting upward if you desire continuous operation. Units in small rooms often reach target levels within 30 minutes, especially with proper sizing.
Humidistat Calibration Drift Prevents Activation
Over time, humidity sensors lose accuracy, preventing mist generation even when air is dry. Reset to factory defaults using your manual’s button sequence (typically holding power + mist buttons for 5 seconds). If the unit still won’t steam after calibration reset, the sensor likely requires replacement.
Power and Electrical Fixes You Can Do Now
Verify Power Supply Beyond the Outlet
Test outlets with another device, but also inspect the cord for fraying near connection points—a common failure spot in humid environments. Ensure the plug clicks firmly into the humidifier base; loose connections trigger safety shut-offs. For units with control locks (common in Honeywell models), hold the mist and power buttons simultaneously for 3 seconds to disable safety mode.
Preventive Maintenance That Stops Future Failures
:strip_icc()/How-to-clean-humidifier_color-9d439e2131f1498498b772557bf9ed55.jpg)
Daily Water Management Protocol
Empty and rinse the tank daily—even when refilling with the same water. This prevents bacterial growth and mineral concentration that causes scaling. Always refill with distilled water; the $1-2 per gallon cost saves $50+ annually in descaling chemicals and filter replacements.
Weekly Deep Cleaning Checklist
Create a 1:1 vinegar-water solution and:
– Soak ultrasonic plates/heating elements for 30 minutes
– Replace filters showing discoloration (every 1-3 months)
– Check seals for cracks causing leaks
– Clean fan blades with cotton swabs
– Rinse all parts 3x to eliminate vinegar residue
Critical step: Air-dry components for 24 hours before storage to prevent mold.
Troubleshooting Decision Tree for Instant Diagnosis
Step 1: Power Verification
– Test outlet with lamp → If dead, reset GFCI
– Inspect cord for damage → Replace if frayed
Step 2: Water Assessment
– Confirm water reaches minimum line → Refill if low
– Check for white scaling → Descale if present
Step 3: Obstruction Check
– Verify float moves freely → Reset if stuck
– Inspect filter saturation → Replace if clogged
Step 4: Environmental Check
– Measure room humidity → Adjust target if at 50%+
– Ensure 12″ clearance from walls → Reposition if needed
When to Call Professionals vs. DIY
Seek immediate replacement for units under 30 days with persistent “humidifier not steaming” issues—float mechanism failures in new units indicate warranty-covered defects. Attempting DIY repairs on control boards, motors, or internal sensors voids warranties and risks electrical hazards. For units over one year old with recurring failures after descaling, professional service becomes cost-effective.
Performance Optimization for Reliable Mist
Match your unit’s capacity to room size—undersized humidifiers run constantly (accelerating mineral buildup), while oversized models cycle too frequently. Place centrally on elevated surfaces (not floors), away from vents. Use a $10 hygrometer to verify actual humidity levels; visual mist observation during operation helps catch declining performance early.
Safety Risks of Ignoring “Not Steaming” Failures
Stagnant water breeds bacteria within 48 hours, releasing contaminated mist that irritates airways. Mineral deposits create “white dust”—harmless but pervasive household grime. Never operate with damaged cords; always use GFCI outlets in bathrooms. Distilled water eliminates both health risks and scaling issues, paying for itself through extended component life.
Long-Term Durability Through Smart Habits
Ultrasonic plates last 2-5 years with distilled water versus 1-2 years with tap water. Heating elements survive 3-7 years with monthly descaling. Continuous operation demands daily tank rinsing—seasonal users must dry components completely before storage. Key insight: The 10 minutes saved weekly by using tap water costs 8+ hours annually in extra maintenance.
Final Action Plan for Immediate Results
Your humidifier not steaming is almost certainly fixable with these steps:
1. Empty all water and descale with vinegar solution
2. Reset the float mechanism completely
3. Refill with distilled water to minimum line
4. Test in a room below 40% humidity
This 30-minute process resolves most cases. For lasting results, commit to daily tank rinsing and weekly deep cleaning. Proper maintenance ensures years of silent, effective operation—turning your “broken” humidifier into a reliable source of healthier indoor air. Remember: The right water quality and consistent care prevent 90% of steam failures before they start.


