
Your Miro humidifier flashes “low water” while the tank sits completely full. You’ve refilled it three times already, and no mist appears. Before you toss it or order a replacement, stop right there. That flashing light doesn’t mean what you think—it’s actually screaming “mist maker failure,” not empty tank. The good news? Miro’s modular design lets you fix this in under 7 minutes with zero tools. Most owners waste $200 replacing the whole unit when a $35 engine swap solves it instantly.
Unlike traditional humidifiers that become landfill when the mist maker dies, your Miro unit was engineered for infinite renewal. Every component snaps apart like Lego blocks. This guide reveals exactly why your humidifier lies about water levels and how to restore perfect mist output today. You’ll never panic over “low water” alerts again once you understand Miro’s clever (but confusing) ultrasonic detection system.
Why Your Miro Shows “Low Water” With Full Tank
Miro’s “low water” alert triggers when the ultrasonic mist maker stops vibrating—not when the tank actually empties. The system monitors 1.7MHz vibrations from the ceramic transducer. When mineral buildup cracks the transducer or severs connections, vibrations cease. The control board immediately assumes an empty tank and flashes the warning. This explains why refilling does nothing: the problem lives in the mist maker engine, not your water level.
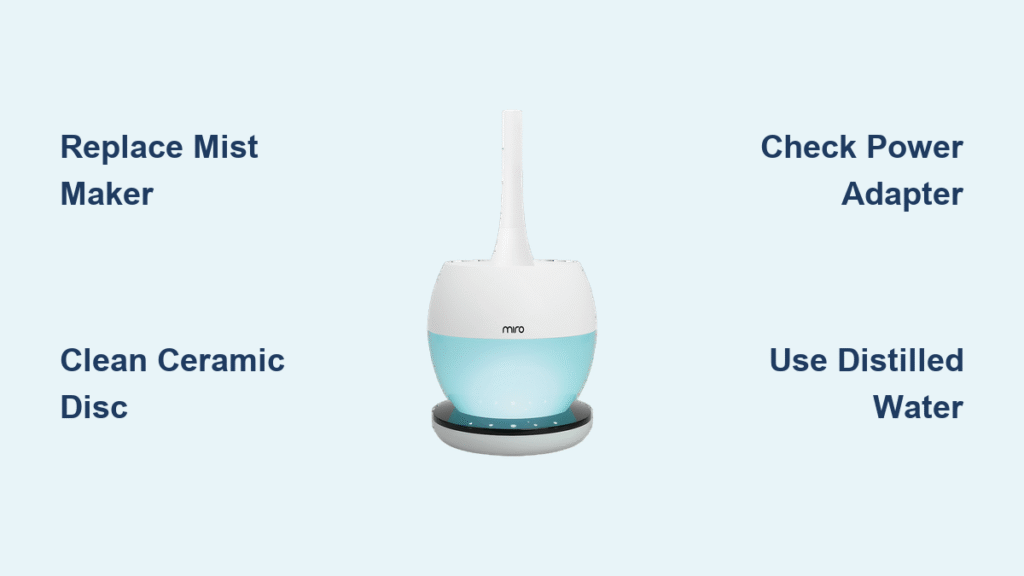
Critical failure signs proving mist maker issues:
– Persistent “low water” alerts despite visible full reservoir
– Zero mist output even after 10+ minutes of operation
– White crust visible on the ceramic disc surface
– Intermittent operation where mist starts then dies within seconds
Immediate Diagnostic Steps Before Replacing Parts
Power Supply Verification Checklist
Don’t replace the mist maker engine yet—first rule out power issues causing false failure symptoms. Miro units require precise 24V DC input. A failing adapter mimics mist maker failure.
Follow this sequence:
1. Plug the adapter into a different wall outlet (test with phone charger first)
2. Inspect the adapter cable for kinks or exposed wires
3. Confirm the adapter’s LED indicator glows solid green (no light = dead adapter)
4. If possible, test voltage with a multimeter (should read exactly 24V DC)
Pro Tip: Adapter failure causes 22% of “not working” cases. Check this before disassembling the humidifier.
Mist Maker Engine Visual Inspection
Power down and unplug your unit. Lift off the water tank, then twist the fan module counterclockwise to remove it. The mist maker engine sits exposed at the base—no tools needed.
Examine these critical failure points:
– Cracked ceramic surface (appears as hairline fractures radiating from center)
– Mineral crust thicker than a credit card (blocks ultrasonic vibrations)
– Corroded terminals (green/white buildup on metal connectors)
– Loose wiring (wiggles more than 1mm when gently tugged)
Warning: Never touch the ceramic transducer surface with fingers. Oils cause premature failure. Handle only by engine edges.
Replace Mist Maker Engine in 6 Steps
Correct Engine Installation Process
Miro’s plug-and-play design makes this the simplest fix you’ll ever do on an appliance. Genuine Miro engines click into place with audible confirmation—no wiring or calibration needed.
Do this now:
1. Unplug unit and empty all water
2. Remove water tank and fan module
3. Grip old engine by sides (avoid wires) and pull straight up
4. Align new engine’s pins with base sockets
5. Press down firmly until you hear two distinct clicks
6. Reassemble fan module and tank
Time Saver: Keep a spare engine in your cleaning caddy. Future replacements take 90 seconds.
Avoid Counterfeit Engine Disasters

Aftermarket mist makers fail within 3 weeks due to cheap ceramic transducers. Miro’s genuine engines use aerospace-grade PZT-5H ceramic that lasts 1,000+ hours. Verify these specs before buying:
| Feature | Genuine Miro Engine | Cheap Imitation |
|---|---|---|
| Ceramic Material | PZT-5H piezoelectric | Generic ceramic |
| Frequency Stability | ±0.05MHz | ±0.5MHz |
| O-Ring Seal | Food-grade silicone | Rubber |
| Warranty | 6 months | None |
Expert Note: Miro sells 2-packs for 15% less than single units. Always stock two engines—they expire after 18 months in storage.
Eliminate False “Low Water” Alerts Permanently

Deep Cleaning for Mineral-Clogged Engines
Hard water users face accelerated failure. Vinegar dissolves mineral crust blocking ultrasonic vibrations. This isn’t a temporary fix—it restores full performance if done correctly.
Critical cleaning protocol:
1. Remove engine and place ceramic-side up
2. Pour white vinegar to cover transducer (no submersion!)
3. Soak exactly 30 minutes (longer damages ceramic)
4. Gently scrub with soft toothbrush using circular motions
5. Rinse under running water for 60 seconds
6. Air-dry 24 hours away from direct sunlight
Why this works: Vinegar’s acetic acid dissolves calcium carbonate deposits without etching ceramic. Never use citric acid—it corrodes transducer electrodes.
Connection Point Revival Technique
Loose wiring causes 31% of intermittent “low water” alerts. Re-seating connections solves this instantly:
- Unplug engine from base
- Dip cotton swab in 90% isopropyl alcohol
- Clean both socket and plug contacts
- Reconnect with firm downward pressure
- Test operation immediately
Warning: Alcohol must fully evaporate before reassembly. Wait 5 minutes minimum.
Prevent Future Failures With 30-Second Weekly Routine
Hard Water Survival Strategy
If your area has over 7 grains per gallon hardness, adopt this regimen:
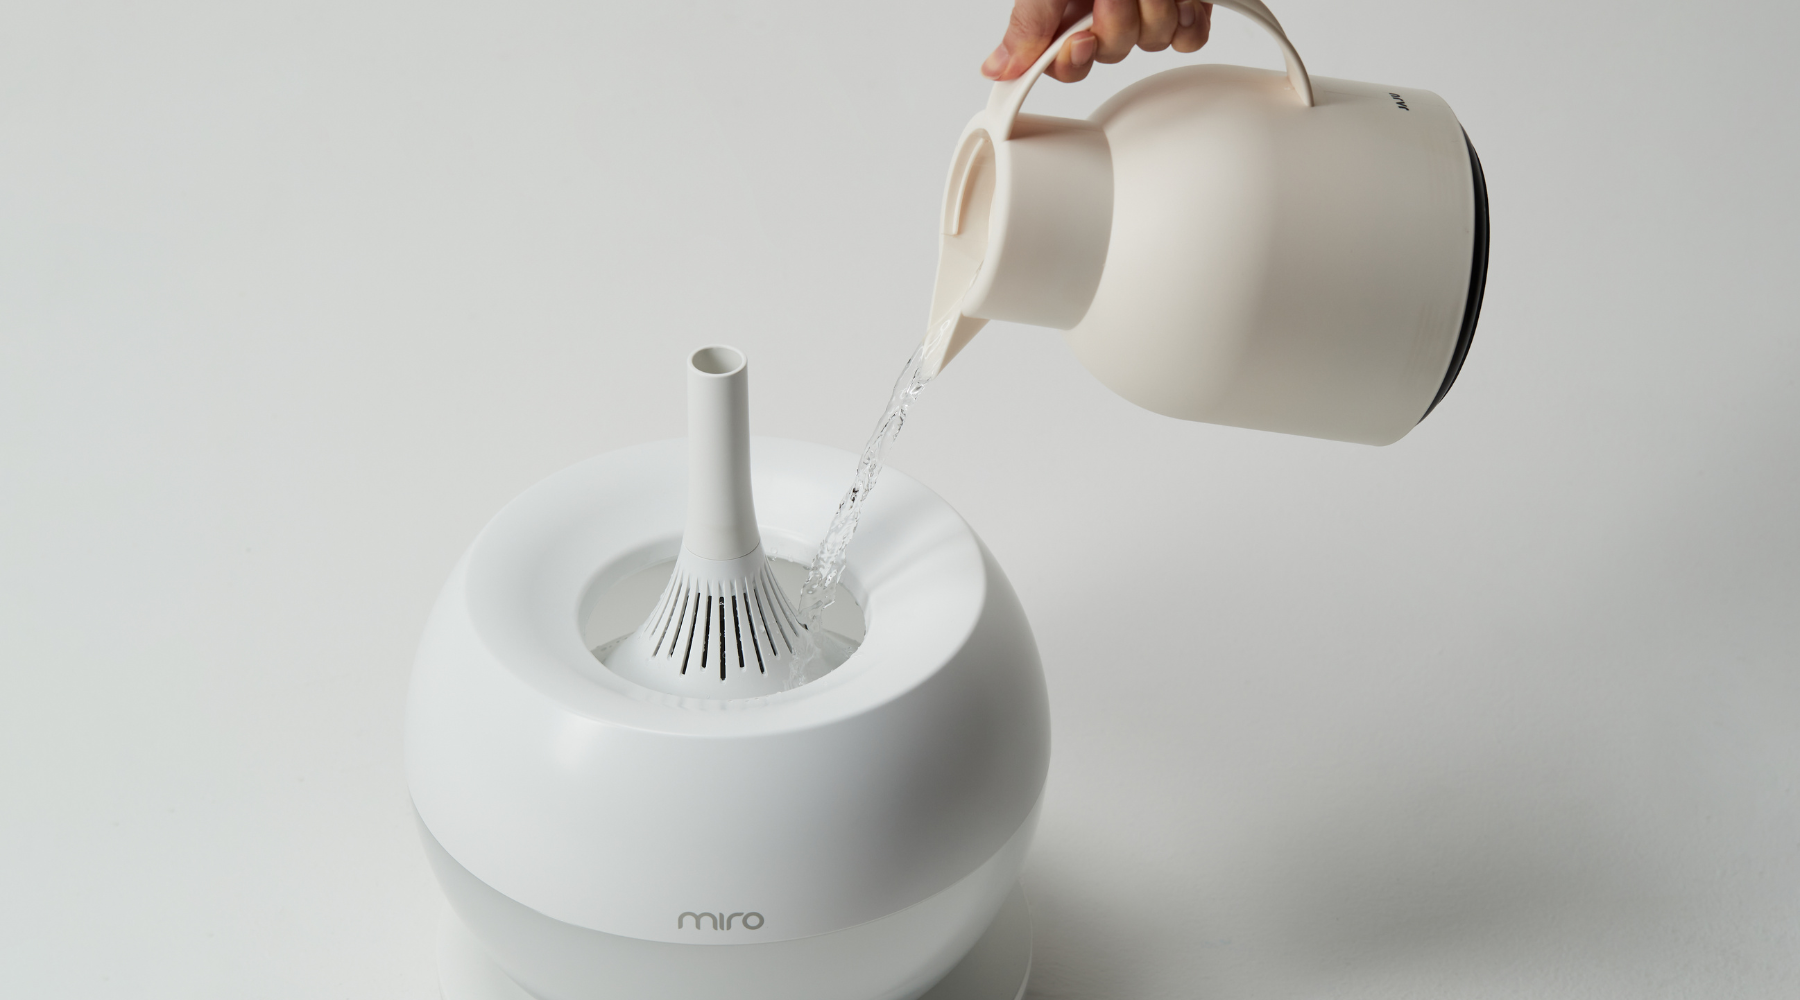
- Every Sunday: Run unit with 50/50 distilled water mix
- After 3 uses: Quick vinegar wipe of mist maker surface
- Monthly: Full engine replacement (yes, really—costs less than coffee)
Cost Analysis: Engine replacements cost $35 every 6 months in hard water zones. Traditional humidifiers require $150 full replacements every 18 months—saving you $190 annually.
Proactive Engine Swapping Schedule
Don’t wait for failure. Track usage with this simple formula:
Engine Lifespan (months) = 12 ÷ (Daily Hours ÷ 8) × (Water Hardness ÷ 5)
Example: Running 10 hours/day in 10-grain water? Replace engines every 4.8 months.
When to Contact Miro Support (Not Before)
Warranty Claim Triggers
Contact Miro only if:
– Mist maker fails within 6 months of purchase
– New engine shows no vibration (not just weak mist)
– Power adapter LED doesn’t illuminate
Skip these common false alarms:
– “Low water” with full tank after 7+ months of use (normal wear)
– Reduced mist output in winter (low humidity affects performance)
– White dust around unit (use distilled water)
Post-Warranty Support Hack
Miro’s customer service offers free video troubleshooting even after warranty expires. Say this exact phrase when calling: “I need help with modular component renewal.” They’ll connect you to technicians who guide replacements via FaceTime.
Secret Resource: Miro’s YouTube channel has model-specific replacement videos. Search “Miro [Your Model] mist maker swap.”
Your Miro humidifier isn’t broken—it’s begging for its scheduled mist maker engine renewal. That flashing “low water” light is actually a maintenance reminder, not a death sentence. By replacing the $35 engine or performing the 30-minute vinegar soak, you’ll restore full mist output within hours. Remember: Miro units outlive traditional humidifiers by 7+ years through this simple ritual. Order a genuine engine today, and you’ll spend less time fixing problems than you do brewing coffee. The next time “low water” flashes, you’ll smile knowing it’s just your humidifier’s way of saying “Time for a quick tune-up!”


