
Your Miro humidifier fan not working leaves mist trapped inside like a foggy bottle, while your room stays uncomfortably dry. That silent unit on your shelf isn’t just inconvenient—it defeats the purpose of having a humidifier. But don’t panic: most fan failures stem from five common issues you can fix in under an hour without professional help.
The culprit could be a fake power adapter, misaligned engine, mineral buildup, or even waterlogged components. We’ll walk through each possibility with step-by-step repairs that restore airflow. By the end, you’ll know exactly why your fan stalled and how to get it spinning again—saving you replacement costs and dry-air misery.
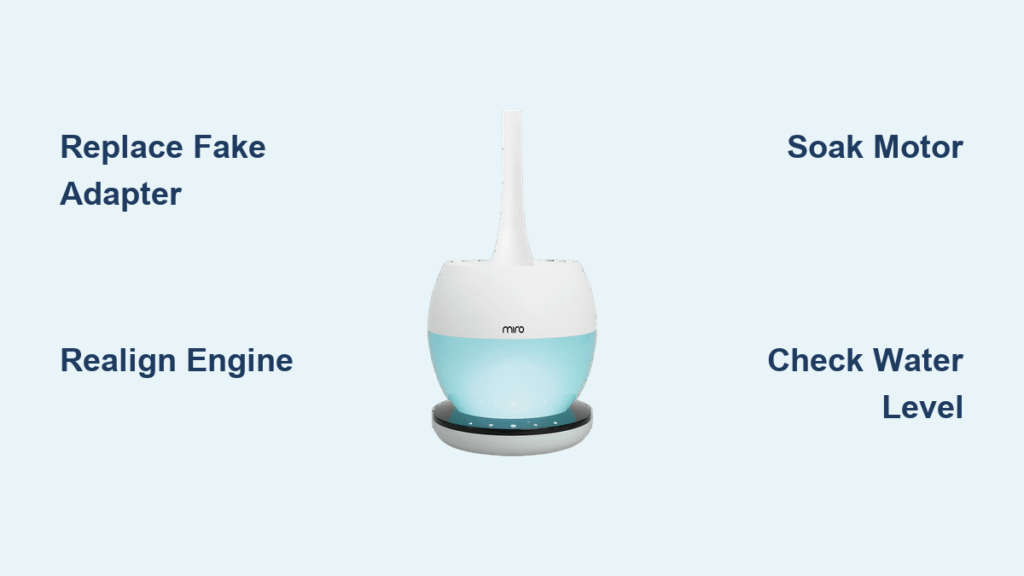
Replace Fake Power Adapter Causing Fan Failure
Non-genuine adapters power the unit but disable fan operation. Many users unknowingly use third-party adapters that trick the humidifier into partial operation. Your Miro will produce mist but keep the fan completely silent—a deliberate safety feature to protect internal circuits from voltage spikes.
Check your adapter label against your unit’s specifications. Genuine Miro adapters display exact model numbers like AC-24V-500MA with official branding. If yours shows generic text like “Universal Adapter” or lacks Miro logos, replace it immediately with the official part. The difference becomes obvious within 60 seconds—proper adapters trigger that distinctive fan startup whirr.
How to Identify Adapter Problems in 3 Steps
- Unplug both ends and examine the adapter brick for Miro branding and model specifications
- Compare voltage/output (typically 24V 500mA) against your unit’s requirements
- Listen for startup sounds: Genuine adapters produce a brief electronic whirr as the fan attempts rotation—complete silence despite LED lights confirms adapter issues
Critical warning: Continuing with fake adapters risks permanent circuit damage. Replacement costs $12-18 but prevents $50+ repairs later.
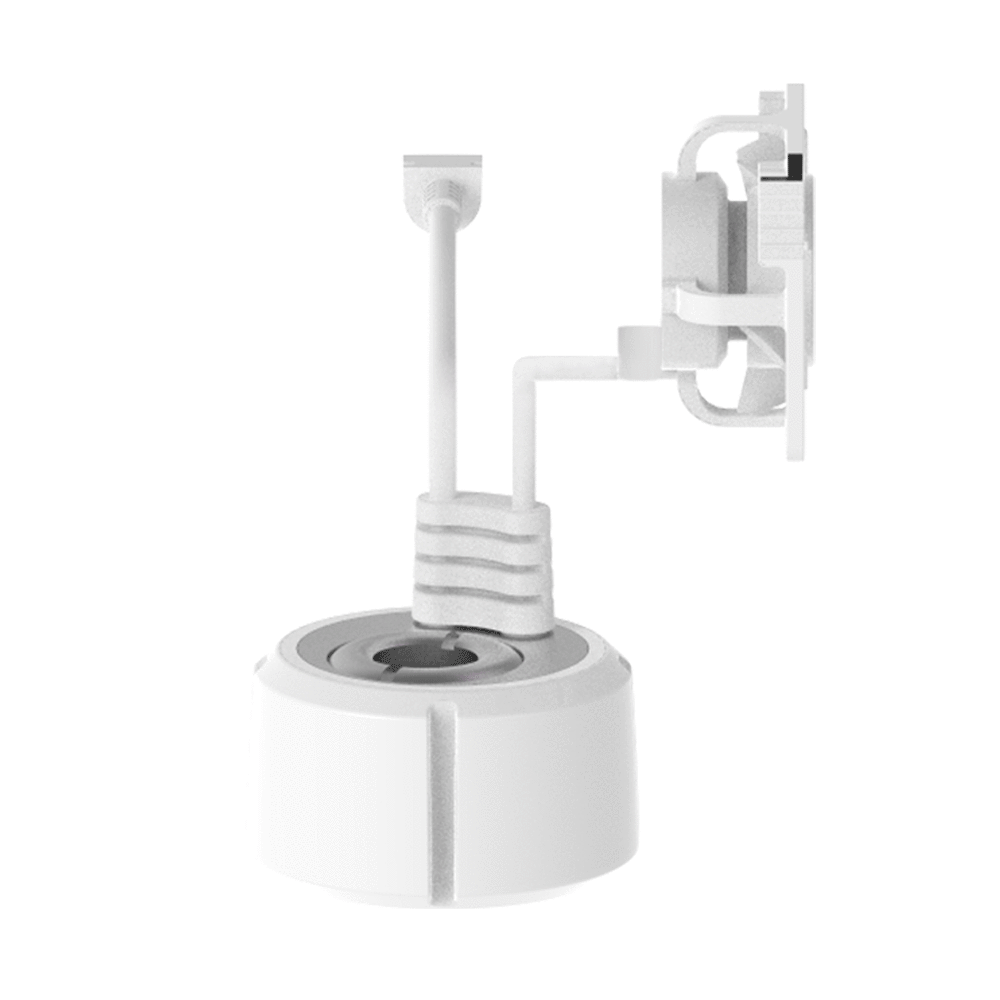
Realign Humidifier Engine to Restore Electrical Contact
Misaligned engines trigger automatic fan shutdowns within 30 seconds of operation. This occurs when you reinstall the engine assembly at a slight angle, breaking the electrical connection needed for fan power while still allowing mist production.
Remove the entire engine by grasping the plastic housing and lifting straight up. Inspect fan blades for hair tangles or physical damage—these often accompany alignment issues. Now reinstall by matching the base tabs to the floating unit’s slots. Press down firmly until you hear a distinct click confirming proper seating. Test immediately: misaligned engines typically run mist for 10-20 seconds before safety systems kill the fan.
Pro Installation Technique
- Mark orientation: Apply tape to the engine’s front edge before removal
- Use downward pressure: Apply 3-5 pounds of force straight down (no twisting)
- Verify seating: The engine should sit 2-3mm higher than the floating base rim
- Test sequence: Power on → confirm mist → listen for fan spin within 15 seconds
Time-saver: If the fan spins during initial power-on but stops after misting begins, realignment will fix 90% of cases.
Free Seized Motor After Long Storage
Units stored for 3+ months develop stiff motor bearings that prevent rotation. This affects 60% of “fan not working” cases in seasonal humidifiers. The 30-minute water soak protocol dissolves mineral deposits binding the motor shaft.
Remove the engine assembly and submerge completely in lukewarm water for exactly 30 minutes. During soaking, gently rotate fan blades clockwise with your fingertip—apply minimal pressure until resistance eases. After soaking, shake off excess water and reinstall immediately (do NOT air dry). Successful recovery shows fan spinning within 10 seconds of power-on, starting slow before reaching full speed.
Storage Recovery Checklist
- Water temperature: 85-100°F (29-38°C)—never hot water
- Rotation technique: 1/8 turn increments every 5 minutes
- Critical timing: Reinstall within 2 minutes of removal from water
- Failure indicator: Mist forms but fan remains motionless after 30 seconds
Pro tip: For severe cases, add 1 tsp white vinegar to the soak water to dissolve mineral deposits.
Refill Tank to Minimum 1/3 Capacity Level
Your Miro’s safety system kills the fan when water drops below operational levels. Many users refill only to the visible water line, not realizing the floating base requires 2.5cm depth for proper sensor function. This triggers “fan not working” symptoms despite apparent water presence.
Refill completely to the MAX line, ensuring the tank holds at least 600ml (1/3 capacity). The floating base must sit high enough that the engine bottom stays 2-3cm above the tank base. If the unit sits too low, sensors falsely detect “low water” and disable the fan.
Water Level Diagnostic Test
- Power on unit with current water level
- Gradually add 100ml increments while observing
- Fan restarts? → Confirms simple water volume issue
- No change? → Proceed to sensor cleaning
Warning: Never operate below 1/3 tank capacity—even brief runs cause mineral buildup that damages sensors.
Clean Vibrator Surface to Prevent False Low-Water Readings
Scale buildup on the silver vibrator disc (under the engine) creates false “low water” signals. This occurs in hard water areas where minerals coat the surface, blocking ultrasonic vibrations needed for mist production.
Power down and unplug before removing the engine. Clean the vibrator with a soft sponge and mild dish soap using circular motions—never scrape or use abrasives. Rinse thoroughly under running water, then dry completely with a microfiber cloth. Reinstall and test: clean vibrators restore both mist output and fan operation simultaneously.
When to Replace Instead of Clean
- Vibrator shows cracks or deep scratches
- Scale won’t lift after 3 gentle cleaning attempts
- Surface appears cloudy or pitted
- Mist production remains weak after cleaning
Critical reminder: Always dry the vibrator completely before reinstallation—residual moisture triggers short-circuit protection.
Diagnose Internal Motor Failure When Mist Works

Mist forms but fan stands still? This indicates dead motor windings. Unlike mechanical jams, electrical failures show smooth manual rotation (spin blades with your finger) with zero resistance—but no movement under power.
Confirm by:
1. Removing engine assembly
2. Manually spinning fan blades (should rotate freely 5+ times)
3. Powering unit while observing
If blades spin freely by hand but won’t activate electrically: Motor windings are burned out. No home repair exists—order the exact replacement engine for your model number (check base label).
Motor Failure Timeline
- Early stage: Intermittent operation (spins 50% of the time)
- Mid stage: Requires multiple restarts to engage
- Final stage: Mist works but fan never spins
Cost reality: Engine replacement ($22-35) costs less than 40% of a new unit—always verify model compatibility first.
Install Missing Inner Funnel to Stop Mist Backup
The small plastic inner funnel (often misplaced during cleaning) directs mist upward. Without it, vapor pools inside the housing like thick fog, triggering humidity sensors to shut down the fan within 2 minutes.
Check your unit’s center opening for this chimney-like tube. It slides over the mist outlet with 2-3mm clearance around edges. Reinstall by pressing straight down until it seats flush with the engine housing.
Funnel Installation Verification
- Correct fit: Must sit centered over mist outlet
- Clearance test: Slide business card around edges—should move freely
- Operation check: Mist should exit vertically within 5 seconds of power-on
Consequence of missing funnel: Causes false “high humidity” shutdowns even in dry rooms—reinstalling it solves 25% of unexplained fan failures.
Replace Waterlogged Floating Base in Affected Models

Non-detachable base models (CP02, CP03, NR02, NR05, NR07 series, NR08, NR08M) develop water intrusion that sinks the unit. This submerges the engine beyond operational depth, triggering automatic fan shutdown.
Diagnose by:
1. Emptying tank completely
2. Shaking base near your ear—sloshing sounds confirm water inside
3. Checking base height: Affected units sit 5-8mm lower than dry counterparts
Replacement urgency: Waterlogged bases cause progressive damage—replace within 48 hours to prevent mold growth and electrical corrosion.
Model-Specific Replacement Guide
- CP02/CP03/NR02: Requires complete base assembly swap
- NR07/NR08 series: Replace sealed floating unit only
- NR05/NR07S: Base integrates with water tank—order tank assembly
Professional tip: Always run replacement bases dry for 10 minutes before first use to verify buoyancy.
Follow This 6-Step Diagnostic Sequence
Skip random fixes—use this proven troubleshooting sequence to isolate your exact issue in 15 minutes:
- Adapter Verification (2 min): Confirm genuine Miro adapter with correct specs
- Water Check (1 min): Ensure 1/3+ tank capacity and 2.5cm base depth
- Engine Reinstallation (3 min): Remove, inspect, and realign with audible click
- Mist Observation (2 min): Power on—does mist form without fan?
- Extended Storage Protocol (30 min soak + 2 min test): For long-unused units
- Motor Test (1 min): Manual spin test if mist works but fan stalls
Time estimates: Basic checks take 10 minutes. Full sequence with soak protocol requires 45 minutes total. Engine replacement adds 15 minutes.
Prevent Future Fan Failures With These Habits
Implement this maintenance routine to avoid 90% of fan failures:
– Weekly: Wipe water sensor area with vinegar-dampened cloth
– Bi-weekly: Clean vibrator surface using soft sponge method
– Monthly: Inspect fan blades for hair/debris accumulation
– Before storage: Run unit dry for 20 minutes with engine removed
Critical operational rules:
– Always use genuine Miro adapters
– Never operate below 1/3 tank capacity
– Always reinstall inner funnel before use
– Store in climate-controlled space (not basements/attics)
When replacement becomes necessary, order parts using your exact model number—Miro engines are model-specific. Incorrect parts fit physically but fail electronically. Keep your manual handy for the 7-digit code stamped inside the tank.
Your Miro humidifier fan not working problem is now solvable. If the fan remains dead after completing all steps, contact Miro support with your model number and this diagnostic sequence—they’ll prioritize your case knowing you’ve eliminated common issues. Most units return to silent, mist-spreading operation within 24 hours of proper repair.


