
That dry winter air hits you the moment you wake up—chapped lips, scratchy throat, and static shocks with every doorknob you touch. Your furnace is running, but if your furnace humidifier not working properly, your home’s moisture levels have plummeted below the 30-40% range needed for comfort and health. Whole-house humidifiers should silently maintain ideal humidity as heated air circulates through your ducts, yet when they fail, the effects hit hard and fast.
The good news is most furnace humidifier not working issues stem from just a handful of common problems you can diagnose in minutes. Whether your unit isn’t producing any moisture or water won’t stop flowing, this guide provides step-by-step solutions to restore proper operation. With basic tools and systematic troubleshooting, you’ll likely solve the problem in under an hour—without calling a technician.
Identify Your Humidifier’s Failure Mode First
Before grabbing tools, pinpoint exactly how your furnace humidifier not working. Each symptom points to different causes:
Listen for activation sounds: When working properly, you’ll hear an audible click followed by gentle water flow. Complete silence suggests power issues or control failure.
Inspect water flow: Check the drain tube during operation—water should trickle steadily toward your floor drain. A bone-dry water panel means no water reaches your humidifier.
Test comfort indicators: Persistent dry skin, frequent nosebleeds, or static electricity despite running your HVAC system signal inadequate humidity.
Conduct the window test: Light condensation on lower window edges indicates proper moisture levels. Completely dry windows confirm your furnace humidifier not working.
Verify Power and Basic Controls Before Disassembly
Many furnace humidifier not working issues trace back to simple oversights you can fix in minutes:
Check electrical supply: Locate your breaker panel and verify the humidifier circuit hasn’t tripped. Some units have separate switches near the furnace—confirm they’re in the “on” position.
Adjust humidistat settings: Your wall-mounted control should read 35-40% for winter operation. Temporarily set it to 50% to force activation and test functionality.
Create system demand: Raise your thermostat 5 degrees above room temperature to trigger heating mode, then increase the humidistat setting. Proper operation should follow within minutes.
Inspect visible components: Look for obvious water leaks around connections, kinked supply lines, or disconnected drain tubes before proceeding to complex diagnostics.
Diagnose Water Supply Problems Step by Step
:max_bytes(150000):strip_icc()/anatomy-of-the-home-furnace-humidifier-1824773color-d41575bdba834fd59ac29178949a1e2a.png)
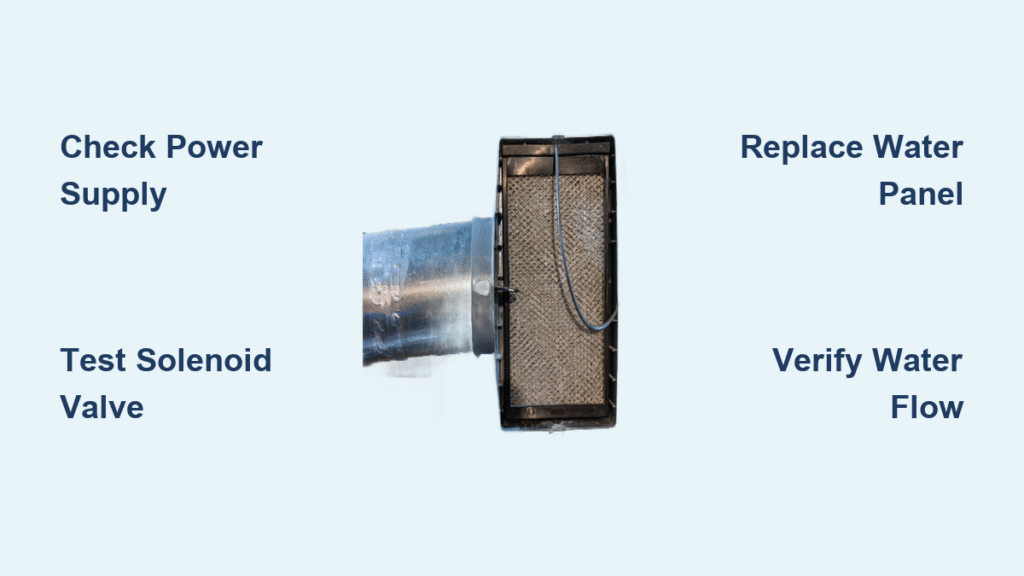
Test Solenoid Valve Functionality
The solenoid valve controls water entry into your system—when energized, it creates a magnetic field you can feel:
- Trigger system demand: Set thermostat higher to activate heating cycle
- Maximize humidistat: Turn control to highest setting
- Check magnetic field: Touch a screwdriver to solenoid head, then slowly pull away
- Feel for resistance: Magnetic drag confirms power reaches the valve
- No magnetism: Indicates electrical failure upstream in the control system
Verify Water Flow Through System
At the valve: Water should be present up to the solenoid inlet. No water here means supply line issues before this point.
Through the drain: During operation, water should flow steadily through the drain tube toward your floor drain. No flow suggests blockage.
Filter condition: A properly working system keeps the water panel continuously moist. Bone-dry media confirms no water flow despite system demand.
Troubleshoot Electrical Control Failures
Locate and Test Your Humidistat
Wall-mounted models: Typically installed near your main thermostat for responsive humidity sensing—check settings and battery if applicable.
Duct-mounted versions: Often placed on return air ducts in older installations—trace wires from solenoid to find this less responsive location.
Jumper wire diagnostic: This simple test isolates humidistat failure:
- Turn off furnace and humidifier at the breaker
- Remove humidistat cover to expose control wires
- Connect terminals with a wire or paperclip
- Restore power and check for solenoid activation
- If solenoid works with jumper, replace the faulty humidistat
Assess Transformer Performance
Power conversion check: Your transformer converts 120V household power to 24V for humidifier operation—failure here affects the entire system.
Warning: Transformer testing requires a multimeter. If uncomfortable with electrical diagnostics, this signals time to call a professional.
Failure symptoms: No power to solenoid despite proper humidistat settings and good wiring connections points to transformer issues.
Clear Common Water Flow Blockages

Clean Mineral-Clogged Solenoid Valves
Hard water mineral buildup frequently blocks solenoid valves:
Effective cleaning method:
– Shut off water supply to the humidifier
– Disconnect inlet water line carefully
– Remove solenoid (typically two screws)
– Soak and gently scrub mineral deposits
– Reassemble and test operation
Replacement needed when: Valve won’t open even with power, or internal components show physical damage from corrosion.
Fix Water Line Issues
Frozen supply lines: Common in cold basements—look for bulging or cracked tubing during freezing weather.
Kinked tubing problems: Trace entire water supply line for sharp bends restricting flow, especially near tight corners.
Clogged line solution: Disconnect tubing at both ends and blow compressed air through to clear obstructions safely.
Replace Critical Worn Components

Install New Water Panel Annually
Essential maintenance: Most manufacturers require yearly water panel replacement for proper operation.
Replacement indicators:
– White crusty mineral deposits that won’t rinse off
– Filter material disintegrating or crumbling
– Reduced water absorption capacity
– Visible mold or algae growth
Pro tip: Mark your calendar when installing a new panel—set a reminder for 11 months later to stay ahead of problems.
Replace Faulty Solenoid Valves
When to replace: Valve won’t open with power present, or leaks continuously when closed.
DIY difficulty: Intermediate—requires basic plumbing skills and comfort with electrical connections.
Safety first: Take photos before disconnecting anything, and shut off main water supply before starting work.
Know When to Call a Professional
Recognize Complex Repair Indicators
Contact an HVAC technician immediately when:
– Transformer replacement is needed
– Electrical testing reveals complex wiring issues
– Comprehensive descaling and deep cleaning required
– DIY troubleshooting doesn’t restore operation after following all steps
Value of Professional Service
Qualified technicians provide:
– Specialized diagnostic equipment to test transformers and verify system performance
– Professional-grade replacement parts with proper installation techniques
– System calibration based on your home’s specific needs and local climate
– Comprehensive maintenance that extends your humidifier’s lifespan
Prevent Future Furnace Humidifier Failures
Monthly Maintenance Routine
Visual inspection: Check for water leaks around the unit and connecting lines before they cause damage.
Drain verification: Ensure water flows freely through the drain tube during operation to prevent overflow.
Filter check: Look for excessive mineral buildup or filter deterioration that reduces effectiveness.
Fall Startup Checklist
Essential pre-winter steps:
– Replace water panel before heating season begins
– Test system operation before cold weather hits
– Clean valve assemblies and water lines thoroughly
– Verify proper drainage to your floor drain
Long-term Prevention Strategies
Water softener benefits: Reduces mineral buildup in valves and on filters, extending component life significantly.
Quality filter selection: Use OEM or high-quality aftermarket filters designed specifically for your humidifier model.
Humidity monitoring: Install a separate hygrometer to track actual humidity levels and catch problems early.
Temporary Comfort Solutions While Repairing
Immediate Relief Measures
Portable humidifiers: Place units in bedrooms and main living areas as temporary solutions.
DIY humidity boosters:
– Boil water on stovetop for quick moisture addition
– Leave bathroom door open during showers
– Air-dry laundry indoors
– Place bowls of water near heat sources
Monitor Progress Effectively
Track humidity levels: Use a digital hygrometer to measure actual indoor humidity daily.
Adjust expectations: Portable units can’t match whole-house performance, but they provide crucial relief during repairs.
Seal air leaks: Check windows and doors for drafts that dry out your air faster than normal.
Your Next Steps: Start with power verification and humidistat settings—most furnace humidifier not working issues trace back to simple oversights. If those don’t restore operation, systematically test water supply, then electrical components. Remember, a completely dry water panel almost always indicates water supply problems, while intermittent operation suggests electrical control issues.
Pro tip: Replace your water panel each fall without fail. This $20-40 maintenance item prevents 90% of furnace humidifier not working problems when changed annually. Set a calendar reminder now to avoid next winter’s discomfort.


