
That musty smell creeping from your vents? Or maybe your throat feels raw even with the heater running? A clogged humidifier filter is likely sabotaging your home’s comfort while forcing your HVAC system to work overtime. When mineral deposits and mold take over your water panel, your whole-house humidifier stops distributing moisture—leaving wood floors cracking and sinuses burning. The good news? Replacing your humidifier filter takes less time than brewing coffee and costs under $20. Whether you own an Aprilaire 600 series or another common model, this guide delivers the exact steps to restore healthy humidity levels in under 15 minutes. You’ll learn model-specific tricks professionals use to avoid leaks and extend your HVAC system’s lifespan.
Why Ignoring Your Humidifier Filter Causes Costly Damage
Mineral buildup doesn’t just reduce moisture output—it actively destroys your system. When calcium deposits coat your water panel, the humidifier strains to evaporate water, causing three critical failures: uneven room humidity (you’ll find some rooms desert-dry while others feel clammy), mold spores circulating through vents (that musty smell isn’t “normal”), and worst of all, water overflow damaging ceilings or flooring. Aprilaire’s engineering data shows neglected filters increase HVAC energy use by 15% as the system compensates for poor air quality. Don’t wait for visible mold—the white crust forming on your existing filter means replacement is overdue yesterday.
Signs Your Filter Needs Immediate Replacement
- Visible mineral crust: Hard white deposits covering more than 30% of the filter surface
- Reduced output: Humidity levels won’t rise above 30% even at maximum settings
- Musty odors: Especially when first turning on the HVAC system
- Water pooling: Around the base of the unit after operation
Essential Pre-Change Safety Steps You Can’t Skip
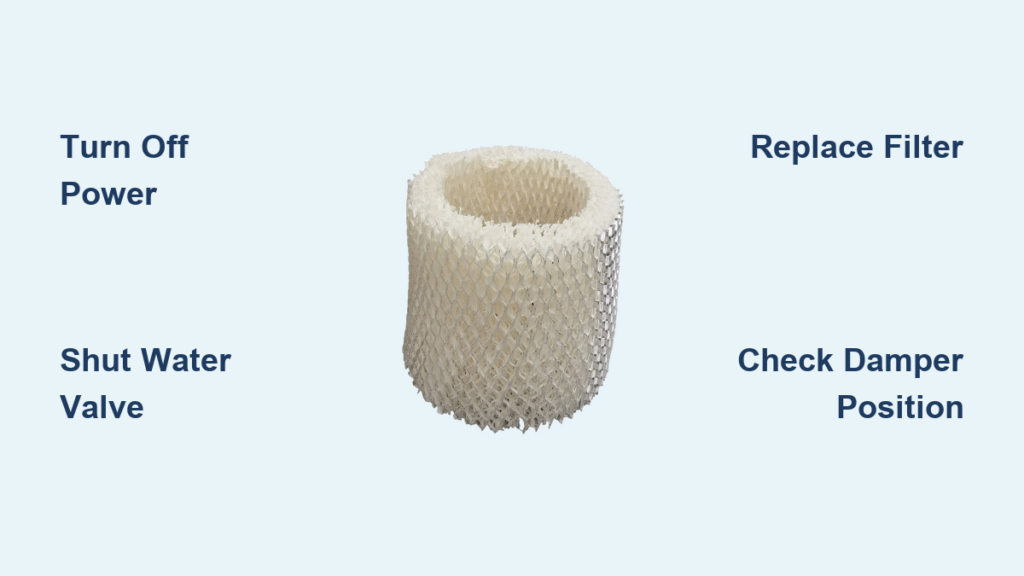
Turn your humidifier control dial to ‘OFF’ before touching any components—this prevents accidental activation during replacement. Next, locate the small brass water shutoff valve (usually within 18 inches of the unit) and turn it clockwise until fully closed. Position a trash can directly beneath the humidifier cabinet; old filters release sediment like a snow globe when disturbed. For models connected to hot water lines, wait 20 minutes for pipes to cool—scalding risks are real. Never skip this step: wipe the work area with a vinegar solution to dissolve mineral residue that could jam new filter mechanisms.
Locate Your Exact Filter Model Number
Check the plastic frame of your existing filter for stamped numbers (10, 12, 35, or 45). This determines replacement frequency and prevents costly mistakes:
– Aprilaire 10/12/35 panels: Replace once per heating season (typically October)
– Aprilaire 45 panels: Require two changes per season (October and February)
– Generic models: Measure dimensions—if it’s 11.5″ x 6.5″, you need a 45-size equivalent
Aprilaire 600 Series: Step-by-Step Filter Replacement
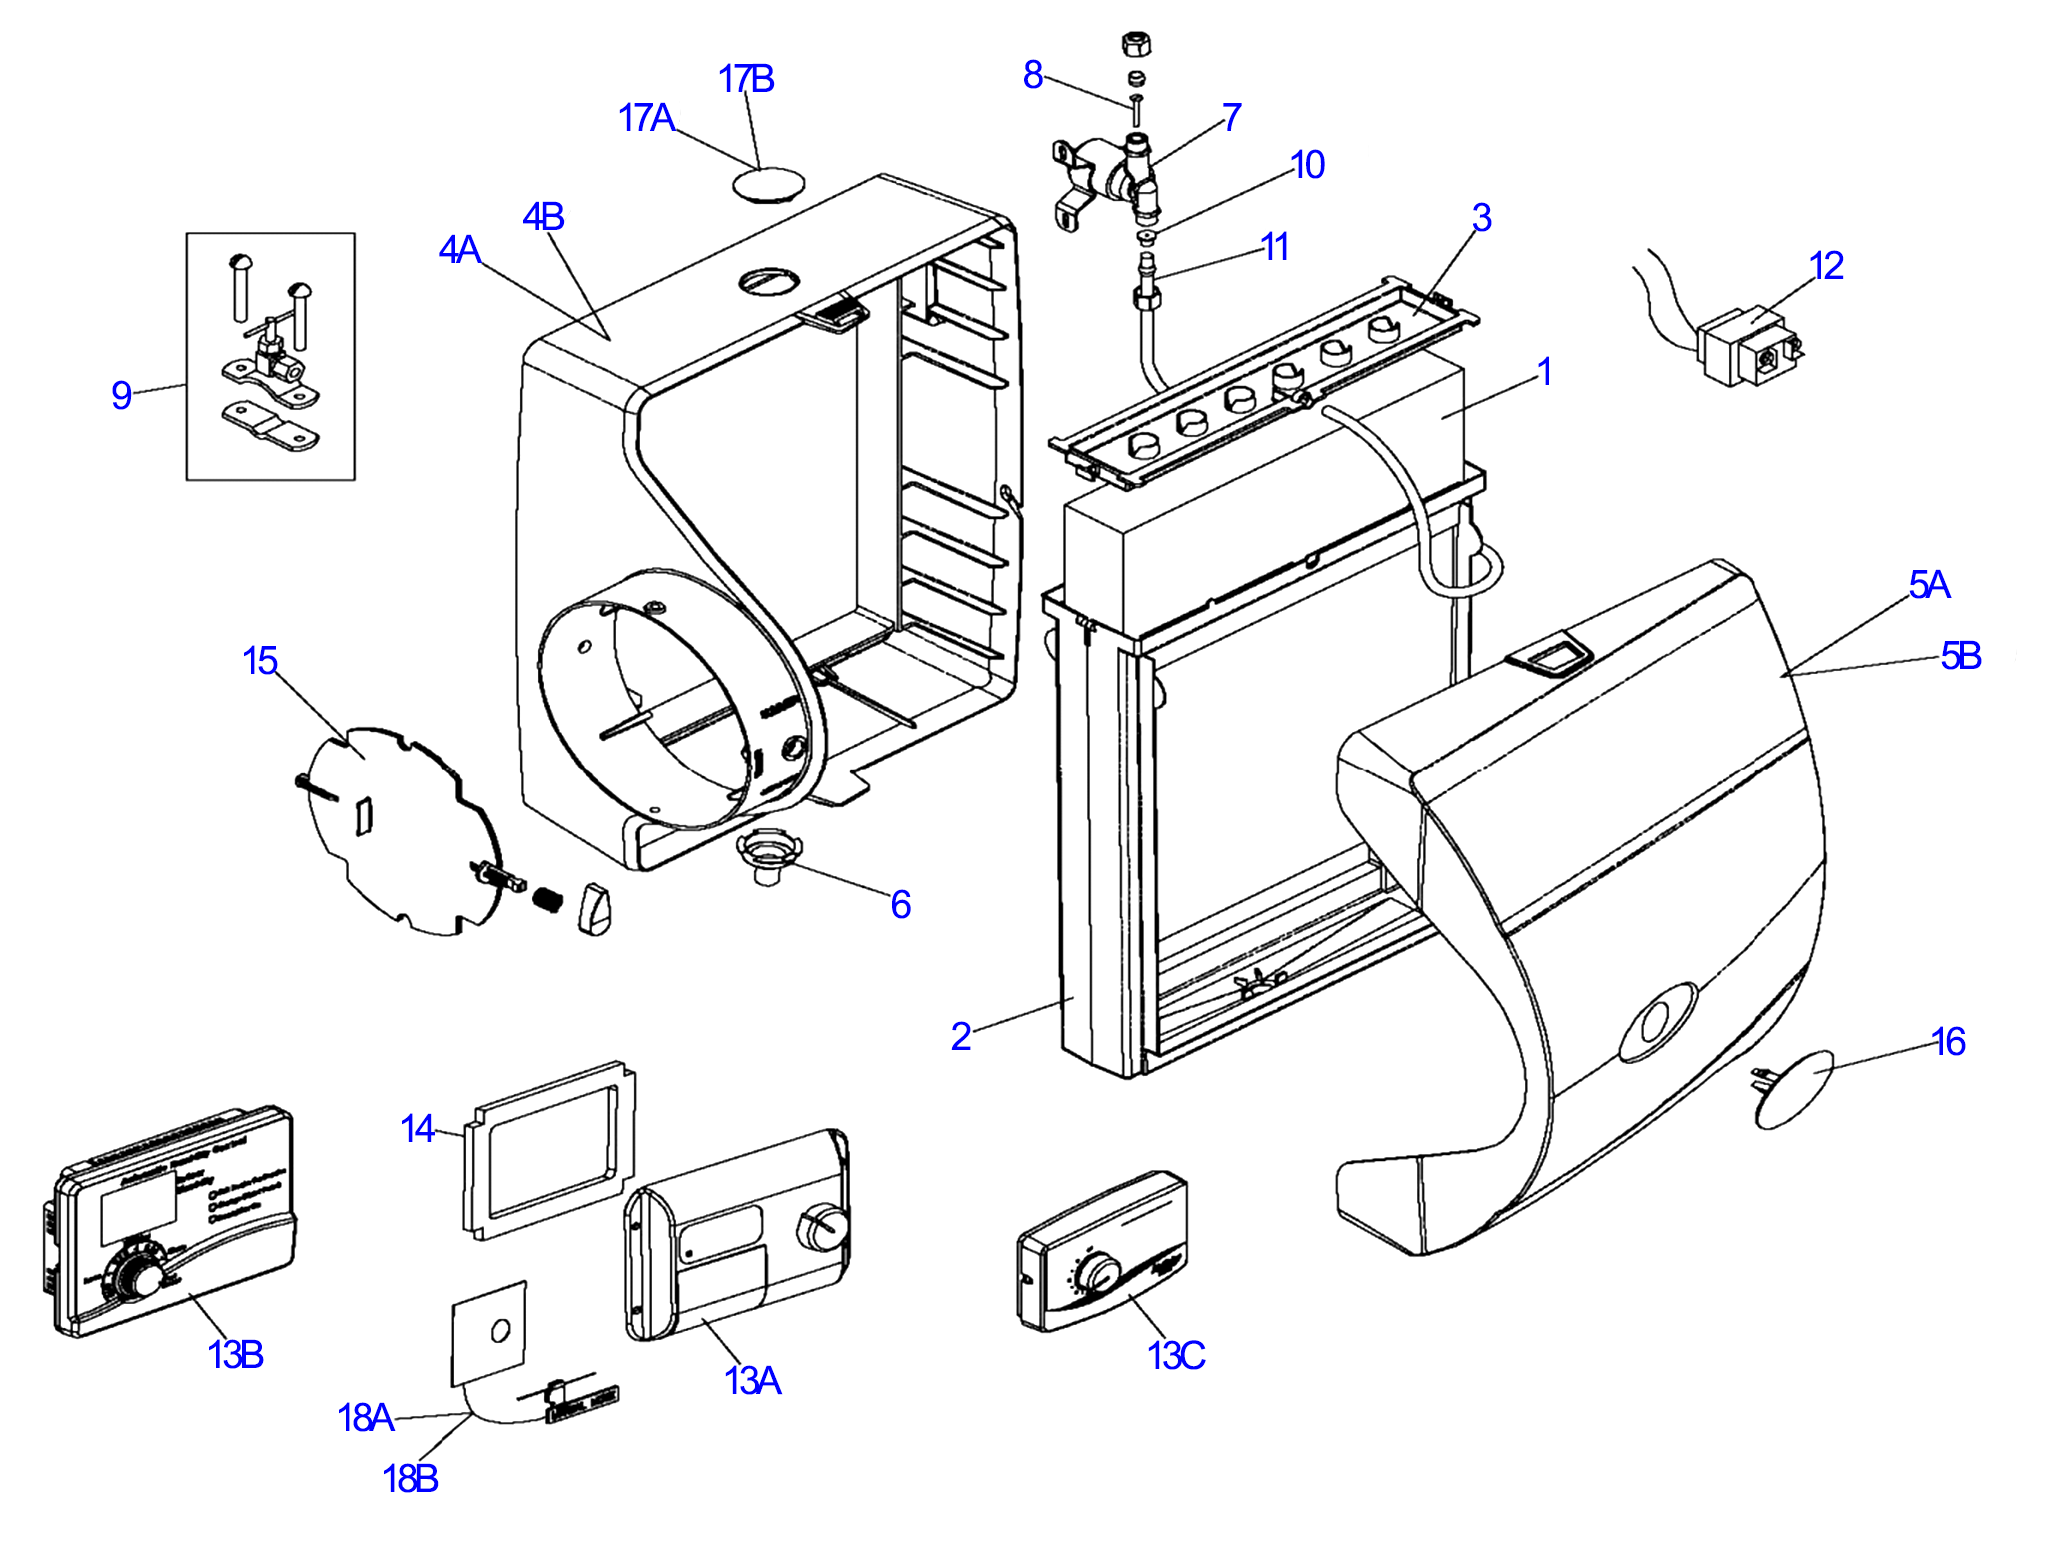
Remove Old Filter Without Messing Up Water Lines
Step 1: Press both plastic tabs on the cabinet’s top and bottom edges simultaneously. The cover releases with a soft click—no tools needed.
Step 2: Gently pull the clear water line from the housing connector. Hold the hose elevated to prevent draining 3-4 ounces of standing water.
Step 3: Squeeze the side tabs on the black filter housing and slide it straight out. Never yank vertically—this cracks internal connectors.
Step 4: Lift off the top plastic tray, then lower the filter pad directly into your trash can. Do not shake it—mineral dust becomes airborne and settles everywhere.
Install New Water Panel for Maximum Efficiency
Step 1: Drop the new filter into the housing with painted stripes facing UP. Orientation matters—reversing it blocks water distribution channels.
Step 2: Replace the top tray with the water hose insert facing toward you (this directs flow across the entire panel).
Step 3: Angle the housing into the cabinet drain hole first, then push the top inward until it clicks. Wiggle gently if resistance occurs—never force it.
Step 4: Reconnect the water line by pressing firmly until you feel it seat. Pro tip: Secure the top tab before the bottom—this creates downward pressure for a leak-proof seal.
Universal 5-Minute Filter Change for Other Models
Simplified Process for Aprilaire 400/500/700 Series
Most non-600 models follow this streamlined pattern:
1. Power down humidifier and water supply (critical for Honeywell units)
2. Remove cover by unscrewing thumb screws or pressing side latches
3. Pull filter frame straight out—no tray removal needed on newer models
4. Slide new filter in with model number visible through the inspection window
5. Reattach cover until edges are flush with the cabinet
Critical Installation Checks to Prevent Leaks
- Filter seating test: Press down firmly on all four corners—no gaps should appear between filter and housing
- Water line inspection: Ensure tubing isn’t kinked behind the housing (a common cause of “no moisture” complaints)
- Cover alignment: Run your finger along all edges—any protrusion means improper sealing
Switching Your Humidifier Damper for Winter Operation
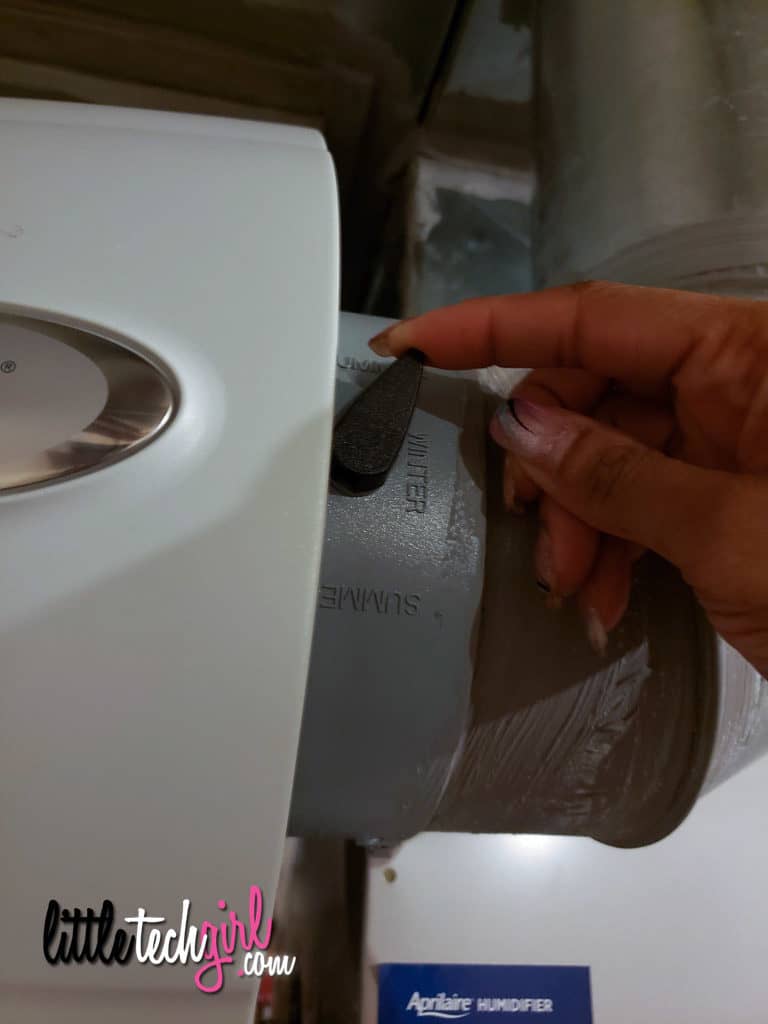
After filter installation, move the damper lever from ‘Summer’ to ‘Winter’ position. This metal slider (usually on top of the unit) redirects airflow through the humidifier. Listen for the click—if it doesn’t engage, force from mineral buildup may require gentle tapping with a rubber mallet. Skipping this step is the #1 reason homeowners think their new filter “isn’t working.” During summer, the damper bypasses the unit to reduce AC strain—leaving it open in winter wastes heated air.
Setting Up a Foolproof Filter Replacement Schedule
Prevent Problems With Calendar-Based Reminders
Mark your calendar using these model-specific triggers:
– Aprilaire 10/12/35: Replace first Monday in October (before heating season)
– Aprilaire 45: Replace October 1 AND February 1 (every six months)
– High-mineral water areas: Add mid-December replacement if you see white crust forming
Monthly Visual Inspection Shortcut
Pop the cover for 10 seconds during peak winter months. Look for:
– Mineral buildup: White crust covering filter surface
– Mold spots: Musty smell or dark patches
– Sagging: Filter should sit rigid—not drooping when wet
Replace immediately if any appear. Pro tip: Store spare filters vertically in a sealed bag with silica gel to prevent premature hardening.
When to Call a Professional Instead of DIY
Complex Installations Requiring Expert Help
Contact certified HVAC technicians if your unit:
– Has water lines running through walls (risk of hidden leaks)
– Uses electronic humidistats instead of manual dials
– Shows water stains on ceilings or walls near the unit
– Requires filter access through ductwork (common in basement units)
Benefits of Professional Filter Service
Trained technicians don’t just swap filters—they perform critical system checks: verifying solenoid valve operation, testing humidistat calibration, and inspecting drain lines for clogs. A $75 service call often prevents $500+ water damage repairs. Never attempt filter replacement if you smell gas near the unit—that requires immediate emergency shutdown.
Post-Change System Test That Verifies Success
Turn the water supply valve counterclockwise to restore flow. Set your humidistat to 40% relative humidity. Listen for the solenoid valve click within 5 minutes—this confirms water is reaching the new filter. Check output after 24 hours: place a hygrometer in the room farthest from the unit. If humidity remains below 35%, inspect for:
– Air leaks around cabinet seals (use duct tape temporarily)
– Clogged drain line (blow compressed air through the tube)
– Incorrect damper position (recheck seasonal setting)
Regular filter changes protect your $5,000 HVAC investment while eliminating health-harming dry air. Keep a spare Aprilaire panel in your utility closet—when that musty smell hits, you’ll swap filters faster than calling support. Set phone reminders 3 days before your replacement date (October 1 and February 1 for most models), and always verify damper position after installation. For severe mineral buildup issues, consider installing a whole-house water softener—your filters (and sinuses) will thank you. Ready to breathe easier? Grab your replacement filter and reclaim your home’s comfort in less time than your morning coffee brews.


