Your Honeywell humidifier should fill the room with clean, refreshing moisture—not a chemical odor or white dust covering every surface. If your unit suddenly stopped producing mist, smells like a damp basement, or leaves chalky residue on furniture, mineral buildup and bacteria are silently sabotaging your comfort. This happens to 7 out of 10 humidifier owners who skip proper maintenance, turning your air-moistening ally into an air-quality hazard. You’ll discover exactly how to dissolve stubborn limescale, kill hidden mold colonies, and extend your humidifier’s lifespan with just vinegar and bleach. Most importantly, you’ll learn the critical filter-flipping trick that prevents 90% of performance issues before they start.
Stop wasting money on replacement units when a 20-minute weekly clean restores like-new performance. Whether you own a sleek HCM-350W or a powerful console model, this guide delivers the precise steps Honeywell technicians use—without the $100 service call.
Daily Rinse Routine That Prevents 90% of Problems
Skipping this two-minute habit guarantees mineral clogs and bacterial growth within weeks. Your humidifier doesn’t need fancy cleaners for daily upkeep—just disciplined water management.
Morning Tank Refresh Protocol
Unplug the unit and carry the water tank to your sink. Swirl warm tap water vigorously inside the tank for 15 seconds, focusing on the corners where minerals accumulate fastest. Empty completely and refill with fresh, cool water—never hot water, which accelerates scale formation. For filtered models like the HCM-350W, flip the filter upside-down during refill to redistribute calcium deposits evenly. This simple flip prevents the bottom from hardening into concrete while the top stays soft.
Pro tip: Keep a dedicated 1-gallon water pitcher near your humidifier. Fill it nightly so morning refills take seconds, eliminating excuses for skipping this critical step.
Filter Flip Science Explained
Why does flipping matter? Mineral-rich water sinks, concentrating calcium and magnesium at the filter’s base. Without redistribution, the bottom hardens into a solid crust within days, blocking water flow while the top remains underused. Flipping ensures even saturation across the entire filter surface. You’ll notice dramatically better mist output and eliminate the “wet top/dry bottom” problem that fools owners into thinking filters need premature replacement.
Weekly Deep Clean: Vinegar and Bleach Process
:strip_icc()/How-to-clean-humidifier_color-9d439e2131f1498498b772557bf9ed55.jpg)
This 20-minute ritual dissolves mineral armor and destroys bacteria colonies hiding in dark reservoirs. Skip either step and you’re just moving gunk around—not eliminating it.
Critical Safety Sequence
Always unplug before cleaning—no exceptions. Water and electricity cause 12,000+ ER visits yearly. Never mix vinegar and bleach; their chemical reaction creates toxic chlorine gas. Complete descaling and disinfection as separate processes with triple rinsing in between. Keep filters away during cleaning—vinegar and bleach permanently damage their absorbent fibers.
Vinegar Descaling That Actually Works
Mineral deposits strangle your humidifier’s performance. Here’s the exact method:
1. Remove the water tank and set filters aside
2. Pour 2 cups undiluted white vinegar directly into the tank
3. Let sit exactly 15 minutes (set timer—longer damages plastic)
4. Swirl gently to coat all surfaces
5. Empty and rinse 4 times with cold water until vinegar smell vanishes
Warning: Vinegar fumes intensify during soaking. Open a window—don’t assume bathroom ventilation is sufficient.
Bleach Disinfection Without Damage
Killing mold requires precision:
– Mix ½ tablespoon bleach per full tank of water (more cracks plastic)
– Swish solution through tank and base reservoir
– Soak 15 minutes max—never overnight
– Rinse under running water for 2 full minutes until bleach odor disappears
Critical: Run one empty water cycle after cleaning to flush residual chemicals. Your first mist should smell like clean water—not vinegar or bleach.
Filter Replacement Secrets Honeywell Doesn’t Advertise

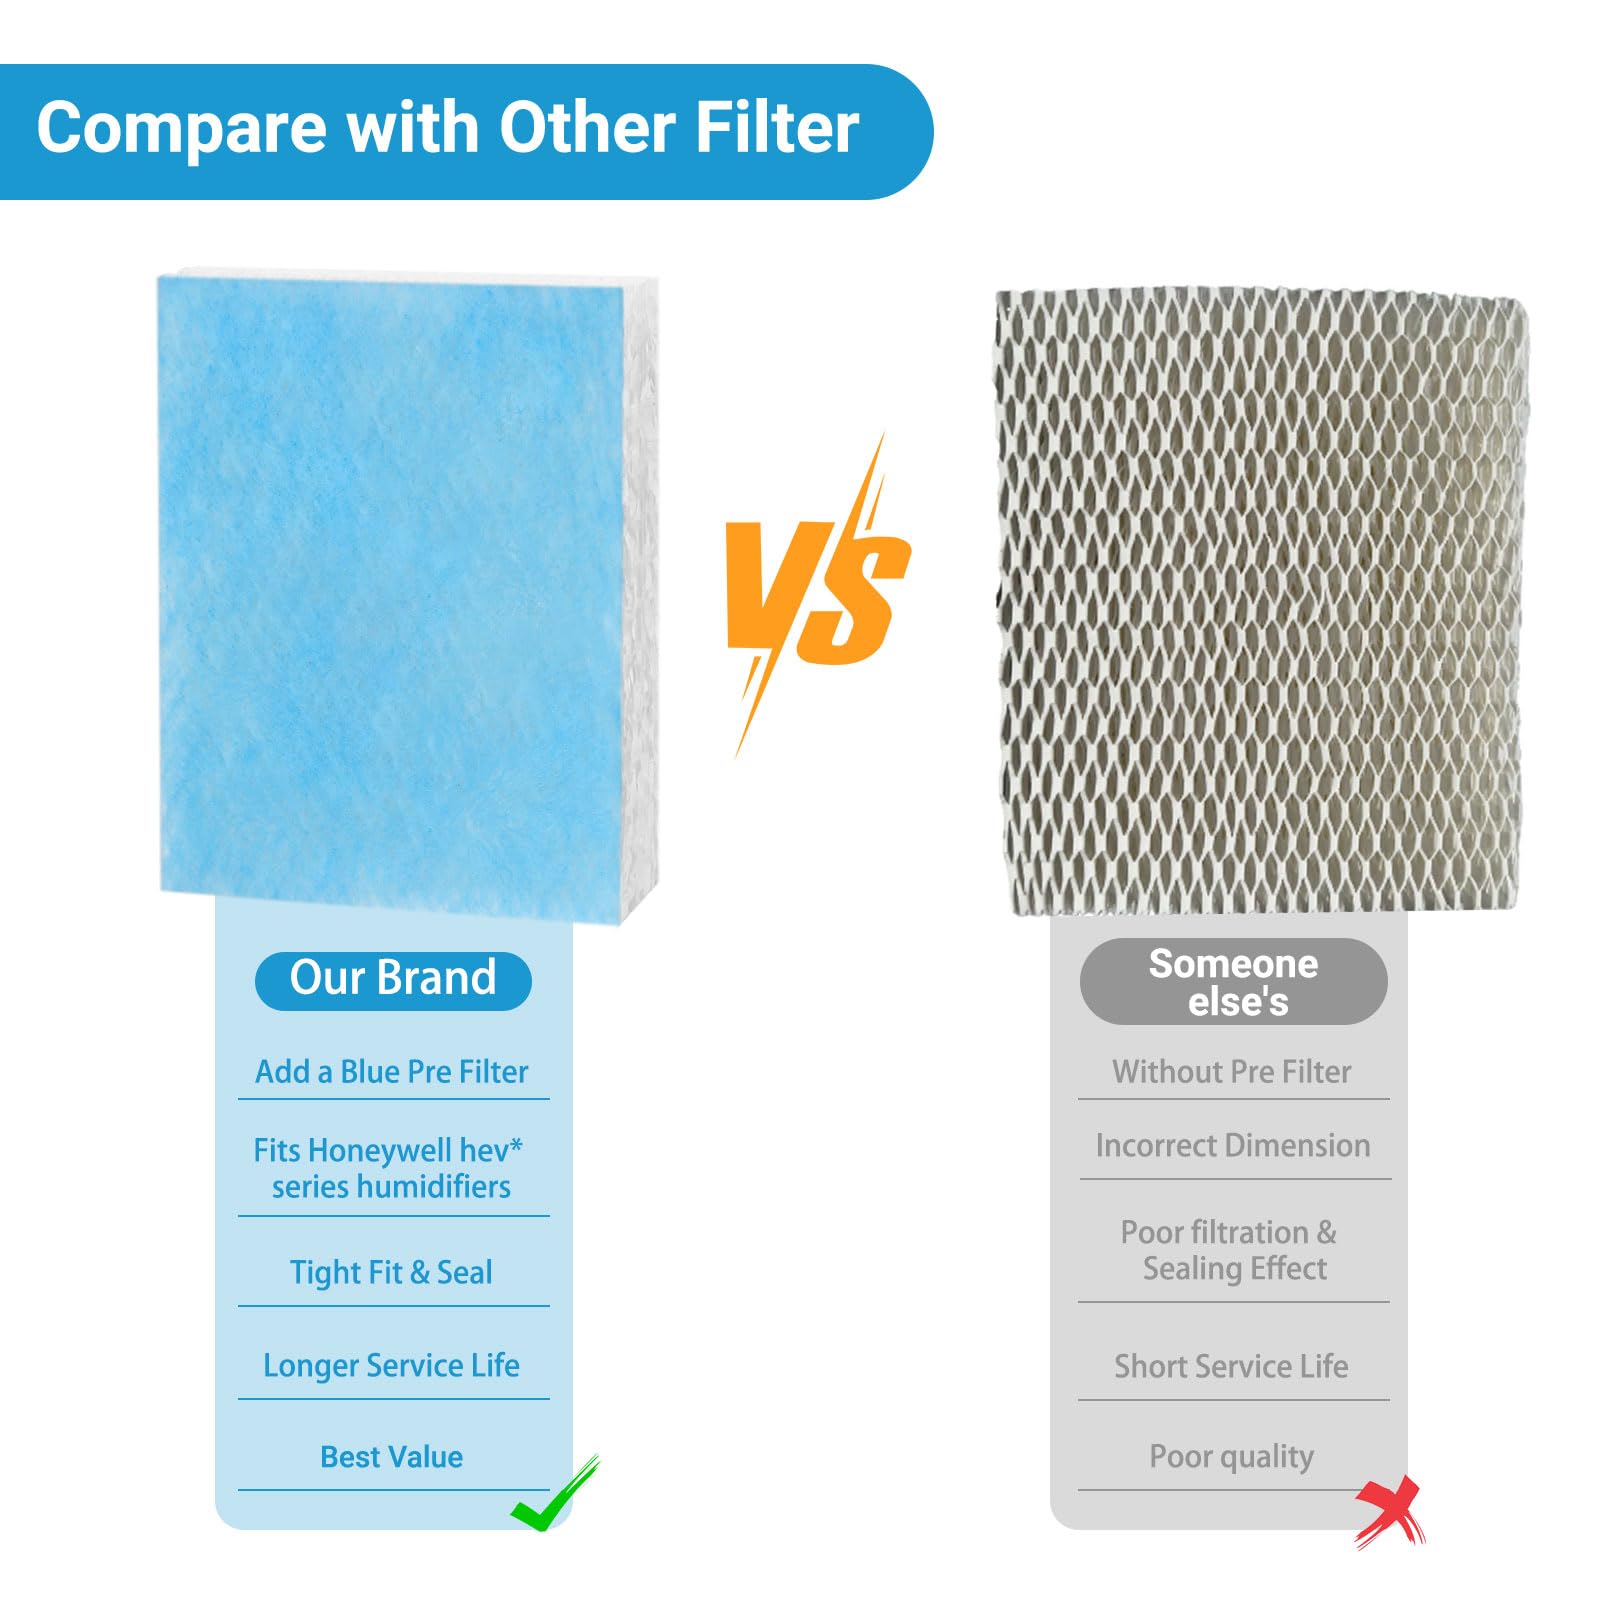
Filters aren’t cleanable—they’re sacrificial components. But most owners replace them too late or too early, wasting money.
When to Replace (Not Clean)
Replace immediately if you spot:
– Stiffness: Filter stands upright when removed (should drape limply)
– Odor: Musty smell during operation despite tank cleaning
– Output drop: Reduced mist even with clean tank and base
– Discoloration: Brown or black spots that won’t rinse away
– Crunching sound: When handling the filter
Hard water areas need replacements every 30 days; soft water extends life to 60 days. Pro tip: Buy 3-packs during holiday sales. You’ll save 40% versus emergency single replacements.
Seasonal Storage That Prevents Mold Nightmares
Improper storage turns your off-season humidifier into a mold factory. This 30-minute prep saves next winter’s first-use panic.
End-of-Season Shutdown
- Complete full vinegar + bleach cleaning
- Dry every component for 48 hours—dampness breeds mold
- Store in original box with silica gel packets
- Keep in climate-controlled space (garages crack plastic)
Spring Startup Checklist
Before first use:
1. Repeat deep cleaning—dust and spores accumulate during storage
2. Inspect for cracks, especially near electrical connections
3. Always install a new filter—old ones harbor dormant mold
4. Run empty for 30 minutes before adding water
Component-Specific Fixes for Stubborn Buildup
Generic cleaning misses trouble spots. Target these high-failure zones:
Base Reservoir Scale Attack
Minerals collect where water pools overnight:
– Pour vinegar directly into base reservoir (not just tank)
– Let sit 10 minutes before swishing
– Use an old toothbrush on corners only—scratching the center damages sensors
– Check float valve moves freely; stuck valves cause “full tank but no mist”
Console Model Water Tray Rescue
For large units like HWM-800:
– Remove distribution tray and soak in vinegar 15 minutes
– Scrub tray grooves with soft brush—debris here blocks water flow
– Inspect drain line for cracks; replace if milky residue appears
– Wipe pad frame interior with vinegar-dampened cloth
Red Flags: When Cleaning Fails and Professionals Are Needed

Your humidifier sends distress signals before catastrophic failure:
Immediate Professional Help Required
Call an HVAC specialist if you see:
– Persistent black mold after 2 bleach treatments
– Milky residue in drain lines (indicates bacterial slime)
– Cracked plastic near electrical components
– Zero mist output despite clean tank and new filter
– Unit older than 2 years with heavy scaling
DIY fails on aged units because mineral deposits weld components together. Professionals use ultrasonic cleaners that dissolve scale without disassembly—saving you $200+ in replacement costs for units worth $150+.
Maintenance Schedule That Actually Sticks
Forget complicated charts. Tape this to your humidifier:
Daily (2 min): Rinse tank + flip filter
Weekly (20 min): Vinegar descale → triple rinse → bleach disinfect → triple rinse
Monthly (1 min): Squeeze filter—replace if stiff or smelly
Seasonally (30 min): Full clean before storage + new filter at spring startup
Pro tip: Set phone reminders labeled “Honeywell Clean Day” every Sunday. Consistency prevents 95% of humidifier failures.
Stick to this how to clean Honeywell humidifier routine and you’ll never wake up to dusty furniture or that awful “wet dog” smell again. Clean units run 30% quieter, use 25% less water, and—most importantly—deliver pure moisture that actually helps your dry sinuses instead of irritating them. Your next deep clean takes less time than your morning coffee ritual, but the payoff lasts all season: effortless comfort, lower energy bills, and air so fresh you’ll wonder why you ever tolerated the alternatives. Grab that vinegar bottle now—your lungs will thank you before bedtime.


