Waking up with a raw throat or stuffy nose because dry air has turned your bedroom into a desert? You’re not alone—over 85% of households using humidifiers report immediate symptom relief when they operate correctly. But here’s the catch: improper use transforms your Vicks humidifier from a congestion fighter into a bacteria factory. One misstep—like using tap water or skipping weekly cleans—can fill your air with harmful white dust and mold spores. This guide cuts through the confusion with battle-tested steps from Vicks’ own protocols, showing you exactly how to harness moist, medicated relief while keeping your family safe. You’ll master setup in 10 minutes, avoid costly mistakes, and extend your unit’s life by years.
Position Your Vicks Humidifier for Maximum Safety and Coverage

Place on a Hard, Level Surface 4 Feet from Sleeping Areas to prevent water damage and ensure even mist dispersion. Never set it on carpet, wood, or near bedding—moisture seepage can warp floors or create slip hazards. The ideal spot? A sturdy side table in the center of your bedroom, angled so mist flows toward open space, not walls. This positioning stops condensation buildup that leads to mold on windows and furniture within hours.
Create Child and Pet Exclusion Zones Immediately since warm mist units attract curious hands and paws. Lift your humidifier onto a high shelf (minimum 3 feet off ground) away from play areas. Remember: Vicks units emit heat during operation—contact can cause burns. If relocation isn’t possible, use furniture anchors to secure the table. Never leave it running unattended in rooms where toddlers or pets roam freely.
Critical Placement Errors That Trigger Breakdowns:
– Sunlight exposure → Accelerates algae growth inside the tank
– Near electronics (TVs, chargers) → Moisture corrosion damages circuits
– Enclosed spaces (closets, cabinets) → Humidity saturation above 60%
– Directly facing walls → Causes persistent water stains within days
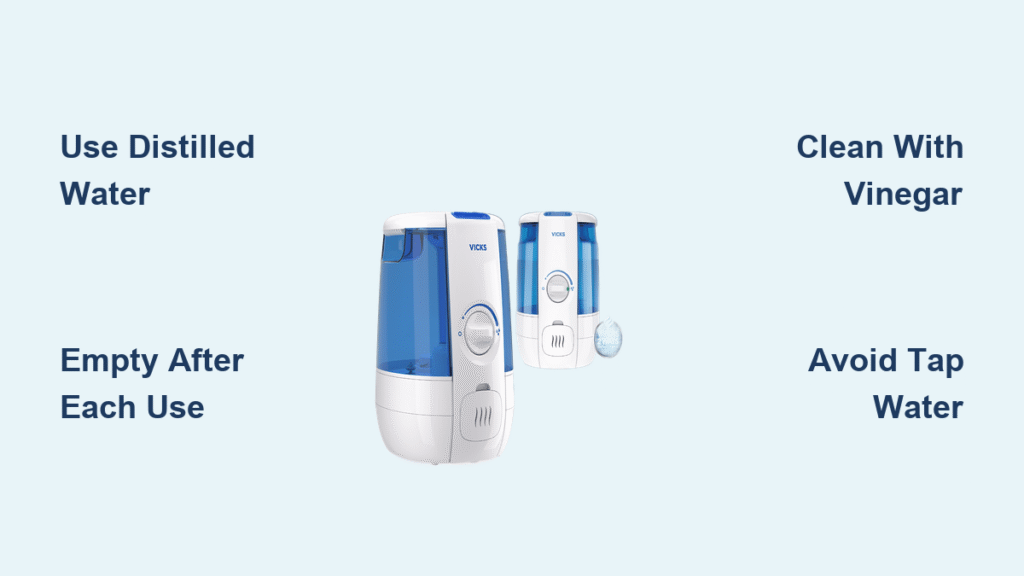
Fill Your Tank with Distilled Water Only—Tap Water Risks Revealed

Switch to Distilled or Bottled Water Exclusively to block mineral dust that tap water aerosolizes. Those white particles coating your furniture? They’re calcium and magnesium deposits that also clog internal mechanisms. More dangerously, minerals create breeding grounds for Legionella bacteria inside your tank—inhaling this mist can cause “humidifier lung,” a pneumonia-like illness. Vicks explicitly warns against tap water in all manuals for this reason.
Why Bottled Water Beats Tap Every Time:
– Eliminates white residue on surfaces and furniture
– Prevents scale buildup that reduces mist output by 40%
– Stops bacterial colonies forming in mineral deposits
– Extends humidifier lifespan by 2+ years
Water Temperature Danger You’re Ignoring: Always use cool water straight from the fridge. Warm or hot water warps plastic components during filling and risks scalding if spilled. Vicks units aren’t designed for heated water—doing so voids warranties and creates steam burns during operation.
Execute Flawless Setup in 5 Minutes Flat
Fill the Tank Correctly to Avoid Leaks and Damage: Remove the tank, flip it upside down, and twist the cap counter-clockwise (align with the open lock symbol). Fill only to the MAX line—overfilling causes spills when reassembling. Secure the cap tightly by twisting clockwise until it clicks, then place the tank straight down onto the base. Any misalignment here guarantees leaks during operation.
Electrical Safety Non-Negotiables:
– Dry hands thoroughly before plugging in (wet hands + outlet = shock risk)
– Route the cord away from foot traffic to prevent tripping or dislodging
– Never use extension cords—they overheat with continuous operation
– Verify the outlet isn’t near sinks or bathtubs (minimum 6-foot distance)
Pre-Operation Mist Angle Check: Adjust the nozzle so mist shoots horizontally into the room, not upward or at walls. Pointing mist downward creates puddles; upward shots reduce coverage. The sweet spot? 18 inches above floor level for optimal dispersion.
Activate VapoPads and Projector Without Compromising Safety
Insert VapoPads for Targeted Congestion Relief by opening the small compartment near the base (marked with a vapor icon). Slide in one pad—never force it—and close the lid. Replace pads every 8 hours of use; stale pads lose medicinal potency and emit weak scents. Critical warning: Never use VapoPads around infants under 10 pounds—their concentrated vapors can overwhelm tiny airways.
Projector Light Activation (Select Models): Flip the dedicated switch near the mist nozzle to cast calming patterns on ceilings. This runs independently from mist function—use it alone for nighttime anxiety relief without adding humidity. For maximum effect during congestion, pair with VapoPads but monitor tank levels closely (dual features drain water 25% faster).
Feature Combination Pro-Tip: Run the projector 30 minutes before bed to relax airways, then activate mist + VapoPad as you sleep. This prevents oversaturation while delivering medicated vapor precisely when needed.
Monitor Runtime Like a Pro to Prevent Hazards
Never Leave Unattended for Over 15 Minutes—even “automatic shut-off” models can malfunction. Stay in the room to catch early warning signs like:
– Window condensation → Humidity exceeds 50% (ideal is 30-50%)
– Damp bedding → Unit too close to bed (reposition immediately)
– Gurgling sounds → Low water level straining the pump
Door Positioning That Balances Humidity: Crack the door open 1-2 inches to circulate air between rooms. Closed doors trap moisture, causing humidity spikes that trigger mold growth in 48 hours. Use a $5 hygrometer to verify levels stay between 30-50%—below 30% means run time is too short; above 50% requires reducing output.
When to Shut Down Immediately: If you notice sticky residue on walls or a musty smell, unplug the unit. These signal active mold growth inside the tank—continue running, and you’ll aerosolize spores throughout your home.
Refill and Power Down Without Creating Bacteria
Refill Safely in 90 Seconds Flat:
1. Unplug the unit and wait 5 minutes (prevents electrical shorts)
2. Lift tank straight up—no twisting—to avoid dislodging sensors
3. Pour fresh distilled water to MAX line, cap securely
4. Wipe base spills with microfiber cloth before restarting
End-of-Use Protocol That Kills 90% of Mold Risk: Empty all remaining water after each session—never let it sit overnight. Residual water breeds bacteria within 12 hours. Then, remove the tank and leave both base and tank open to air-dry completely before storage. Skipping this step causes the “wet sock” smell users report.
Deep Clean With Vinegar in 6 Steps (No Scrubbing Needed)
Vinegar Soak That Dissolves Mineral Buildup: Pour 2 cups undiluted distilled white vinegar into the empty tank. Cap it, shake gently for 30 seconds, then reattach to the base. Let the vinegar drain into the base reservoir—this dual-action soaks both components simultaneously.
Complete Cleaning Sequence:
1. Soak for 4-5 hours (overnight for heavy buildup)
2. Discard vinegar and rinse tank/base under running water
3. Swish clean water inside 3x until vinegar odor vanishes
4. Wipe exterior with damp cloth—never submerge the base
5. Air-dry all parts for 24 hours before reuse
6. Store disassembled in a mesh bag (prevents dust accumulation)
Why Vinegar Beats Bleach: Bleach residues aerosolize during use, irritating lungs. Vinegar neutralizes bacteria without toxic fumes—but must be rinsed until odor-free. Persistent vinegar smell means insufficient rinsing; repeat until neutral.
Prevent Mold Between Cleanings With Daily Habits
Overnight Drying Ritual: After emptying water, leave the tank inverted on a towel overnight. This evaporates hidden moisture in seams where mold hides. Never store components while damp—even “slightly wet” causes slime buildup in 72 hours.
Storage Protocol for Off-Seasons: After final clean, place silica gel packets inside the tank and base before sealing in an airtight container. Store in a climate-controlled closet—not garages or basements where humidity fluctuates. Check monthly for mustiness.
Replace Parts Before They Fail: Discard tanks showing cloudiness or scratches (harbors bacteria). Bases with persistent odors post-cleaning need replacement—don’t risk respiratory issues for $20 savings.
Critical Safety Rules Hospitals Wish You Knew
Infant VapoPad Ban: Medicinal pads are prohibited near babies under 10 pounds per Vicks. Their underdeveloped lungs can’t handle menthol concentrations. Use plain water mist only for infants—add humidity without vapors.
Outdoor Use = Instant Unit Death: Never operate on patios or porches—even covered ones. Rain, humidity swings, and temperature changes crack plastic housings. Units are calibrated for stable indoor environments only.
Electrical Fire Prevention: Plug directly into wall outlets (no power strips). If the cord feels warm during use, unplug immediately—this indicates dangerous overheating. Replace frayed cords before next use.
Troubleshoot 3 Common Failures in Under 5 Minutes
No Mist Output? Fix These Immediately:
– Tank not seated properly → Lift and reattach with firm downward pressure
– Mineral-clogged nozzle → Soak tank in vinegar for 1 hour (KB Step 4)
– Empty water reservoir → Check base water level—tank leaks if cap loose
Excessive Noise Means: Low water straining the pump (top up immediately) or mineral-coated fan blades (vinegar soak required). Never operate when gurgling—this burns out motors.
White Dust Everywhere? You’re using tap water. Switch to distilled today and run a vinegar clean to remove existing deposits. Within 24 hours, surfaces will stay dust-free.
Final Takeaway: Your Vicks humidifier delivers life-changing relief when you follow these precise steps: distilled water only, empty after every use, weekly vinegar soaks, and strict VapoPad precautions. Skip just one step—like leaving water overnight—and you risk breathing contaminated mist. Do it right, and you’ll conquer dry air safely for years. Ready for clearer breathing tonight? Start with tonight’s setup using these protocols, and feel the difference by morning.